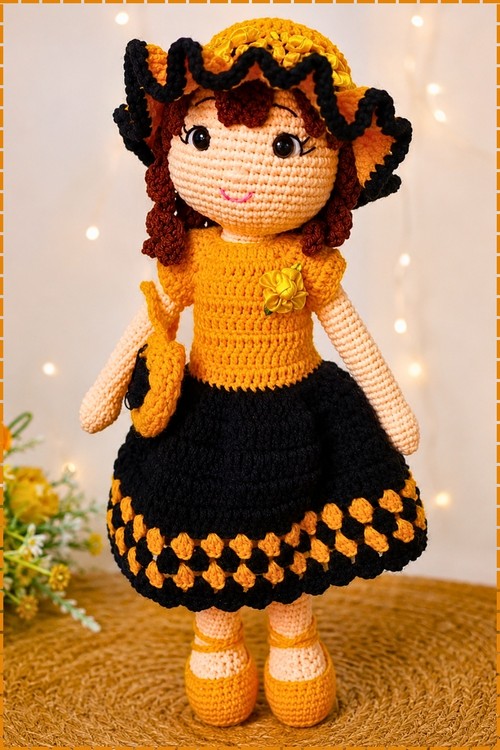
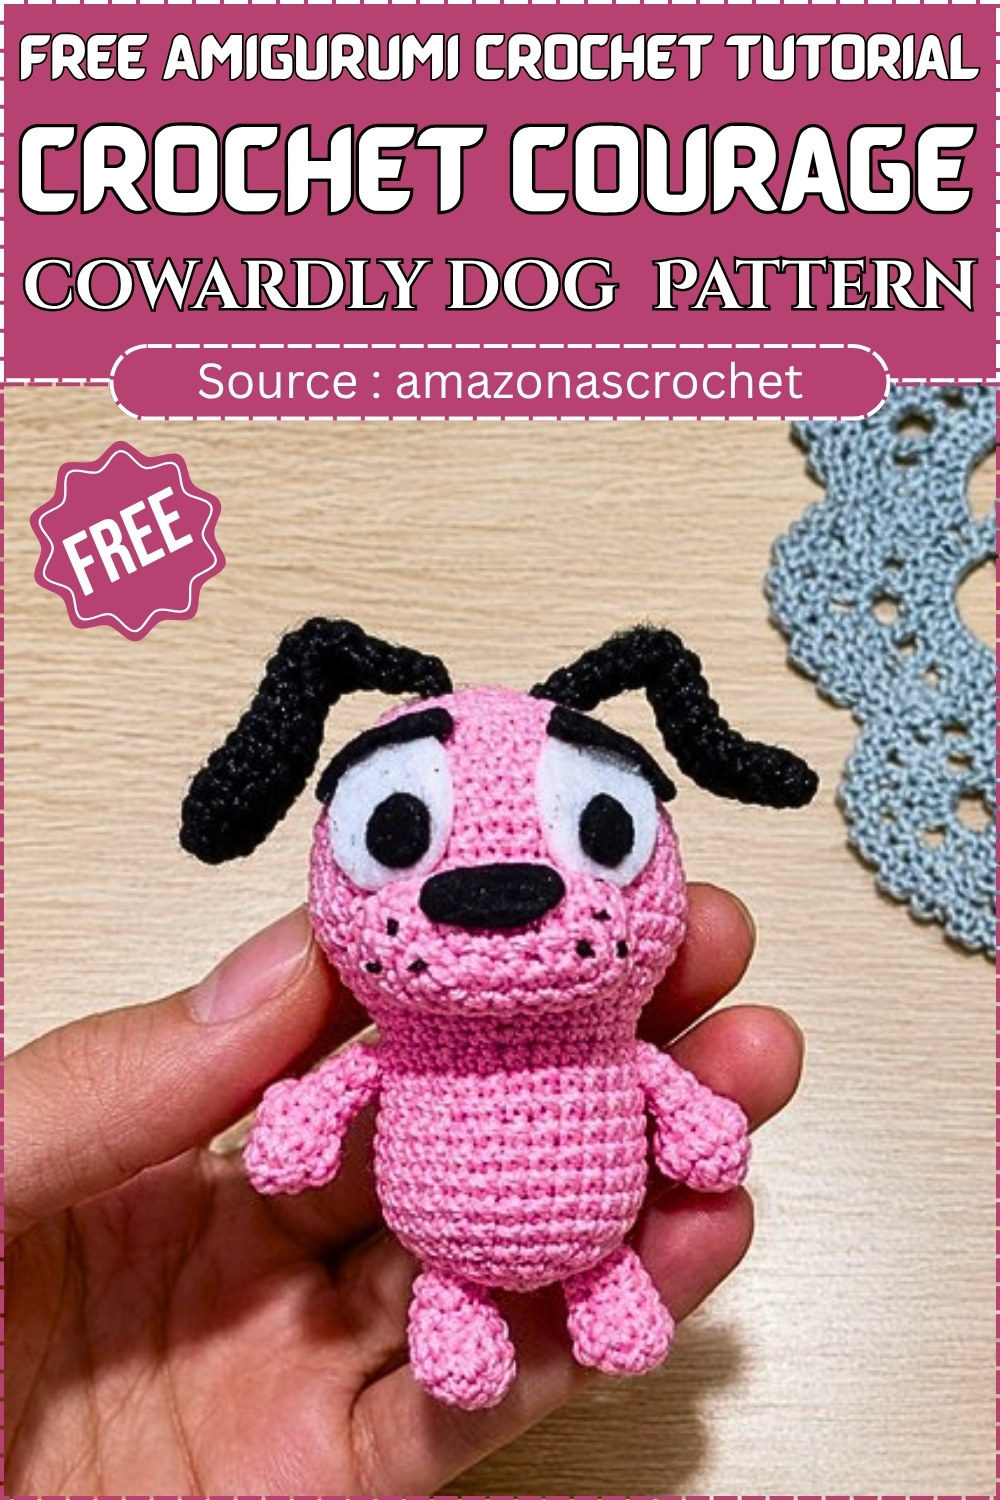
Cartoon fans instantly recognise this crochet Courage the Cowardly Dog amigurumi by its pink body, black floppy ears and wide felt eyes. Bend the wired ears into a nervous droop for a shelf display, or gift it to anyone who grew up watching the show.
Fans of classic cartoons often enjoy making a crochet courage the cowardly dog pattern inspired project that captures the character’s pink color, floppy ears, and expressive face. This fun design creates a charming collectible, gift, or display piece for animation lovers. With creative shaping details and recognizable features, it offers an enjoyable crochet experience while bringing a beloved cartoon companion to life in yarn.
Crochet Courage The Cowardly Dog Amigurumi
Skill Level
Advanced beginner to intermediate.
You should be comfortable with:
- Working in the round from a magic ring
- Single crochet increases and decreases
- Bobble stitches
- Sewing amigurumi parts together
- Cutting and gluing small felt details
Abbreviations (US Terms)
- MR: magic ring
- sc: single crochet
- inc: 2 sc in the same stitch
- dec: single crochet decrease (invisible decrease recommended)
- sl st: slip stitch
- ch: chain
- ( ): stitch count at the end of the round
Materials
- 2 mm yarn in pink (head, body, arms, legs, snout, tail) and black (ears)
- 2 mm crochet hook
- White felt or craft foam for the eyes
- Black felt or craft foam for the pupils, eyebrows, nose, and back spots
- Fiberfill stuffing
- Yarn needle and stitch marker
- Fabric or craft glue
- Black acrylic paint and a toothpick for the whisker dots
- Two 7 cm pieces of flexible wire (optional, for poseable ears)
Finished Size
The final height depends on your yarn, hook, tension, and how firmly you stuff. With 2 mm yarn and a 2 mm hook, Courage works up as a small display piece that fits comfortably on a shelf or desk.
Before You Start
- Place a stitch marker at the start of every round. The cheek rounds depend on exact counts.
- Courage’s personality lives in his face. The crochet itself is simple, but the cheeks, snout, and eyebrows decide whether he looks like himself.
- Pin every facial piece in place and check it from a few angles before you glue or sew anything permanently.
How the Pattern Comes Together
You crochet the head and body as one continuous piece, starting at the top of the head. Two sets of grouped increases build out the cheeks, and the matching decreases pull them back in so they stay rounded. The arms, legs, snout, and ears are worked separately and sewn on. Felt pieces add the eyes, brows, nose, and back spots, and a few painted dots finish the cheeks.
Head and Body (Pink)
- Round 1: 6 sc in a MR. (6)
- Round 2: Inc in every stitch. (12)
- Round 3: 1 sc, inc 6 times. (18)
- Round 4: 2 sc, inc 6 times. (24)
- Round 5: 3 sc, inc 6 times. (30)
- Round 6: 4 sc, inc 6 times. (36)
- Round 7: Sc in every stitch. (36)
- Round 8: 11 sc, inc 3 times. (39)
- Rounds 9 to 11: Sc in every stitch. (39)
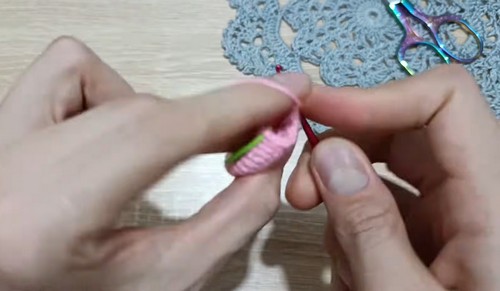
- Round 12 (cheek increases): 11 sc, inc in each of the next 3 stitches, 11 sc, inc in each of the next 3 stitches, 11 sc. (45)
- Rounds 13 to 14: Sc in every stitch. (45)
- Round 15 (cheek decreases): 11 sc, 3 dec, 11 sc, 3 dec, 11 sc. (39)
- Round 16: 11 sc, dec 3 times. (36)
- Round 17: 4 sc, dec 6 times. (30)
- Round 18: 3 sc, dec 6 times. (24)
- Round 19 (neck): Sc in every stitch. (24)
Start stuffing the head now. Pack it firmly, pushing small tufts into the two cheek pockets with the handle of your hook or a stuffing tool, and pinch the cheeks into shape with your fingers as you go.
- Round 20: 3 sc, inc 6 times. (30)
- Rounds 21 to 27: Sc in every stitch. (30)
- Round 28: 3 sc, dec 6 times. (24)
- Round 29: 2 sc, dec 6 times. (18)
Stuff the body evenly and check the cheeks one more time before the opening gets small.
- Round 30: 1 sc, dec 6 times. (12)
- Round 31: Dec 6 times. (6)
Fasten off with a 20 cm tail. Top up the stuffing, then thread the tail through the front loops of the last round and pull the hole closed.
Tips for the head
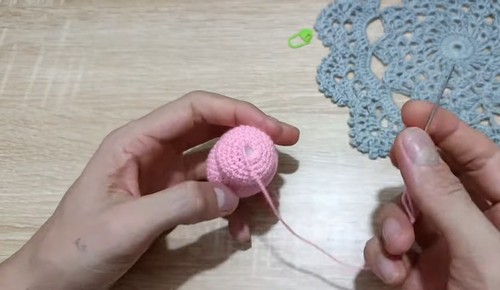
- Round 12 makes or breaks the face. Keep each group of 3 increases together so the cheeks bulge out on the sides instead of spreading around the head.
- Small pieces of fiberfill fill the cheeks better than large clumps.
- If the cheeks look flat once you finish, work extra stuffing in behind them with your hook.
Arms (Make 2, Pink)
- Round 1: 7 sc in a MR. (7)
- Round 2: Sc in every stitch. (7)
- Round 3 (fingers): 2 sc, 1 bobble, 2 sc, 1 bobble, 1 sc. (7)
Push both bobbles to the outside right away so they sit like little fingers.
- Round 4: 5 sc, dec. (6)
- Rounds 5 to 6: Sc in every stitch. (6)
Flatten the opening and close it with 3 sc worked through both layers. Fasten off and leave a tail for sewing. Leave the arms unstuffed so the fingers stay defined, and check that both arms have the fingers facing the same way.
Legs and Feet (Make 2, Pink)
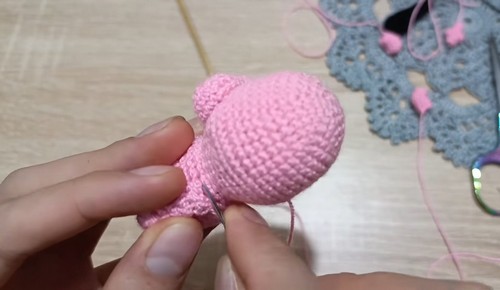
- Round 1: 6 sc in a MR. (6)
- Round 2: 2 sc, 3 sc in the next stitch, 3 sc in the next stitch, 2 sc. (10)
- Round 3: Sc in every stitch. (10)
- Round 4: 2 sc, 3 dec, 2 sc. (7)
- Rounds 5 to 6: Sc in every stitch. (7)
Sl st into the next stitch and fasten off with a 15 cm tail. Add only a small pinch of stuffing so the foot keeps its shape. The decreases in Round 4 form the front of the foot.
Snout (Pink)
- Round 1: Ch 7. Starting in the second chain from the hook, work 5 sc. Work 4 sc into the last chain. Rotate and work along the other side of the chain: 4 sc, then 4 sc into the final chain. (17)
- Round 2: 6 sc, inc in each of the next 2 stitches, 7 sc, inc in each of the next 2 stitches. (21)
- Rounds 3 to 4: Sc in every stitch. (21)
Sl st to finish and leave a 25 cm tail for sewing.
Ears (Make 2, Black)
- Round 1: 5 sc in a MR. (5)
- Round 2: Inc in every stitch. (10)
- Round 3: 4 sc, inc 2 times. (12)
- Rounds 4 to 6: Sc in every stitch. (12)
- Round 7: 4 sc, dec 2 times. (10)
- Rounds 8 to 9: Sc in every stitch. (10)
- Round 10: 3 sc, dec 2 times. (8)
- Rounds 11 to 12: Sc in every stitch. (8)
- Round 13: 2 sc, dec 2 times. (6)
- Round 14: Sc in every stitch. (6)
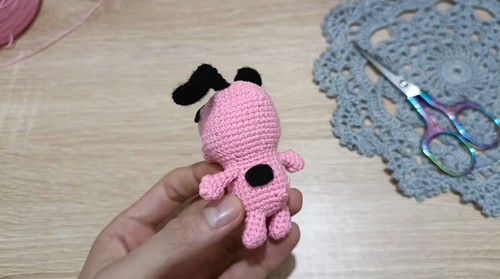
For poseable ears, bend a 7 cm piece of wire into a U and slide it into the ear now. Flatten the opening, close it with sc through both layers, and leave a tail for sewing.
Assembly
- Snout: Pin the snout between the two cheeks, just above the neck. Sew most of the way around, add a little stuffing for a rounded shape, then finish sewing it closed.
- Arms: Sew one arm to each side of the body just below the neck, with the fingers pointing forward.
- Legs: Sew the legs to the underside of the body, about 2 to 3 rounds out from the bottom center. Turn the decreased side of each foot to the front and sew all the way around the top of the leg.
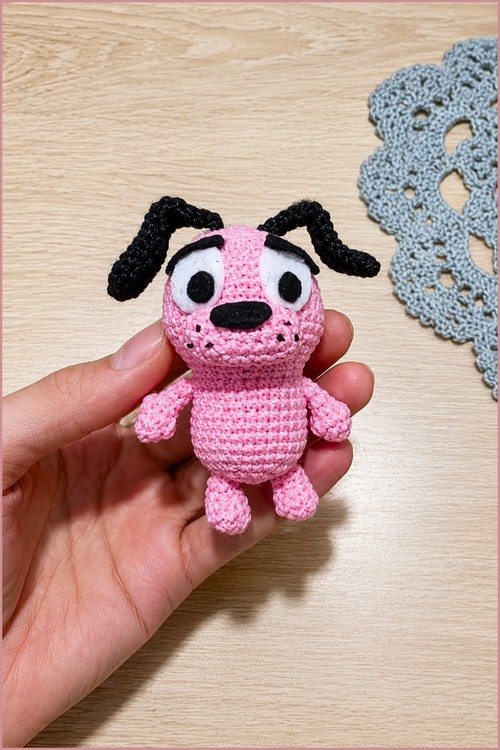
- Eyes: Cut two white ovals about 1 cm tall and 0.5 cm wide. Glue them above the snout with roughly 3 stitches between them.
- Pupils and nose: Cut small black ovals for the pupils and glue them centered on the white ovals. Cut a wider black oval and glue it to the tip of the snout.
- Eyebrows: Cut two thin, slightly curved black strips. Angle them downward toward the center above the eyes to give Courage his nervous expression. Test the angle before gluing, since a small change shifts the whole look.
- Ears: Sew the ears to the top of the head, each one lined up with the outer edge of an eye.
- Tail: About 2 rounds above the legs on the back, pull up a loop of pink yarn with your hook, ch 3, fasten off, and trim to about 1 cm so it stands up.
- Back spots: Cut one small and one medium black oval and glue them together on one side of the lower back.
- Whiskers: Dip a toothpick in black acrylic paint and dot three small points in a triangle on each cheek.
Troubleshooting
- Flat cheeks: Add stuffing directly behind each cheek and shape it with your fingers.
- Crooked snout: Pin it from several sides and check it from the front before sewing.
- Uneven eyes: Measure the gap with a ruler or count stitches before gluing.
- Ears at different heights: Count rounds down from the top of the head so both ears sit on the same round.
- Figure tips over: Move the legs slightly further apart or further forward until he stands steady.
Ways to Customize
- Use thicker yarn and a larger hook for a bigger, cuddlier Courage.
- Add wire to the arms so you can pose them.
- Embroider the eyes instead of using felt, which is safer for toys going to small children.
- Brush a little pink blush onto the cheeks.
- Play with the eyebrow angle to give him a surprised or happy face.
Finishing Touches
Check him from the front, sides, and back before you trim any tails. Hide every tail inside the body, and let the glue dry fully before you handle him. Most of the likeness comes from placement, so take your time with the face.