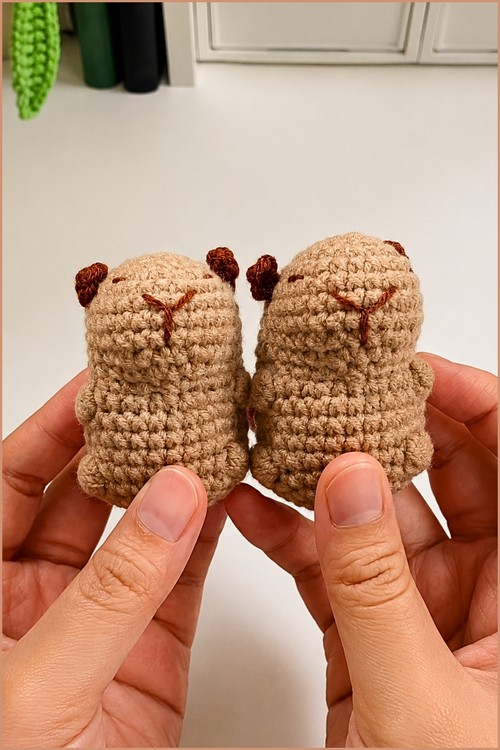
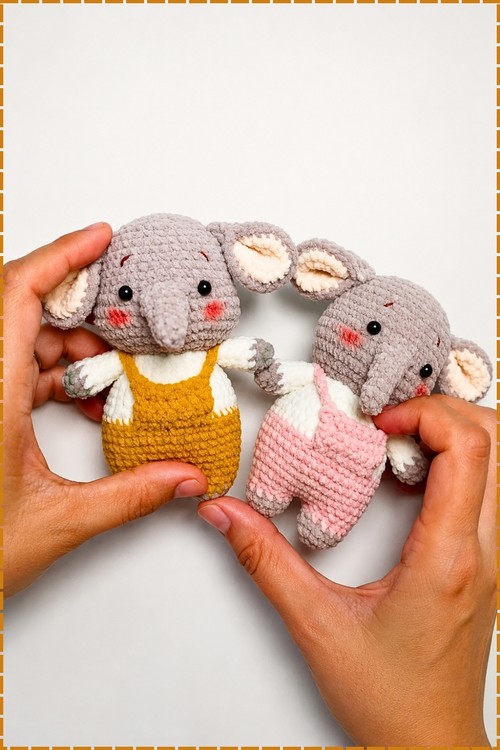
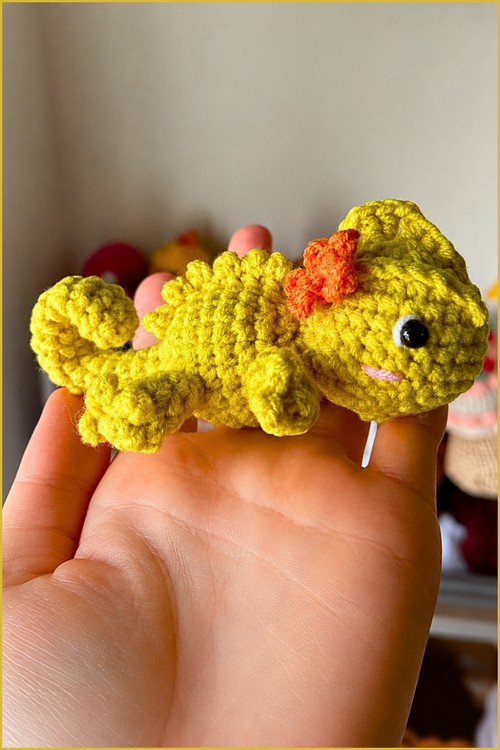
Kids’ school backpacks look brighter with a caramel chenille dog from the no-sew mini puppy crochet pattern swinging from a gold clasp. Birthday gift bags easily hold the plush amigurumi dog, whose white bubble paws and sparkly eyes make a sweet little treat for any dog lover.
Built entirely in one continuous piece, this mini puppy attaches its ears directly into Round 13 and uses bubble stitches to form paws and a muzzle without sewing a single seam afterward. Chenille plush yarn at a 3.5 to 4 mm hook finishes in roughly an hour to an hour and a half.
No-Sew Mini Puppy Crochet
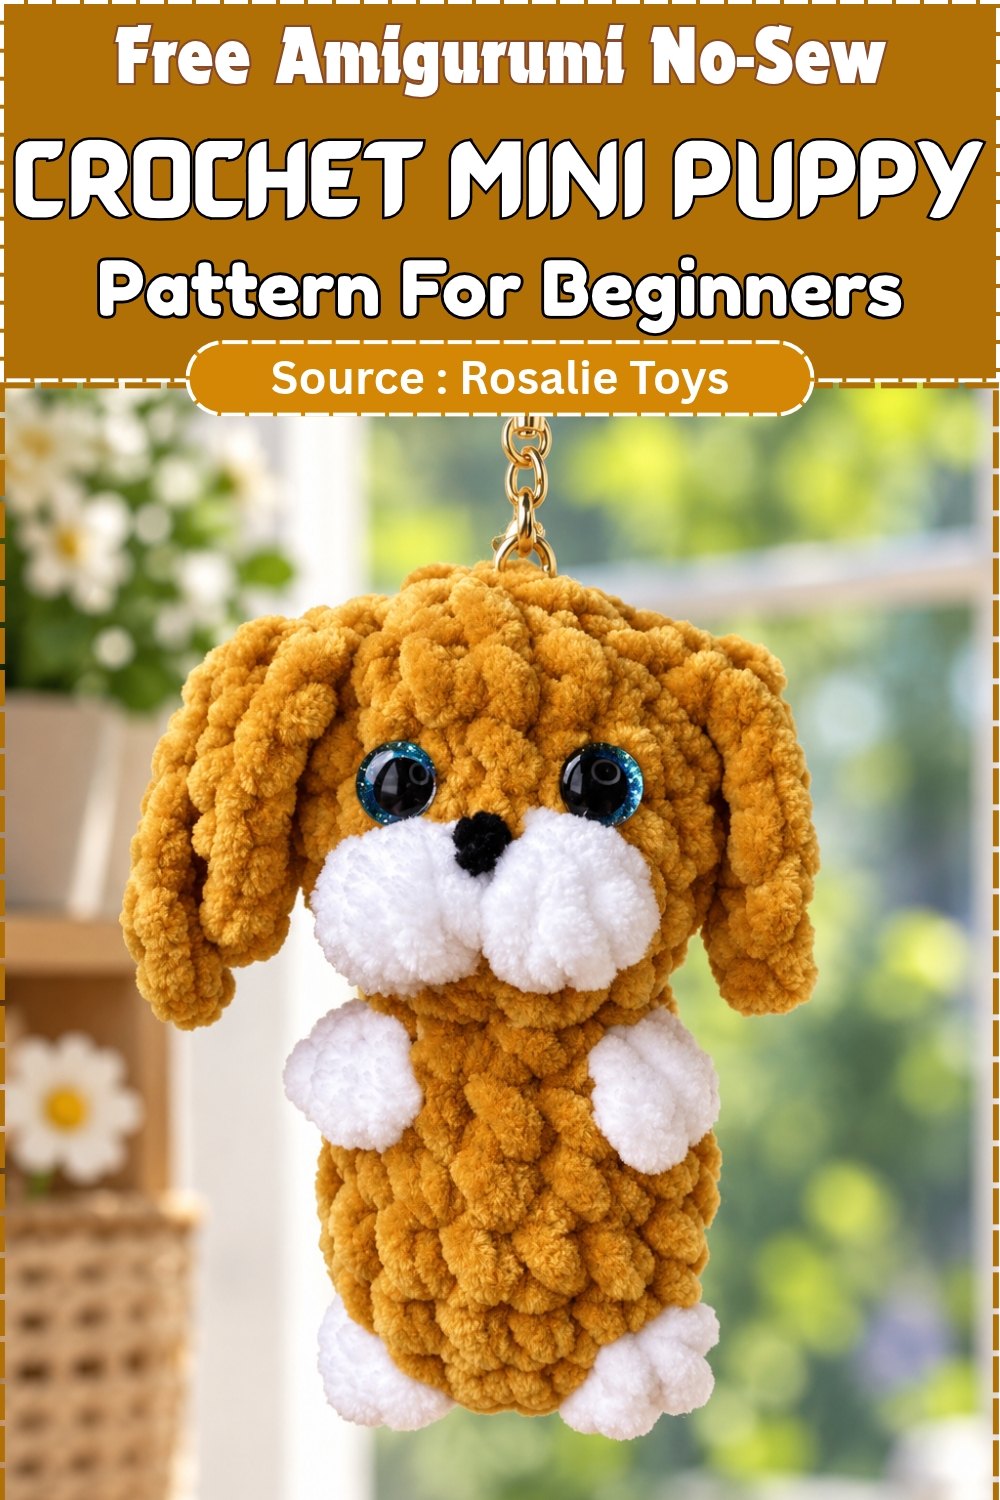
Finished height lands somewhere around 6 to 8 cm depending on your tension and the specific yarn thickness. Makers who find plush yarn frustrating to count will appreciate the stitch marker note in the technique section below, because it changes how manageable the whole project feels. The source is a video tutorial and several stitch counts have discrepancies from the written notes, all flagged in the pattern.
Bubble stitches form the feet, paws and muzzle by popping out naturally from the body surface, which is the whole trick behind the no-sew approach. Once the construction logic clicks, it is genuinely fast. Two ears get made first, then set aside until Round 13 pulls everything together. Make both ears before starting the body so you are not stopping mid-round to look for them.
Pieces List
- Ears: make 2, before starting the body
- Body, legs, arms, head: worked as one continuous piece
Materials and Tools
- Plush yarn in a main body colour (Himalaya Dolphin Baby or similar chenille-style)
- Small amount of white plush yarn for paws and muzzle
- 3.5 mm or 4.0 mm crochet hook
- 4 mm safety eyes
- 4 mm safety nose
- Hollow fiber stuffing
- Yarn needle
- Scissors
- Stitch markers
For children under three: skip the safety eyes and nose entirely. Embroider the eyes and nose with black yarn or embroidery floss at the same positions. Small stitched ovals for the eyes and a triangle for the nose remove the choking risk completely.
Safety Eye Timing
Safety eyes and nose go in after Round 12 and before Round 13, while the head is still wide open. Place the eyes about 3 stitches apart. Push the washers on firmly from inside before continuing. Once the head is cinched shut, there is no way to reach the backs of the eyes again.
Technique Notes
Bubble stitch: Yarn over, insert the hook into the stitch, yarn over and pull up a loop, yarn over and pull through two loops. That is one half-completed double crochet. Repeat in the same stitch until you have 3 or 4 half-completed dc depending on what the round calls for, then yarn over and pull through every loop on the hook. The bubble tends to pop toward the back of the work, so push it out to the right side with a finger immediately after closing it.
Colour changes: Work the stitch before the colour switch until two loops remain, then finish it with the new colour. Carry the unused yarn loosely inside the body rather than cutting it each time.
Invisible decrease: Insert the hook into the front loop only of the next two stitches, yarn over and pull through both front loops, then yarn over and pull through the two loops remaining. In plush yarn this disappears into the pile completely.
Marking the round: Place a stitch marker in the first stitch of every round and move it up as you go. Plush pile swallows stitch boundaries. Losing a single stitch here throws off where the paws and muzzle land.
The Pattern
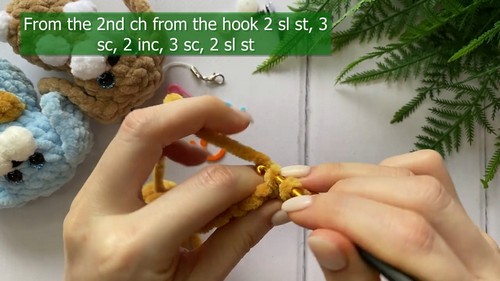
Ears (Make 2)
- Row 1: Using the main body colour, ch 7.
- Row 2: Starting in the 2nd chain from the hook, work 6 sc.
- Ch 1 and turn.
- Row 3: Starting from the 2nd chain from the hook, work 2 sl st, 3 sc, 2 inc (2 sc in each of the next 2 stitches), 3 sc, 2 sl st.
- Checkpoint: the ear should look like a small rounded flap, flat and low at both ends where the slip stitches sit and fuller in the middle from the increases.
- Pattern note on Row 3: this row places 12 stitches, but Row 2 only gives 6, and the instruction to start from the 2nd chain from the hook follows a turn.
- The row most likely works around both sides of the foundation chain.
- Check the video before working this row.
- Fasten off, leaving long tails on both ears.
Body and Legs
- Round 1: Using the main body colour, work 6 sc into a magic ring. (6)
- Round 2: Work 4 inc. Chain 3. Starting from the 2nd chain from the hook, work 2 sl st back along the chain to form the tail.
- Work 2 inc onto the body. (12, tail not counted)
- Checkpoint: a small flat disc with one short nub at the edge; that nub is the tail.
- Round 3 (Legs): Shift your stitch if necessary to align the legs.
- Work 1 sc in the main colour, then switch to white.
- Make the 1st bubble stitch (3 dc bubble) in white.
- Work 2 inc. Switch back to the main colour halfway through the second increase.
- Make the 2nd bubble stitch in white.
- Work 2 sc, skip the tail, work 2 sc, 1 inc, 1 sc. (16) Checkpoint: two white bumps on the edge as feet, with the tail pointing out behind them.
- Pattern note on Round 3: the stitches as listed count to 14, not the stated 16.
- Rounds 4 and 5 depend on having 16, so count carefully at the end of this round and refer to the video if your count does not resolve.
- The colour for the two increases before the second bubble is also not stated in the source; check the video.
- Rounds 4 and 5: Work 16 sc around. (16)
- Checkpoint: the sides now rise straight rather than spreading out, forming a short open tube.
- Round 6: (2 sc, 1 dec) × 4. (12)
- Checkpoint: the top edge begins pulling inward and the piece sits like a small cup.
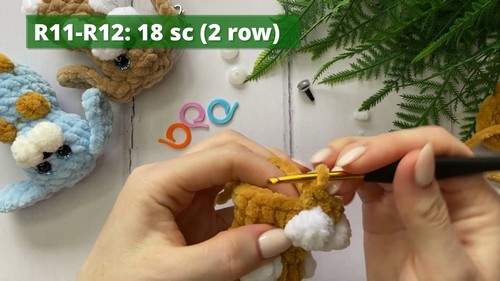
Arms and Upper Body
- Round 7 (Arms): Work 1 sc in the main colour, then switch to white.
- Make the 1st bubble stitch in white.
- Work 3 sc in the main colour, then switch to white.
- Make the 2nd bubble stitch in white.
- Finish with 6 sc in the main colour. (12)
- Checkpoint: two white paws should sit on the front of the body, closer together than the feet and above them.
- Round 8: (2 sc, 1 dec) × 3. (9)
- Checkpoint: the neck pinches in clearly here, separating body from head.
- Round 9: Work 9 inc. (18) Checkpoint: the work flares out sharply above the neck, almost like the bell of a trumpet.
Dog Face (Muzzle)
- Round 10: Shift loops if needed to centre the face.
- Work 5 sc in the main colour, then switch to white.
- Make the 1st bubble stitch (4 dc bubble) in white.
- Work 1 sc in the main colour. Make the 2nd bubble stitch (4 dc bubble) in white.
- Finish with 11 sc in the main colour. (18)
- Checkpoint: two fat white puffs side by side with a single stitch between them, facing the same direction as the paws.
- Pattern note on Round 10: the stitches listed total 19 over an 18-stitch round.
- Expect to finish one stitch short on the closing sc, or check the video.
- Rounds 11 and 12: Work 18 sc around. (18)
- Checkpoint: the head is now a rounded open cup, wider than the body, with the muzzle puffs on its lower half.
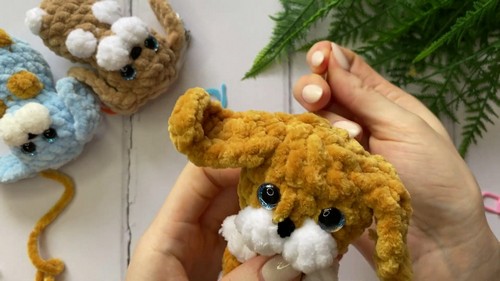
Eyes, Nose and Ears
- Place the 4 mm safety eyes between Rounds 12 and 13, approximately 3 stitches apart, before working Round 13.
- Pattern note on eye placement: the instruction reads “between Rounds 12 and 13” before Round 13 exists; place the eyes right under the top edge of Round 12.
- Attach or embroider the nose onto the muzzle area, above the gap between the two white puffs.
- Round 13 (Joining Ears): Position both ears symmetrically against the top of the head.
- Work 1 sc. Join the first ear by working a dec through the ear stitches and the body together.
- Work 1 sc through both the ear and body. Work 1 dec.
- Work 2 sc. Join the second ear by working a dec through the ear and body together.
- Work 1 sc through both the ear and body. Work 1 dec, 1 sc, 1 dec.
- Checkpoint: both ears should be anchored on top at matching angles and the opening should be visibly smaller than in Round 12.
- Pattern note on Round 13: no stitch total is given in the source, and the instructions account for 16 of the 18 stitches.
Closing the Head
- Add hollow fiber stuffing into the head and body until firm.
- Continue working decreases to close the hole.
- The number of decrease rounds needed is not specified in the source; keep decreasing until the hole is small enough to cinch.
- Cut the yarn, leaving a long tail.
- Weave the yarn needle through the front loops of the remaining stitches.
- Pull tight to close completely.
- Secure and weave in all remaining ends.
Assembly
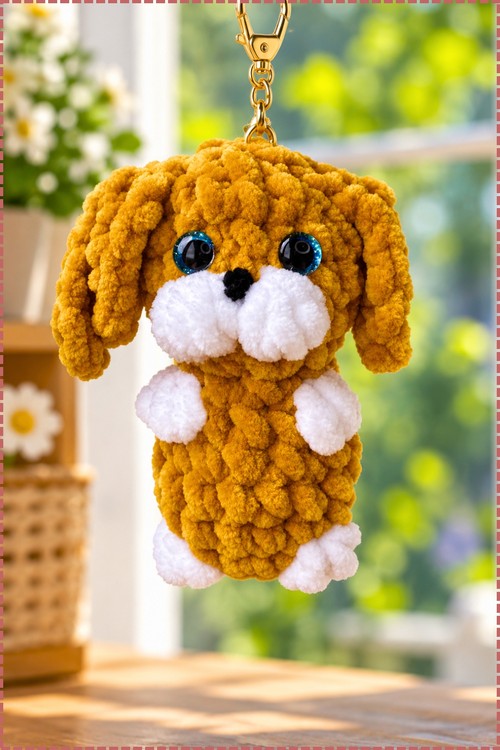
- Assembly is built into the pattern itself rather than happening at the end, and the order matters.
- Make both ears first and keep them close.
- Work the body through Round 12, then fit the eyes and nose while the head is wide open.
- Only then do you join the ears at Round 13.
- Hold both ears in position against the top of the head before working the joining stitches.
- Look at the puppy from the front and from above. Ears that look even in your hand often read lopsided once the head is stuffed, and unpicking joined ears from plush yarn is genuinely unpleasant.
- Take the extra thirty seconds.
- Once ears are joined, stuff and close.
Stuffing Guide
- Fill the head and body using small tufts pushed in gradually rather than one large handful.
- At this scale a single dense wad creates lumps that show through the fabric.
- Push the first bits down to the base so the puppy sits upright.
- The tail, feet, paws and muzzle puffs are all unstuffed. Bubble stitches hold their shape on their own.
- The tail is just a short chain.
- Two signs of over-stuffing: the neck pinch from Round 8 disappears and the body becomes a lumpy peanut shape, and plush fibres spread apart showing white fiberfill between stitches.
- Either is a signal to pull a little stuffing back out before closing.
Yarn Substitution and Size Scaling
Any plush, velvet or chenille yarn at a similar weight gives a result very close to the original. Worsted acrylic at 2.5 to 3 mm hook produces a smaller, crisper puppy around 5 cm where the bubble stitches read with more texture. Jumbo plush yarn at 5 to 6 mm roughly doubles the size. These are estimates rather than measured results. Scale the safety eyes to match: 4 mm for standard plush, 3 mm for worsted, 6 to 8 mm for jumbo. Whatever the yarn, keep the hook tight enough that fiberfill does not show through.
Colour and Customisation Ideas
- Golden retriever: warm caramel body with cream paws and muzzle
- Husky: grey body with white paws and muzzle, pale blue safety eyes if available
- Chocolate lab: deep brown body with a slightly lighter brown muzzle instead of white
- Black and white pup: black body with white bubbles that stand out sharply
- Pastel gift version: soft pink or lavender with white, with embroidered eyes for baby showers
- Keychain version: before closing, thread a sturdy yarn strand or small jump ring through several stitches at the top of the head and attach a keyring; this is not part of the original pattern, so anchor it through at least three stitches for security
Toy Safety
Safety eyes and a safety nose present a choking hazard for children under three. For young children, embroider all features with black yarn and leave out any keychain hardware and wire. Check all seams before gifting.
FAQ
The bubble stitch keeps disappearing into the back of the work. What do I do? Push it to the right side with a finger the moment you close it, before moving to the next stitch. Keeping your yarn overs slightly loose helps the loops puff up enough to stay visible on a chenille pile.
I can not see my stitches at all. Is this normal? Completely normal with plush yarn. Feel for the V of each stitch with your fingertip rather than looking for it, work near a bright light, and keep your stitch marker in the first stitch of every round without fail.
The stitch counts in Rounds 3 and 10 do not match what I am getting. Should I be worried? Both discrepancies are flagged in the pattern notes above because they exist in the source. For Round 3, count carefully and check the video if you cannot get to 16. For Round 10, finishing one stitch short on the closing sc is what the round produces as written. Follow the placement text over the totals.