

Follow the crochet doll amigurumi free pattern for a standing playmate with curly auburn hair and big dark eyes, ready for dress-up games. Doll collectors who sew simple tunics get a smooth amigurumi doll body that slips into new outfits and poses beside other handmade toys.
Someone brought this pattern to a birthday celebration last spring, spent three evenings on it, and handed over a doll that looked like a considered gift rather than a last-minute make. That is what this construction earns you. Two legs joined into a continuous body, neck and head, then arms and a hair cap added after, means the doll has the kind of solidity that separate-part dolls never quite achieve. The specific stitch counts are not written into this pattern, which is flagged honestly below, but the construction logic is sound and pairs well with any counted amigurumi doll numbers you already trust.
Crochet Doll Amigurumi
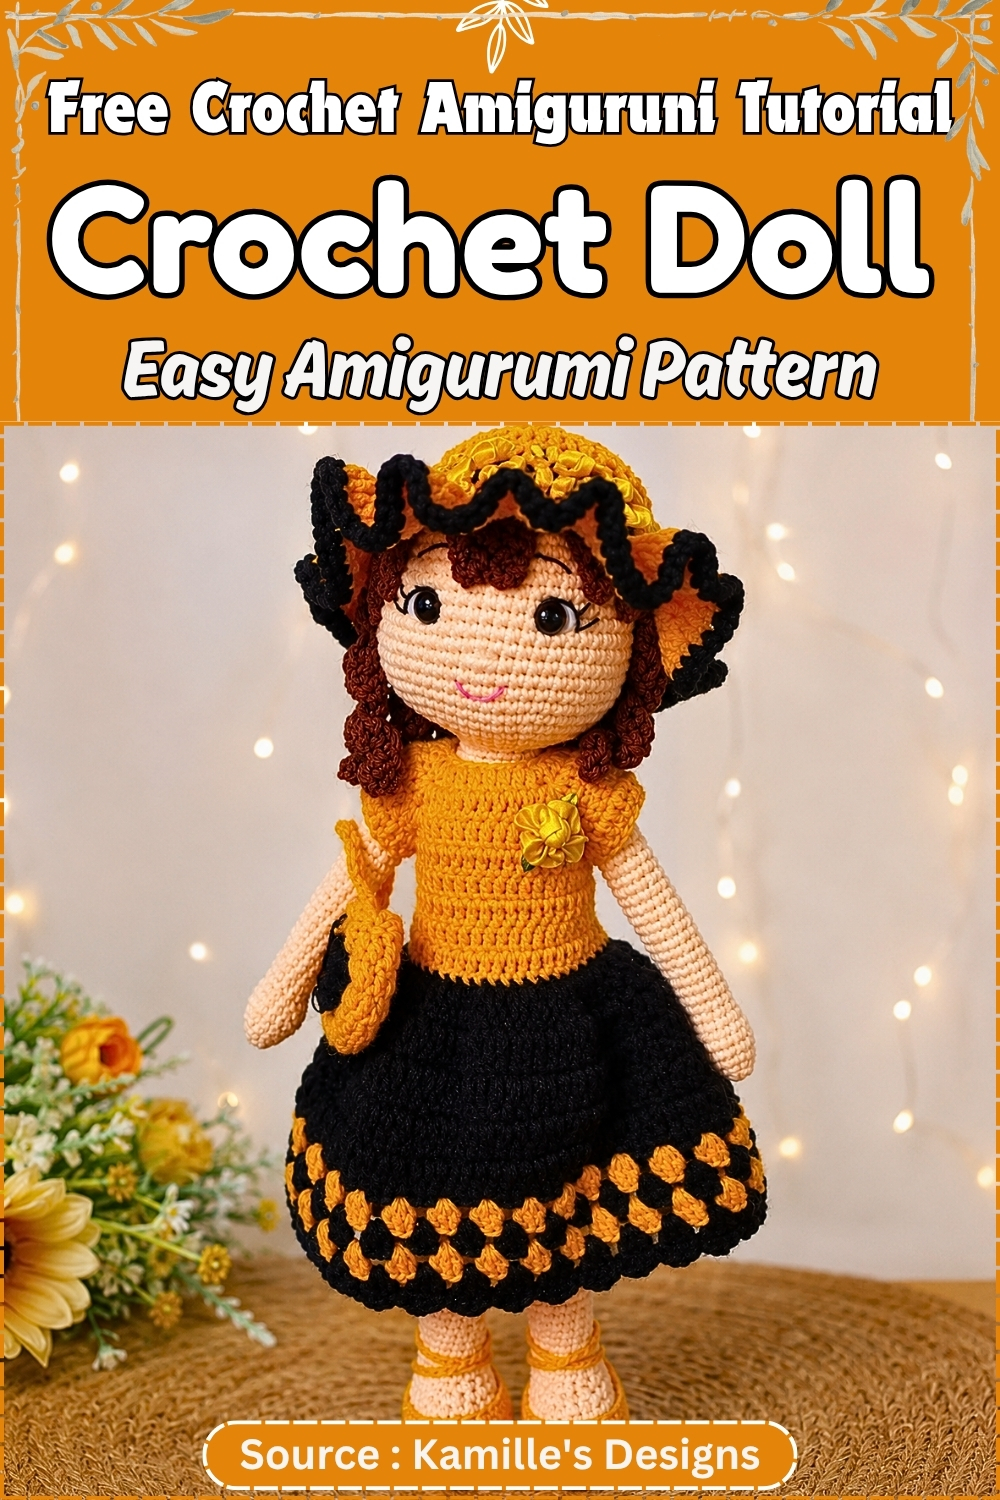
Giving someone a handmade doll still carries a weight that most gifts do not, and getting the details right matters accordingly. The hair cap sitting slightly wrong, or the arms sewed one round too high, reads immediately even to people who do not crochet. Pinning before sewing is not a suggestion here. The neck is the other thing that deserves more attention than it usually gets. Packed firmly, it holds the head upright forever. Under-stuffed, it is the first thing that fails. Both of those points come back up in the pattern.
Why I love this one: the hair cap trick of using a near-match rather than an exact shade means the strands part naturally without the cap underneath reading as fake.
Pieces List
- Body unit (two legs joined, then torso, neck and head): make 1 continuous piece
- Arms: make 2
- Hair cap: make 1
- Hair strands or curls attached to the cap: quantity to your preference
Make both arms and the hair cap after the body unit is complete.
Materials and Tools
- Skin tone yarn for legs, body, arms and head
- Shoe or foot colour yarn if you want contrast feet
- Hair colour yarn for the cap and strands
- Hook one to two sizes below the yarn band recommendation
- Polyester fiberfill
- At least two stitch markers
- Yarn needle with a large eye
- Safety eyes, or embroidery floss for a child under three
- Scissors and pins
Worsted weight cotton with a 3.0 to 3.5 mm hook is a reliable starting point. Total yarn across all colours is roughly 100 to 150 grams as an estimate, though your tension and yarn thickness will shift that.
Safety Eye Timing
Set the safety eyes before the crown decreases begin and before the head is fully stuffed. The head must still be open and wide enough to reach inside and press the washers firmly onto the posts. Hold the posts in place first and look at the face from a distance before committing. Eyes placed too high make the doll look startled. On a doll, the eye line sits noticeably below the halfway point of the head.
A note on the source pattern: the original places eye insertion in Step 5 at final assembly, after the head has already been closed and stuffed in Step 2. Eyes cannot go in after the piece is closed. Disregard that placement and insert them during Step 2, as described here.
For any doll going to a child under three: skip safety eyes entirely and embroider them with black yarn or floss instead.
Pattern Note Before You Begin
This pattern is written as a construction guide rather than a counted round by round. The order and shaping are given, but specific stitch counts and increase placements are not included in the source. Work it alongside a counted amigurumi doll pattern you already trust, or apply your own standard numbers to the structure as written. Both approaches work.
The Pattern
Step 1: Legs and Body Base
- Begin the first leg in your foot or shoe colour, or skin tone for bare feet. Start with a magic ring or a chain foundation.
- Work in continuous rounds to build the lower leg, shaping the calf.
- Continue up through the thigh, keeping shaping symmetrical on both sides of the round. Checkpoint: by the top of the calf there should be a visible narrow at the ankle and a soft widening above it; a straight cylinder means the shaping rounds were placed too far apart.
- Fasten off the first leg and weave the tail in now while the piece is easy to hold.
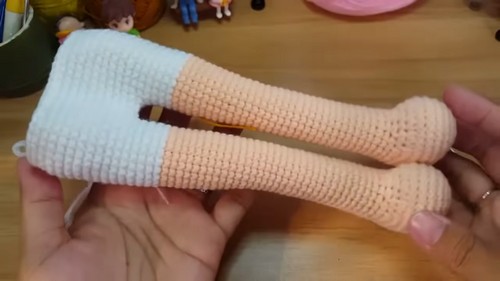
- Make a second leg identical to the first, but do not fasten off. Keep the working yarn attached.
- Chain a few stitches from the second leg across to the first leg to bridge them.
- Crochet around both legs and across the chain bridge to form a single body base. Checkpoint: after the joining round both legs should sit side by side with no gap at the crotch; if you can see through the join, close it with a few whip stitches from the inside before continuing.
- Work upward from the hips, decreasing or holding the stitch count steady to shape the torso and waist.
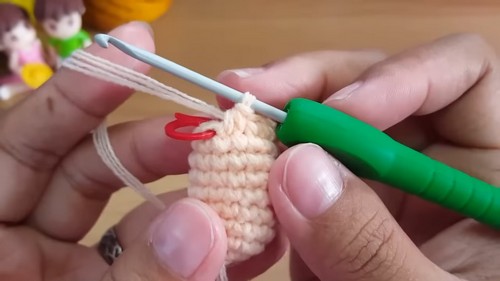
Step 2: Torso, Neck and Head
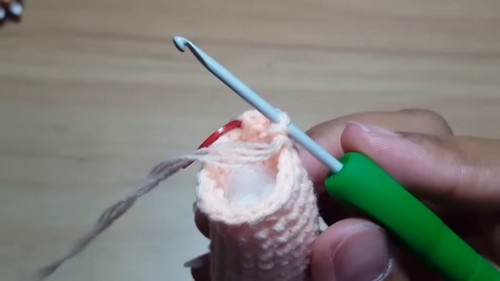
- Continue crocheting upward past the chest and shoulders.
- Narrow the rounds carefully to form the neck. Checkpoint: the neck should be the narrowest point of the whole body and feel dense when squeezed after stuffing; if it gives easily, add more fiberfill before building the head above it.
- Once the neck is formed, increase outward in symmetric rounds to begin the head sphere.
- Work up through the widest part of the head, shaping the cheeks.
- Set the safety eyes now, while the head is open. Place them below the midpoint of the head, level with each other, with roughly five to seven stitches between them. Adjust before pressing the washers on.
- Continue increasing to the widest point of the head. Checkpoint: at this point the head should read as a rounded ball, not an egg or a barrel; set it down and check the profile.
- Decrease inward to form the crown and close the head.
- Stuff firmly through the legs, body, neck and head as you go. Do not wait until the end.
If you’re new to reading crochet patterns, don’t worry, just follow along with the video tutorial below and use the written pattern as a reference!
Step 3: Arms (Make 2)
- Crochet each arm as a separate tube, starting at the hand and working up toward the shoulder. Checkpoint: the hand end should be a closed rounded tip, not a flat disc with a seam across it; if it looks flat, the closing decreases came too quickly.
- Stuff the lower portion of the arm lightly.
- Leave the upper portion soft and the top edge open.
- Fasten off, leaving a long sewing tail.
- Make the second arm the same way.
Step 4: Hair Cap and Styling
- Work a hair cap in your hair colour, starting from a magic ring and increasing in standard amigurumi rounds.
- Try the cap against the doll’s head every few rounds as you go.
- Stop increasing once the cap covers the crown and upper head. Checkpoint: the cap should sit on the head like a swim cap, snug enough to hold its position without pins; too tight distorts the head shape, too loose slides off centre.
- Work even rounds down to your chosen hairline.
- Attach individual strands or curls to the cap using a looping or chain stitch method, working in rows across the cap so coverage stays even.
- Style the hair and secure the finished cap permanently to the head.
Step 5: Face and Final Assembly
- Embroider the eyebrows, eyelashes and mouth onto the face.
- Add blush to the cheeks with a light brush of makeup blush or a few stitches in pink yarn.
- Pin the arms to the upper body at the shoulders before sewing anything.
- Sew the arms securely into the shoulder section.
- Check that every yarn end is woven in and every piece is firmly attached.
Assembly
Do face embroidery after the hair cap is on, not before. The hairline sitting even one round lower than you pictured will bury the eyebrows, and there is nothing to do about it at that point.
Pin both arms before sewing either. Both shoulders should sit at the same height and the same distance from the neck. Stand the doll upright and look at her from the front at eye level with the pins in place. Arms positioned even one round off read as a permanent shrug.
Order: arms first, hair cap second, face embroidery last.
Stuffing Guide
Firm through the legs, neck and head. Those three carry the whole structure. The neck in particular wants more stuffing than feels right, because it is the joint that fails first on any floppy doll.
The torso can be slightly softer. Upper arms should stay soft enough to drape rather than point outward. Over-stuffing signals: the head stitches spread and fiberfill shows through as pale patches, and a hard leg meeting a soft hip creates a visible bulge at the thigh join. Add stuffing in small pinches rather than handfuls at every stage.
Troubleshooting
- If the head flops forward, the neck is under-stuffed or the neck decreases narrowed too fast over too few rounds. A short length of pipe cleaner inserted through the neck into the body and head can sometimes rescue a doll that is already closed.
- If there is a gap at the crotch, the chain bridge between the legs was too loose or too long. Close it from the inside with a few whip stitches in matching yarn.
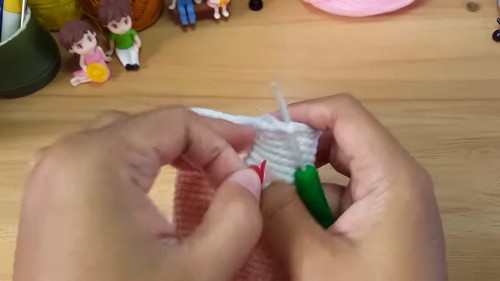
- If stuffing shows through the fabric, the hook is too large. For the current doll, line the inside of the head with a thin layer of white or matching yarn scraps before filling with fiberfill.
- If one leg is longer than the other, count the rounds on both before joining. Almost always a missed round rather than a tension issue, and it is far easier to catch before the legs are attached.
- If the hair cap slides, sew it down at the crown, the forehead, and both sides above the ears. Four anchor points hold it. One does not.
- If arms stick out sideways, they are over-stuffed in the upper third. Pull some stuffing out and reattach.
- If the face looks wrong but you cannot say exactly why, the eyes are almost certainly set too high.
Yarn Substitution and Size Scaling
Cotton gives the crispest stitch definition and the firmest doll, which is why most doll patterns assume it. Acrylic is softer and easier on the hands but fuzzes at joins over time. Keep the weight the same if you swap and expect a small size shift.
To scale the doll, change the hook and yarn weight rather than the stitch counts. DK yarn with a 2.5 mm hook produces a noticeably smaller doll from the same instructions. Chunky yarn with a 5 mm hook makes a larger one but needs proportionally more stuffing than you would guess.
Colour and Customisation Ideas
Contrast feet in a shoe colour are the fastest way to make a plain doll look finished. A two-round band at the ankle in the same shoe colour reads as a sock without any additional work. For hair, mixing two closely related shades in the strands gives depth that a single flat colour never achieves. Work the cap in a near-match to the strands rather than an exact match: when strands part, a near-match disappears into the look, where an exact match reads as obviously synthetic.
Toy Safety
Safety eyes present a choking hazard for children under three. Embroider instead. Check all seams and attachment points before gifting and periodically if the doll is a played-with toy rather than a shelf piece.
FAQ
This pattern has no stitch counts. How do I actually use it? Pair it with a standard amigurumi doll pattern that does have counts and use the construction order and checkpoints here as your guide to how the pieces should look and feel at each stage. The two work well together.
The original pattern says to add the safety eyes at assembly, after the head is closed. Can I really not do it then? You cannot. The washers press on from inside, which means the head has to be open. This is flagged in the pattern and the safety eye section above. Set them during Step 2 before the crown closes.
My doll’s neck keeps going soft after a while. What can I do? Pack the neck harder than feels right the first time. Fiberfill compresses with handling and a neck that feels correct right after closing will feel floppy within a few weeks of play. A pipe cleaner inside the neck, bent into a U shape anchored into the body, solves the long-term problem.
Can I add clothes to this doll? The construction works well under clothes because the body has clean lines without protruding features to catch on fabric. Simple skirts and tunics slip on easily. The hair cap is the one thing to account for: any hat or hood needs to sit over it.


