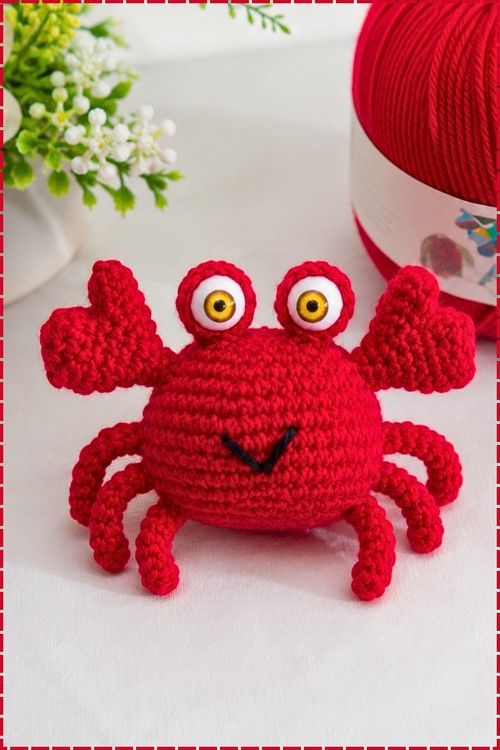
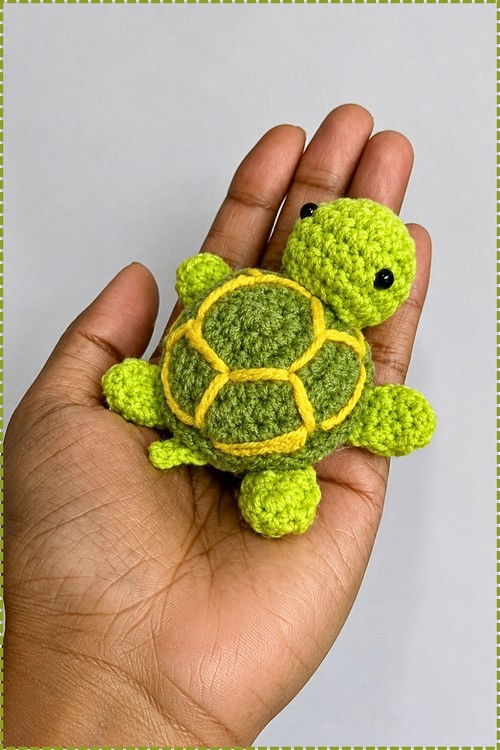
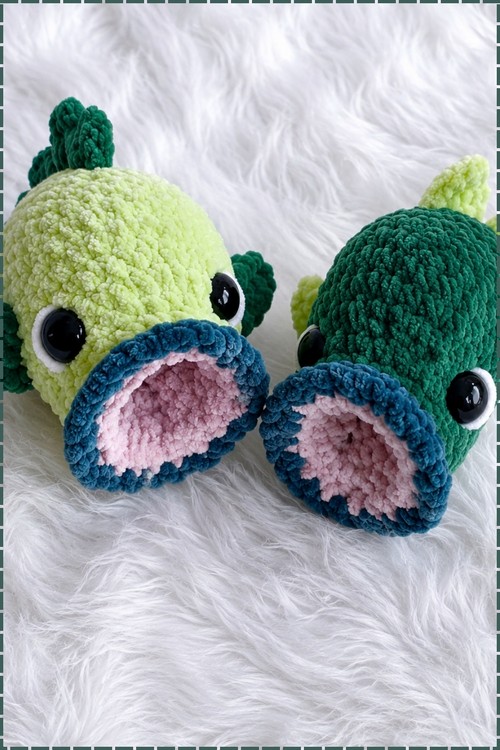
Palms close right around a crochet mini shark this size, which is why they end up as pocket comfort toys. Chenille yarn does the soft texture on its own, and the body stays one round shape with the fins added last.
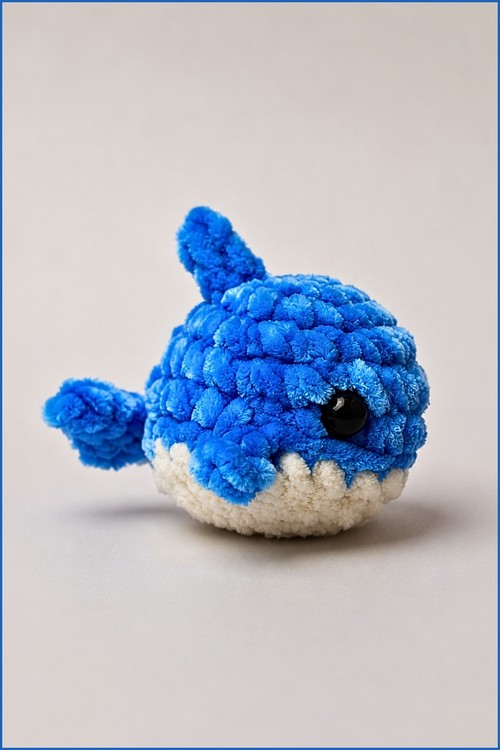
Chenille yarn gives this crochet mini shark its plush ridged surface, with the blue pile thick enough to hide the stitch definition entirely. The body rounds into a single ball shape, a cream belly wraps the underside and mouth, and the dorsal fin, tail and one side fin sit close against the body. Work chenille on a hook smaller than the label suggests, because the pile hides gaps until the stuffing pushes through and then it is too late.
Crochet Mini Shark
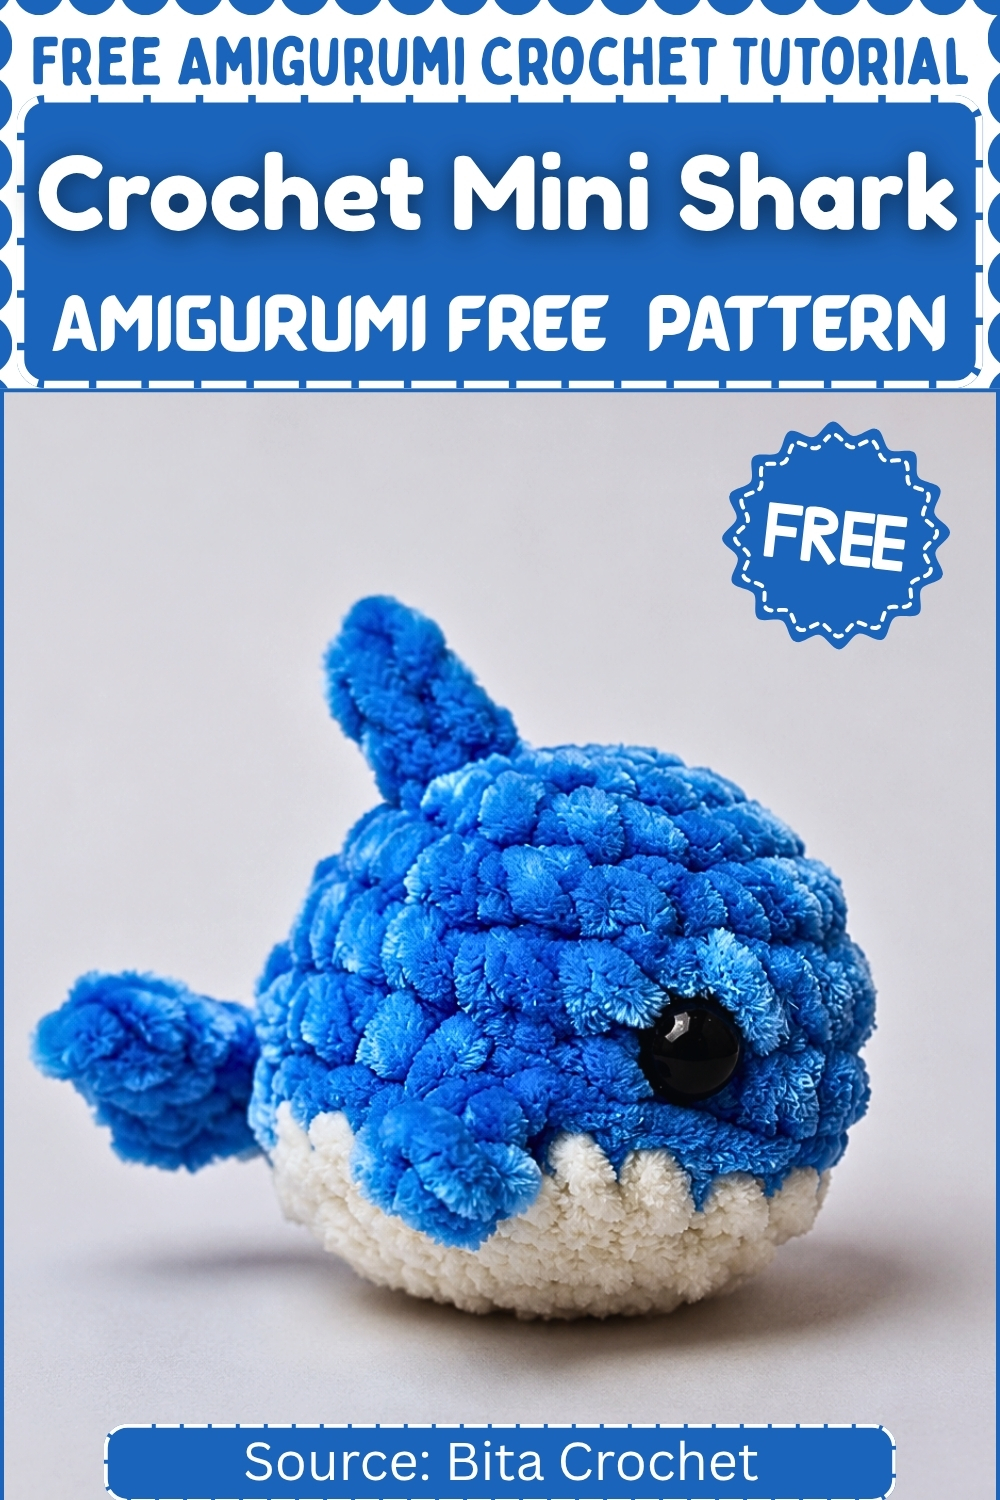
Blue chenille against a cream belly is a simple two-color construction that works especially well at this scale because the contrast is bold enough to read clearly without any additional detailing. The pattern keeps the piece beginner-accessible by using basic shaping throughout, so the chenille texture carries most of the visual interest. Fast to complete and easy to replicate, it is the kind of make that naturally leads to crocheting a second one before the first is even finished.
Pieces
- Body × 1
- White Belly Patch × 1
- Top Fin × 1
- Side Fins × 2
- Tail Fins × 2
Total: 6 pieces, all fins made from the same pattern.
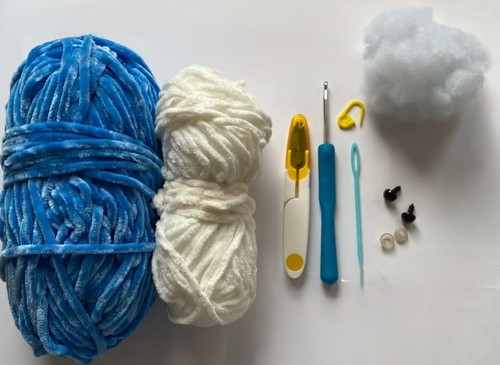
Materials
- Blue or grey plush yarn
- White yarn
- Black yarn or safety eyes
- Crochet hook (sized to your plush yarn — typically 4–5mm)
- Polyester fiberfill
- Yarn needle
- Scissors
Abbreviations: MR = magic ring · sc = single crochet · inc = increase · dec = decrease · st = stitch · sl st = slip stitch
Fins
All five fins use the same five-round pattern. Make them all before touching the body — comparing them side by side is the fastest way to catch a tension inconsistency before it matters.
- Round 1: MR, 4 sc — 4 sts
- Round 2: inc around — 8 sts
- Round 3: sc around — 8 sts
- Round 4: [1 sc, inc] around — 12 sts
- Round 5: sc around — 12 sts
By round 3, the fin should be a small flat disc. If it’s curling upward into a cup shape, your tension is too tight.
Flatten the fin. Sc across the opening to close. Fasten off.
The top fin and the two tail fins can have their yarn ends left longer for sewing. Side fins the same. None are stuffed.
If you’re still learning how to read crochet patterns, no stress! Follow the video tutorial below and use the written pattern below as you get more comfortable!
Body
Use blue or grey plush yarn. Work in continuous rounds; mark the start of each.
- Round 1: MR, 6 sc — 6 sts
- Round 2: inc around — 12 sts
- Round 3: [1 sc, inc] around — 18 sts
- Round 4: [2 sc, inc] around — 24 sts
- Round 5: [3 sc, inc] around — 30 sts
- Rounds 6–12: sc around — 30 sts
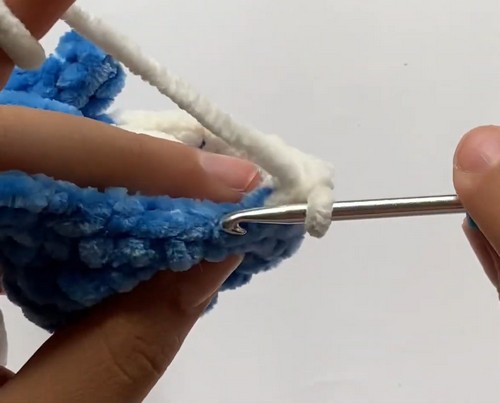
By round 7, you should have a clear tube with a domed nose end. The sides should be vertical, not flaring.
Safety eyes go in now, during the straight rounds, before the opening starts to close. Place them on the upper front of the body, slightly wider apart than feels natural. For children under three, embroider the eyes instead with black yarn — safety eyes are not suitable for that age group regardless of how securely they are attached.
- Round 13: [3 sc, dec] around — 24 sts
- Round 14: sc around — 24 sts
- Round 15: [2 sc, dec] around — 18 sts
Begin stuffing now. Use small amounts at a time and push filling toward the nose first.
- Round 16: [1 sc, dec] around — 12 sts
- Round 17: dec around — 6 sts
At round 17 the tail end should taper to a blunt close. If it’s puckering outward, there’s too much stuffing near the back — pull some out before finishing.
Fasten off and close.
White Belly Patch
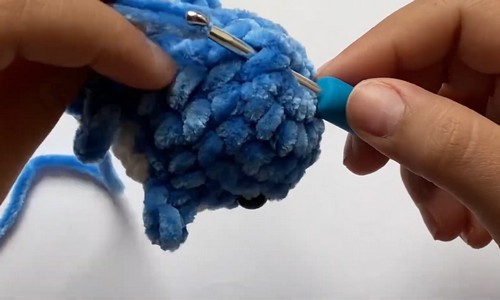
Use white yarn. Worked flat in rows.
- Foundation: Chain 8
- Row 1: sc in 2nd chain from hook, sc across — 7 sts
- Row 2: ch 1, turn, sc across — 7 sts
- Row 3: ch 1, turn, inc, sc across, inc in last st — 9 sts
- Rows 4–6: ch 1, turn, sc across — 9 sts
Fasten off, leaving a long tail. Pin the patch centred on the lower front of the body before sewing. The patch should span roughly the middle third of the body length.
After row 3, the patch should be a slight rectangle with wider ends. If it looks like a square, recheck the increases.
Mouth
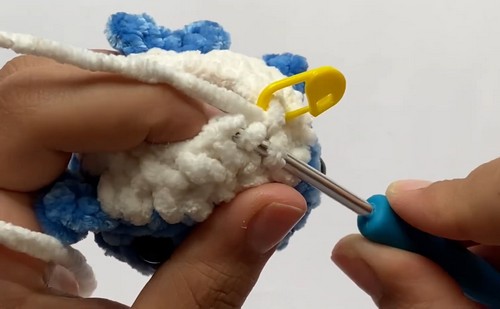
Use black yarn. Embroider a small curved smile under the eyes, centred. Keep it short — a few stitches in a gentle arc. On plush yarn, err toward larger stitches than you think you need; small ones sink into the pile and disappear.
Assembly
- Sew the belly patch to the lower front first — it anchors your orientation for everything else
- Sew the top fin to the upper centre of the body, behind where the eyes sit
- Sew the side fins at equal height on both sides, angled slightly backward
- Sew the tail fins to the back end, angled slightly apart rather than flat against each other
Pin everything before sewing. View the shark from the front and from above before committing — side fin height mismatches are much easier to spot from the front than from the side.
Stuffing
The body needs firm stuffing through the nose and middle sections. That’s what maintains the rounded silhouette once the piece is handled. Ease off toward the tail end — over-packed decrease rounds distort into a lumpy point rather than a clean taper. The fins hold their shape through the sc-across-the-opening close; they don’t need stuffing and shouldn’t have any.
Toy Safety
Embroider eyes for any toy going to a child under three. Reinforce fin attachment stitches, especially the side fins — these get pulled. Weave all ends in twice and trim short.
FAQ
All five fins use the same pattern. How do I tell them apart once they’re made? You don’t need to — they’re identical in construction. Tail fins get angled slightly outward when sewn, which is a placement choice, not a shape difference. Just make five and sort placement at assembly.
The belly patch is wrinkling after I sew it on. What went wrong? Usually the sewing tension is too tight. Plush yarn has a lot of stretch, and pulling the seam yarn firmly creates puckering on a flat piece attached to a curved surface. Re-sew with looser tension and a slightly longer stitch.
Can I skip the belly patch? Yes, and an all-grey or all-blue shark reads cleanly without it. The patch is a detail, not structural. If you do include it, the colour contrast between body and patch matters more than the exact shape — low contrast makes it almost invisible in photos.
Pattern Note
The pattern does not specify a round for safety eye placement — it lists eyes under a separate section after the body pattern rather than within the body rounds. Place eyes during rounds 6–11, while the opening is still wide enough to work comfortably. Do not wait until after stuffing begins at round 15; by then access is limited and repositioning is not possible.
The belly patch row count produces a 9-stitch-wide rectangle, but the pattern gives no explicit finished dimensions. Placement on the body is by eye. This is fine in practice but worth knowing before you start.