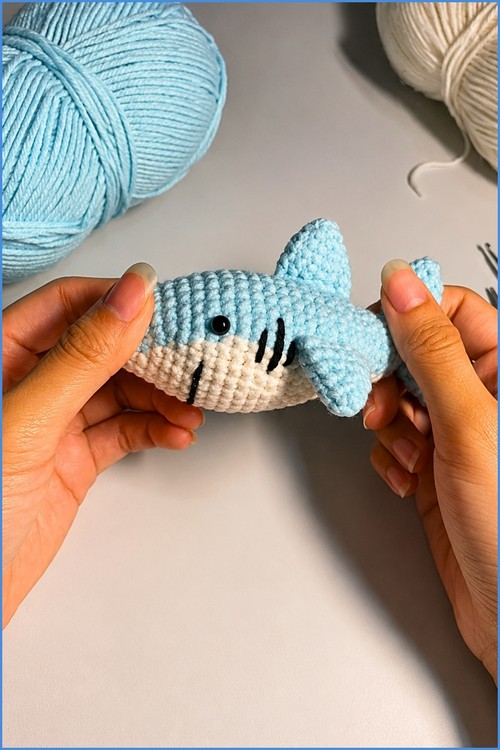
Hug the crochet tiger shark plush once and you will see why kids carry it everywhere: it measures 20 to 28 cm, with a light blue back and a creamy white belly. Steel grey, navy or teal colour swaps let you build a whole shark family for an ocean themed bedroom.
Among ocean amigurumi, shark patterns tend to cluster around the same few species, which makes a crochet tiger shark pattern free amigurumi design a genuinely useful addition to the lineup. The light blue and cream two-tone coloring gives this one a softer look than most shark patterns while still reading clearly as the real animal.
Crochet Tiger Shark
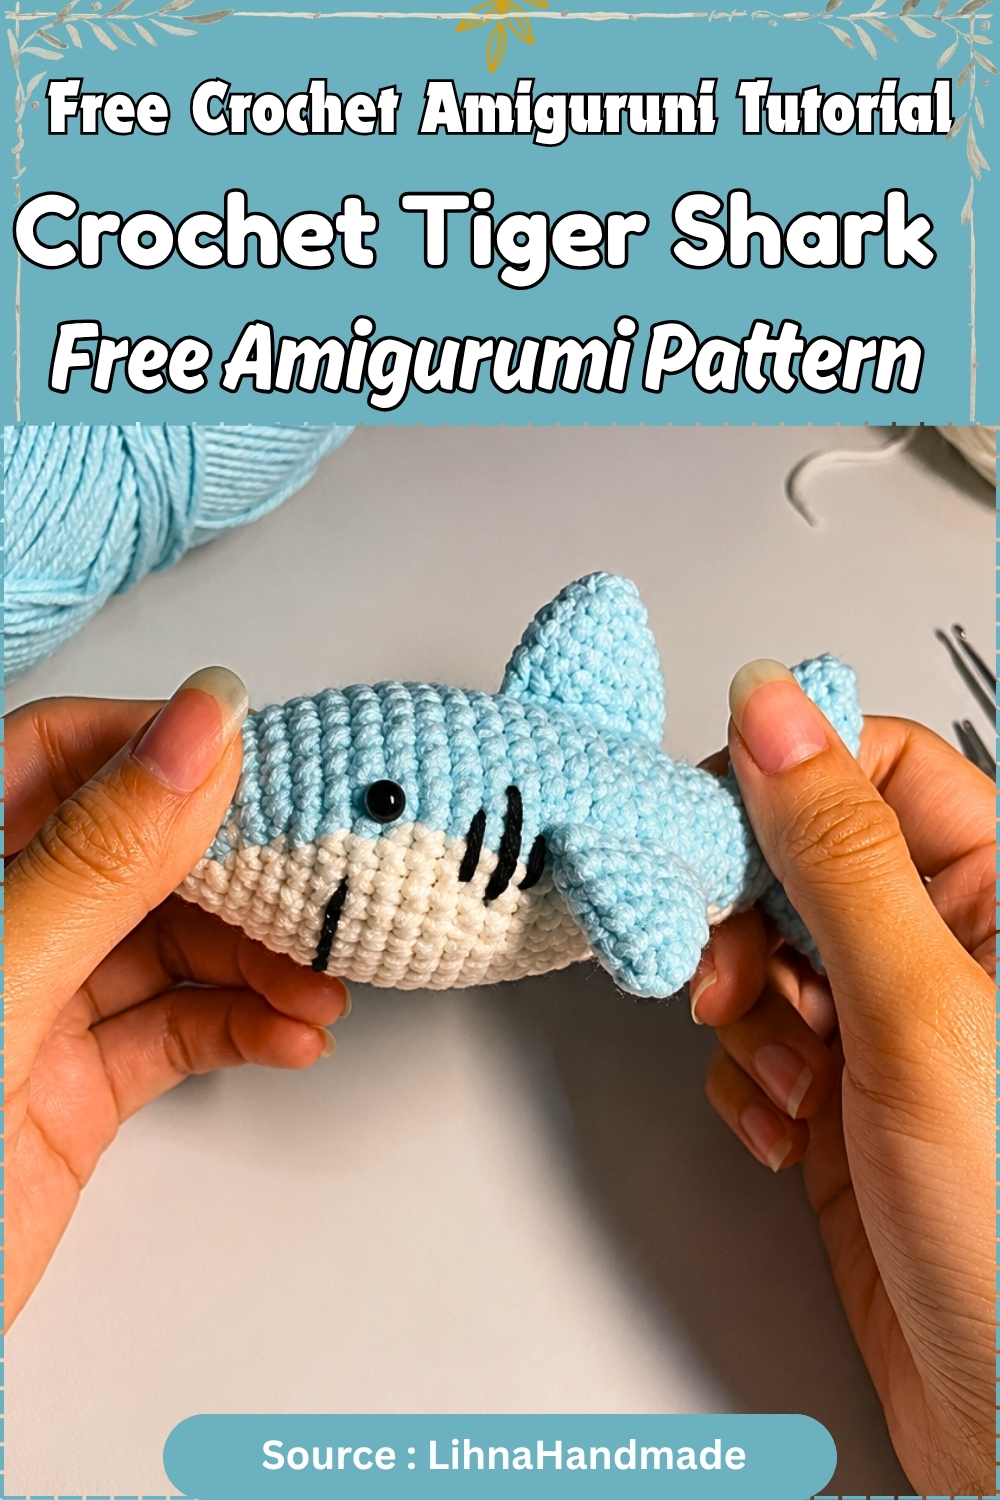
The embroidered gill lines are a small detail that adds a surprising amount of realism to an otherwise simple construction. Body, belly, and fins are all worked separately before assembly, which keeps each piece easy to manage and makes the jointing process straightforward even for less experienced crocheters. Compact enough to finish in a single session, it sits well alongside other ocean amigurumi as part of a larger set.
Colour and Customisation Ideas
Before the pattern, a moment to think about colour — because the belly panel is the centerpiece of this shark and your choices here define the whole finished look.
The classic pairing is blue body with white belly, which reads immediately as a tiger shark silhouette. But the construction supports alternatives. A steel grey with cream belly gives a more realistic great white feel. Deep navy with a pale yellow belly produces something almost graphic and toy-like. If you want a fantasy shark, try teal body with soft pink underneath — unexpected but cohesive. The only constraint is contrast: the belly needs to read as distinct from the body or the whole color-change effort disappears. Whatever you pick, buy more of the body color than you think you need. The belly yarn consumption is relatively small.
Pattern Note — Important
- This pattern is Part 1 of a 2-part series and is adapted from a video tutorial. The written pattern provides round-by-round stitch counts through Round 20. However, Rounds 4–14 do not specify exact per-round stitch counts or the precise number of blue versus white stitches per round — those details are carried in the video’s visual demonstrations. This post presents what the written pattern provides faithfully. For color transition placement within each round, the companion video is essential alongside this written reference.
- Additionally, safety eye timing and fin/assembly instructions are not included in Part 1 — these will appear in Part 2. See the Safety Eye Timing section below for standard guidance in the meantime.
Materials & Tools
Yarn
- Blue yarn — main body color, worsted or DK weight recommended
- White yarn — belly panel
Hook
- Sized to your yarn. Worsted weight typically pairs with a 4mm–5mm hook; DK with 3.5mm–4mm.
Other supplies
- Polyester fiberfill stuffing
- Yarn needle
- Scissors
- Stitch marker
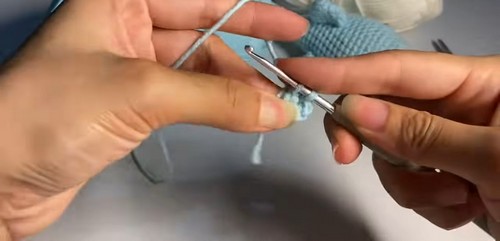
Quick Facts
- Finished size: Approximately 20–28cm / 8–11 inches (yarn weight dependent)
- Difficulty: Intermediate — color changes required every few rounds
- Time: 4–8 hours for Part 1 of 2
- Piece count (Part 1): 1 main body worked nose to tail
- Key technique: Two-color belly panel worked in continuous rounds
Pieces List
Part 1 covers:
- Main body — 1 piece (Rounds 1–20, worked nose-forward)
Part 2 will cover:
- Fins (dorsal, pectoral, tail) — quantities per Part 2
- Final body closure and assembly
Colour and Belly Construction — 3 Tips Only
- Tip 1 — Cut rather than carry over long stretches. The pattern specifically advises against carrying yarn when the gap between color sections is long. Cutting and rejoining takes a minute longer, but it keeps the inside of the shark clean and prevents the white belly from showing shadow lines from carried blue yarn beneath the surface.
- Tip 2 — Switch color on the final pull-through. When you reach a color change point, complete the current stitch normally until the last yarn over, then pull through with the new color. This creates a clean transition. Switching one stitch late produces a visible dot of the wrong color at the seam line.
- Tip 3 — Check belly alignment from the front every two rounds. The belly panel should stay centered underneath the shark throughout. Small drift is easy to correct early and almost impossible to correct late. Set the work down, look at it head-on, and confirm the white section is where you want it before continuing.
Safety Eye Timing
- Safety eye instructions are not part of this written pattern and will likely appear in Part 2. As standard amigurumi guidance: insert safety eyes before the body is fully closed — once decrease rounds have narrowed the opening significantly, the washer backing can no longer fit through. Place eyes before you’re past roughly 70–80% of your final decrease section.
- For toys going to children under 3: Skip safety eyes. Embroider eyes after stuffing and closing using black yarn with tight satin stitches. No loose parts, nothing to detach.
The Pattern — Main Body (Rounds 1–20)
Work in continuous rounds. Place a stitch marker at the start of each round and move it up as you go. Blue yarn throughout Rounds 1–3; white belly panel introduced in Round 4.
- Round 1: Magic ring, 6 sc into the ring. (6 sts)
- Round 2: [1 sc, 1 inc] repeat 3 times. (9 sts)
- Round 3: [2 sc, 1 inc] repeat 3 times. (12 sts)
Just starting out with crochet? The video tutorial below is a great place to begin, or challenge yourself with the written pattern below!
Shape checkpoint — after Round 3: A small flat circle, 12 sts. The nose of the shark. It should sit completely flat with a tight center. If the center hole is visible, pull the magic ring tail more firmly before proceeding.
- Round 4: Begin incorporating white yarn for the belly. This round alternates blue and white segments with increases. Follow the companion video for exact color placement within the round.
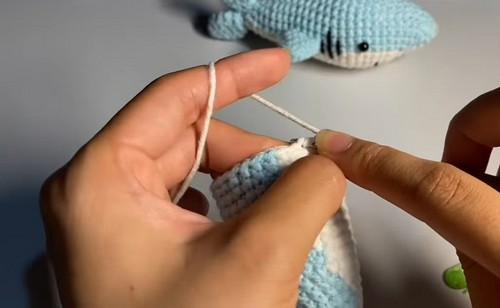
- Rounds 5–8: Continue increasing the body diameter with specific color-switching intervals maintaining the white belly section. By the end of Round 7, you will have 24 stitches.
Shape checkpoint — after Round 7: A rounded disc, 24 sts, with the white belly section visible on one side. The blue should wrap cleanly around the top and sides. If the white is drifting toward the side rather than sitting centered on the underside, correct alignment now before it compounds.
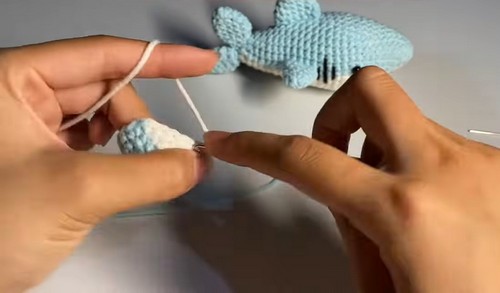
- Rounds 9–14: Continue with sc and inc combinations, maintaining color-switching for the belly throughout. Exact stitch sequences per round are in the companion video.
Shape checkpoint — after Round 14: The body should now have clear depth and a rounded head shape. Hold it with the white section facing you — the belly should look like a centered oval panel, not a crescent shape tilted to one side.
- Rounds 15–20: Begin tapering the body using dec stitches to shape toward the tail. By the end of Round 20, you will have 24 stitches.
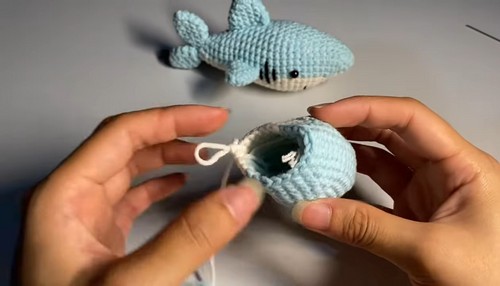
Shape checkpoint — after Round 20: The body is narrowing at the back end. 24 sts. The overall silhouette when viewed from the side should show a clear taper from the widest point in the middle toward the open tail end. This is the point where stuffing begins.
Stuffing Guide
Begin stuffing around Round 20, before the opening narrows further in Part 2.
Push fiberfill into the head area first, working in small handfuls rather than one large piece. The nose should feel firm and hold its rounded shape without pressure. The center body should be solid but not taut — you’re aiming for a shape that holds, not a drum. Near the color transition zones, be careful: overstuffing pushes the white belly section outward unevenly and distorts the edge line you worked to keep clean. Fill the belly area with moderate firmness and check the front of the shark after every few handfuls to confirm the white panel is still sitting symmetrically.
Assembly
Full assembly instructions will be in Part 2. Fin placement, closure, and detail stitching are not covered in this written pattern. Keep the tail end open and lightly marked with a stitch holder or scrap yarn until Part 2.
FAQ
- Do I really need to watch the video for this pattern? For Rounds 1–3, the written instructions are complete. From Round 4 onward, the exact breakdown of blue versus white stitches within each round is not in the written pattern — you’ll need the video for those transitions. The written post handles what it can; the video handles the rest.
- My belly panel keeps drifting off-center. What’s happening? Almost always a count issue at the color change point. When you switch from white back to blue (or vice versa), it’s easy to work one stitch too many or too few before switching, which shifts the whole panel sideways. Count where your color starts and ends at the end of each round and compare it to the previous round.
- Can I use acrylic yarn for this? Yes, and it’ll work fine. The pattern doesn’t specify fiber — standard acrylic worsted is the most practical choice. Avoid anything too stretchy or the color transitions can look uneven under tension.
- This is Part 1 of 2 — should I stop at Round 20 or keep going? Stop at Round 20 and begin stuffing as directed. Part 2 picks up from there for the tail shaping, fins, and finishing. Having the body stuffed and ready makes Part 2 faster to work through.
- The oddly satisfying thing about this pattern: the belly panel looks completely wrong until about Round 10. Before that it just looks like a small blue circle with a smudge of white on one side. Then suddenly the shark shape clicks into place and it’s obvious what you’re making. Resist the urge to recount obsessively in the early rounds — trust the process and let the shape emerge.