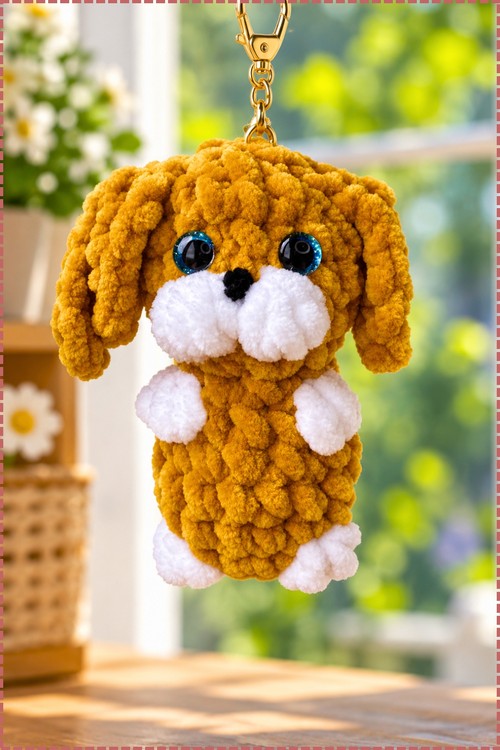
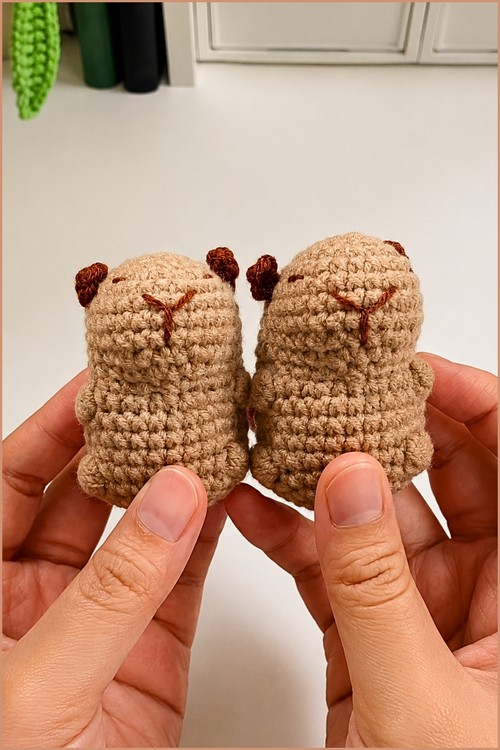
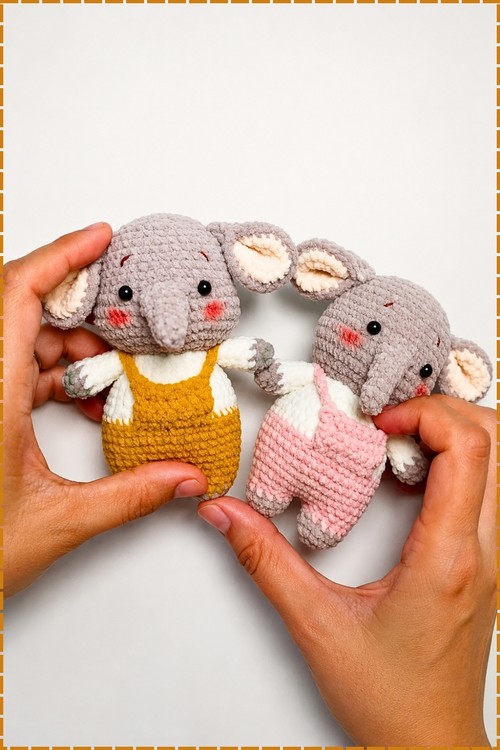
The sweater is the whole thing. A plain crochet bear is fine; a bear in a tiny fitted sweater is the one people stop scrolling for. The amigurumi sweater works up separately and slips on and off, so you can make a few and change his outfit whenever the mood strikes. Bear body uses standard amigurumi shaping, nothing advanced. Free pattern covers both pieces — grab it and dress your bear.
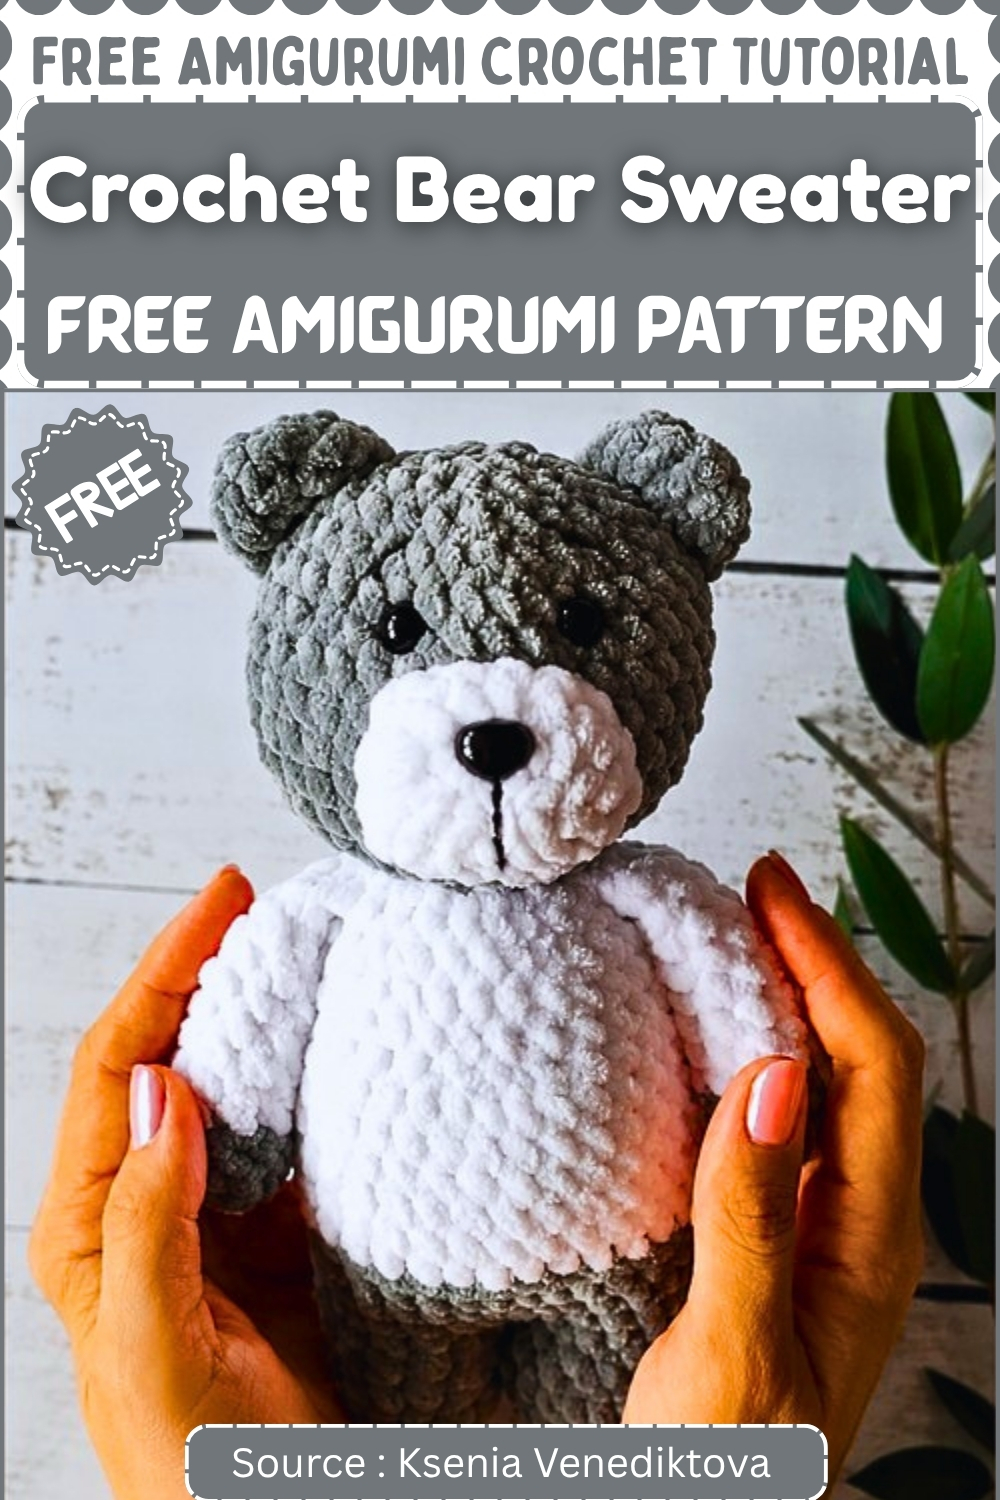
Gray and white chenille yarn together produce one of the most classic color combinations in amigurumi and this teddy bear pattern makes the most of both. The contrast between the soft white body and the textured gray head gives the finished bear a cozy dressed up look without needing a separately crocheted garment.
Crochet Bear in Sweater
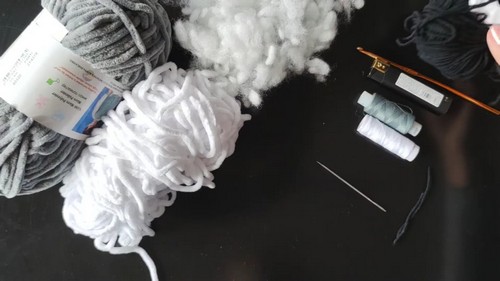
Materials & Tools
Yarn:
- Plush or velvet yarn in your Main Color (MC) — approximately 40g — for the body, head, arms, ears, and tail
- Plush or velvet yarn in your Additional Color (AC) — approximately 30g — for the sweater section of the body and the color-block cuffs on the arms
- A small amount of black cotton yarn for the embroidered eyebrows and facial details
Hook: 4.0 mm
Eyes: 10 mm safety eyes
Nose: Plastic craft nose, or stitch one on with black yarn
Other supplies:
- Polyester fiberfill stuffing
- Stitch marker
- Tapestry needle
- Scissors
- A lighter — optional, for melting the plastic safety eye posts to add extra security
Abbreviations
- MC — Main color
- AC — Additional color
- sc — Single crochet
- inc — Increase (2 sc worked into the same stitch)
- dec — Decrease (invisible amigurumi decrease recommended)
- BLO — Back loops only
- sl st — Slip stitch
- st / sts — Stitch / stitches
Difficulty & Time
This bear sits at a confident beginner to easy intermediate level. All the stitches are basic — single crochet, increases, and decreases — and the sweater effect is achieved through a simple color change and back-loop-only round rather than any complicated technique. The construction is continuous rounds throughout, with arms attached directly to the body in Round 21 rather than sewn on separately. The face and assembly stage take the most patience. Set aside two to three evenings and you’ll have a finished bear worth gifting.
Tips
- Use a stitch marker from the very first round and never skip moving it. Plush and velvet yarns hide stitch definition more than almost any other fiber, and on a dark color you can lose an entire round without realizing it. A locking marker placed in the first stitch of every new round and moved faithfully upward is the only reliable method — treat it as non-negotiable.
- Stuff in layers, not all at once. The ideal moment to add fiberfill is as each section closes — legs and lower body before Round 11, body before Round 17, the full torso before Round 22, and the head incrementally from Round 33 onward. Waiting until the opening is nearly shut forces you to push stuffing through a tight gap, which creates lumps and stretches the stitches out of shape at the worst possible moment.
- Place the safety eyes before Round 32. Once you get past Round 31 the opening narrows quickly and you lose comfortable access to the inside of the head. Set both eyes between Rounds 30 and 31 with exactly 5 stitches of space between them, check their level from the front and from above, then lock the backings before continuing. If you are using a lighter to melt the posts for extra security, do this outside or in a well-ventilated space and let the plastic cool completely before handling.
- Keep the neck stiff when you stuff. Round 22 decreases sharply to create the neck, and the head then expands off this narrow base. If the neck is loosely stuffed the head will wobble and tilt forward over time. Pack the neck cavity firmly right after Round 22 before the new head rounds begin to expand upward.
- Pin everything before sewing a single stitch. The ears, snout, and tail all need to be pinned in place and checked from the front, both sides, and directly above before any permanent attachment. On a plush yarn the surface looks uniform from every angle, which makes it easy to misjudge placement. Take five minutes with straight pins before you pick up the needle — it makes an enormous difference to the finished look.
- The invisible decrease is worth learning for this yarn. Standard sc2tog creates a small visual gap that is much more obvious on velvet and plush yarn than on smooth acrylic. The invisible decrease — insert through the front loops only of two consecutive stitches, yarn over, pull through both loops, complete as a normal sc — stays almost invisible even on the closest inspection.
The Pattern
Arms (Make 2)
Start with Main Color (MC).
Round 1:
- Make a magic ring
- Work 6 sc into the ring
- Pull the ring closed tightly
Round 2:
- Work 1 inc into the first stitch
- Work 1 sc into the next stitch
- Work 1 inc into the next stitch
- Work 1 inc into the next stitch
- Work 1 sc into the next stitch
- Work 1 inc into the last stitch
Never read a crochet pattern before? No problem! The video tutorial below is perfect for beginners, or give the written pattern below a try!
Round 3:
- Work 10 sc around evenly
- On the very last stitch of this round, do not complete it in the usual way — instead, use this final pull-through to draw your Additional Color (AC) yarn through, completing the stitch in the new color
- This is your color change point, and it creates the clean cuff line that reads as a sweater sleeve
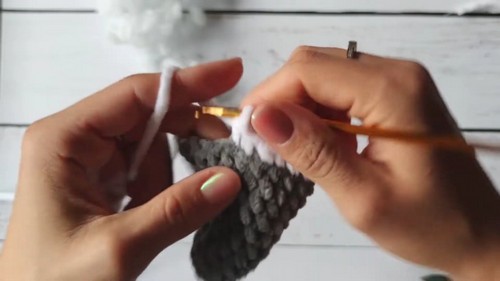
Round 4:
- Working in back loops only (BLO) for the entire round, work 10 sc around
- Working BLO at the color change round creates a visible ridge that sharpens the cuff edge and makes the color transition look intentional and neat
Rounds 5, 6, 7, 8, and 9:
- Work 10 sc around evenly in each round
- Continue in Additional Color, no shaping changes across all 5 rounds
After Round 9, stuff the lower portion of the arm lightly with fiberfill — just enough to give the paw a soft, rounded feel. The upper section should remain unstuffed and flat so it lies flush against the body when attached in Round 21.
Round 10:
- Work 3 sc
- Work 1 dec over the next 2 stitches
- Work 3 sc
- Work 1 dec over the next 2 stitches
Finishing the arm:
- Pinch the top opening of the arm flat so both edges line up evenly
- Working through both thicknesses together, work 2 sc across the folded edge to seal it closed
- Work 1 sl st to secure
- Cut the yarn, leaving a short tail
- Weave the tail through the stitches to hide it completely — the arm is finished and ready to be attached in Round 21 of the body
Legs (Make 2)
Start with Main Color (MC).
Round 1:
- Make a magic ring
- Work 6 sc into the ring
- Pull the ring closed tightly
Round 2:
- Work 1 inc into every stitch around — 6 increases total
Rounds 3, 4, 5, and 6:
- Work 12 sc around evenly in each round
- No shaping changes across all 4 rounds
Finishing Leg 1:
- Work 1 sl st into the next stitch to close the round
- Cut the yarn and weave in the tail
- Set Leg 1 aside — you will pick it up again in Round 7
Finishing Leg 2:
- Do not cut the yarn after Round 6
- Do not sl st to close — leave the working yarn live on the hook
- You will use this yarn directly to join both legs together in the next step
Joining the Legs & Lower Body
Round 7 — Joining the legs:
- From Leg 2 with the live working yarn still on the hook, chain 1 to create the bridge between the legs
- Insert your hook into the slip stitch of Leg 1 — the stitch you finished that leg with — and work 1 sc to connect them
- Work 12 sc all the way around Leg 1
- Work 2 sc into the two spaces along the joining chain — one sc into each chain space
- Work 12 sc all the way around Leg 2, returning back toward where you started
- Work 2 sc into the two spaces on the opposite side of the joining chain
- Place your stitch marker here to mark the new start of the round
- You are now working in one continuous round that travels through both legs
Round 8 — Widening the stomach:
- Work 11 sc
- Work 2 inc back to back — these two increases sit at the center front of the body and widen the stomach
- Work 11 sc
- Work 2 inc back to back — these sit at the center back
- If your stitch marker has drifted from where it should sit, adjust its position now so the increases land symmetrically at front and back
Rounds 9 and 10:
- Work 32 sc around evenly in each round
- No shaping changes across both rounds
Round 11 — Color change to sweater:
- On the very last stitch of Round 10, draw AC yarn through on the final pull-through to make the color change
- Working in back loops only (BLO) for the entire round, work 32 sc around in AC
- This BLO round creates the clean horizontal ridge that reads as the sweater’s lower hem edge
Rounds 12, 13, 14, 15, and 16:
- Work 32 sc around evenly in AC in each round
- No shaping changes across all 5 rounds
After Round 16, firmly stuff the legs and the entire lower half of the body. Pack the leg cavities first, pushing fiberfill down into the feet with the back of your hook, then fill the lower torso. The weight at the base is what allows the finished bear to sit upright without flopping forward.
Upper Body & Attaching the Arms
Round 17 — Shaping the upper body:
- Work sc to the center front of the round
- Work 2 dec back to back at center front — these pull the stomach in and create the shoulder-width transition
- Work sc to the center back of the round
- Work 2 dec back to back at center back
- Work sc to finish the rest of the round
- You have decreased 4 stitches total this round
Rounds 18 and 19:
- Work 28 sc around evenly in each round
- No shaping changes across both rounds
Round 20:
- Work the combination of 5 sc followed by 1 dec a total of 4 times around
Round 21 — Attaching the arms:
- Hold the first completed arm alongside the body with the color-change cuff seam facing toward the back of the bear
- Working through both the arm and body layers together at the same time, work 4 sc — these 4 stitches pass through the flat sealed edge of the arm and the corresponding body stitches simultaneously, locking the arm directly to the torso
- Work 8 sc across the chest stitches with no arm attachment
- Hold the second arm in position on the opposite side, cuff seam facing back, and work 4 sc through both layers to attach it
- Work the remaining sc to complete the round
- Move your stitch marker to the new end of this round so the neck section begins cleanly from the correct position
Neck & Head
Round 22 — Forming the neck:
- Work 1 dec into every pair of stitches all the way around — 12 decreases total
- This round closes sharply to create the narrow neck
Immediately after completing Round 22, firmly pack the body with fiberfill all the way up through the neck cavity. The neck needs to be solidly stuffed at this stage — the head will expand off this base, and a soft neck joint leads to a head that sags or tilts forward with time and handling.
Round 23 — Color change back to MC and beginning the head:
- Draw MC yarn through on the final pull-through of the last stitch in Round 22 to switch back to your main color
- Work 1 inc into every stitch around — 12 increases total
- The head now begins expanding off the narrow neck
Round 24:
- Work the combination of 3 sc followed by 1 inc a total of 6 times around
Round 25:
- Work the combination of 4 sc followed by 1 inc a total of 6 times around
Rounds 26, 27, 28, 29, 30, and 31:
- Work 36 sc around evenly in each round
- No shaping changes across all 6 rounds
Place the safety eyes now, during or immediately after Round 31, while the opening is still wide enough to reach inside comfortably. Insert each 10 mm safety eye post through the fabric from the outside, between Rounds 30 and 31, leaving exactly 5 stitches of space between the two eyes. Check that both eyes sit at the same level — view from the front and from directly above before locking anything. Once satisfied, reach inside and press each washer firmly all the way down the post until it clicks. If using a lighter to melt the post tips for extra permanence, do this carefully now before continuing.
Round 32:
- Work the combination of 4 sc followed by 1 dec a total of 6 times around
Round 33:
- Work the combination of 3 sc followed by 1 dec a total of 6 times around
Begin adding fiberfill to the head at this point. Add it in small, pulled-apart pieces rather than one large clump — distribute it to the sides and the back of the head first, then fill the center. Keep the neck area supported and firm.
Round 34:
- Work the combination of 2 sc followed by 1 dec a total of 6 times around
Round 35:
- Work the combination of 1 sc followed by 1 dec a total of 6 times around
Add a final top-up of fiberfill now so the head is completely firm and holds a fully round shape with no soft spots or flat sections.
Round 36:
- Work 1 dec 6 times sequentially around
Finishing the head:
- Work 1 sl st to close
- Cut the yarn, leaving a tail of approximately 15 cm
- Thread the tail onto your tapestry needle
- Pass the needle through the front loop only of each of the 6 remaining stitches, working all the way around the opening
- Pull the tail slowly and steadily to draw the opening closed into a tight, seamless circle — do not rush or the velvet pile may bunch
- Knot the tail close to the surface to secure
- Push the needle straight down through the center of the head, pull the tail taut through the body, and snip it close so the end disappears completely inside the stuffing
Ears (Make 2)
Use Main Color (MC).
Round 1:
- Make a magic ring
- Work 6 sc into the ring
- Pull the ring closed tightly
Round 2:
- Work 1 inc into every stitch around — 6 increases total
Round 3:
- Work 12 sc around evenly
- No shaping changes
Finishing the ear:
- Do not stuff the ear
- Fold it flat so both edges line up evenly
- Working through both layers together, work 4 sc across the folded edge to close it
- Work 1 sl st to secure
- Cut the yarn, leaving a tail long enough to sew the ear securely onto the head
Snout / Muzzle
Use Additional Color or white yarn.
Round 1:
- Make a magic ring
- Work 6 sc into the ring
- Pull the ring closed tightly
Round 2:
- Work 1 inc into every stitch around — 6 increases total
Round 3:
- Work the combination of 1 sc followed by 1 inc a total of 6 times around
Round 4:
- Work 18 sc around evenly
- No shaping changes
Finishing the snout:
- Work 1 sl st to close
- Leave a tail long enough to sew the snout securely to the face
Tail
Use Main Color (MC).
Round 1:
- Make a magic ring
- Work 6 sc into the ring
- Pull the ring closed tightly
Round 2:
- Work 1 inc into every stitch around — 6 increases total
Round 3:
- Work 5 dec in succession
- Work 1 sl st into the next stitch
- Leave the remaining stitches unworked — this partial round is what creates the tail’s natural rounded shape rather than a flat disc
Finishing the tail:
- Leave a tail long enough to sew the tail securely to the lower back of the body
Assembly & Face
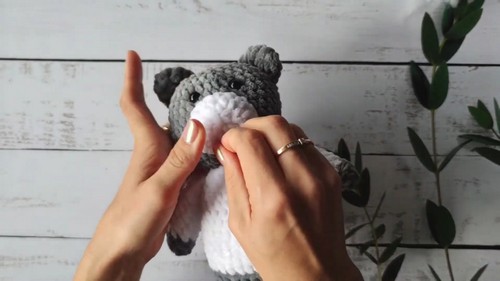
Gather every completed piece and lay them out in front of you before you pick up the needle. Check that the two ears match, the two arms match, and the two legs match. Pin the snout, ears, and tail to the body and head with straight pins, then step back and look at the bear from the front, from both sides, and from directly above before committing to any permanent placement. Sew with a strand of matching plush yarn split in half, or a strong matching thread, catching the stitches of both the piece and the body on each pass rather than just surfacing through the yarn pile. Bury every tail deep inside the center of the body and knot it discreetly so nothing pulls loose.
Eyes:
- Confirm both 10 mm safety eyes sit level between Rounds 30 and 31, with exactly 5 stitches of open space between them for a natural, forward-facing gaze
Muzzle:
- Center the snout directly beneath the eyes so it covers roughly Rounds 26 through 29
- The snout anchors the entire facial composition — once it is placed correctly, every other detail falls into position around it
- Sew all the way around the outer edge rather than just tacking a few points
Nose:
- Secure the craft nose at the upper center of the muzzle
- If embroidering instead, work a small filled triangle in black yarn using satin stitches
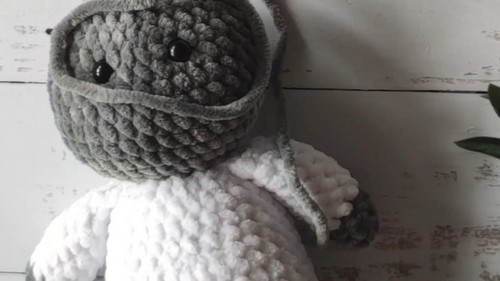
Eyebrows:
- Thread black cotton yarn onto your needle
- Embroider a short line approximately two rounds above each eye, angled very slightly upward toward the outer corners
- This gentle upward angle is what gives the bear his soft, endearing expression — flat brows read as neutral, downward-angled brows read as worried

Customization Ideas
- Color combinations: The two-color construction means swapping the palette completely takes almost no thought. A cream main color with a dusty sage sweater reads as vintage and soft. Warm tan with a rust-orange sweater feels autumnal. A classic ivory bear in a deep forest green sweater is a perennial favorite. Because the sweater color only appears from Round 11 onward on the body and on the cuff section of the arms, you only need around 30g of it — enough to experiment with even premium yarns without a large commitment.
- Size scaling: This pattern works in plush or velvet yarn on a 4.0 mm hook, producing a compact, palm-sized bear. Scaling up is straightforward — a bulkier velvet yarn on a 5.5 or 6.0 mm hook produces a substantially larger bear with the same proportions and the same pattern. Scaling down requires care on plush yarn, as a finer velvet on a 3.0 mm hook can become quite dense and difficult to close neatly, but the construction adapts well.
- Facial expression variations: The eyebrow placement is the single biggest influence on the bear’s expression. Embroider them angled upward at the outer corners for the gentle, open look described in the pattern. Moving them downward at the outer corners gives a sleepier, more sulky expression. Embroidering them flat and very close to the eyes gives a wide-eyed look. Test positions with pins and a little black thread before committing.
- Added details: A tiny crocheted scarf in a third color tied loosely around the neck covers the color-change point between the head and body and adds warmth to the character. A small embroidered pocket on the sweater section using a single strand of AC yarn is simple and charming. Button embellishments in a contrasting color sewn to the chest also read beautifully against a plush surface.
Yarn Substitution
This pattern is designed for plush or velvet yarn, and the choice of fiber genuinely matters here. The sweater-and-bear color-block effect depends on a yarn that photographs richly and holds the color change crisply — velvet polyester delivers both. You can substitute a standard smooth acrylic in the same weight, and the construction will be identical, but the finished piece will read differently: more structured and stitchy rather than soft and sculptural. If you do substitute, size down your hook by 0.5 mm to maintain a tight enough fabric that no stuffing peeks through. Cotton is not recommended for a project this size — it is heavier than velvet at the same weight, which makes the head harder to support on the neck.
FAQ
Q: My plush yarn is hiding all my stitches. How do I keep count reliably? This is the single most common challenge with velvet and plush yarn, and the answer is discipline with the stitch marker rather than any clever technique. Place a locking marker in the first stitch of every single round and move it up the moment you complete the round — not at the end of a session, but immediately, before you work another stitch. On particularly dark colorways, working near a bright lamp and touching each stitch as you count also helps. Some makers keep a tally with a small notepad or their phone rather than trying to count visually on the fabric.
Q: Can I use a different stuffing material instead of polyester fiberfill? Polyester fiberfill is the standard for amigurumi because it is lightweight, washable, hypoallergenic, and holds its shape well over time without compressing into a dense lump. If you substitute, look for hollow-fiber polyester rather than solid-fiber — it stays loftier longer. Wool stuffing works beautifully and gives the finished piece a pleasing weight, but it is not machine washable. Cotton batting compresses over time and is not recommended for a project where the head needs to stay firmly rounded.
Q: Are safety eyes with a lighter safe? I’ve never melted plastic before. Melting the plastic post of a safety eye with a lighter is a technique some makers use to permanently weld the backing to the post so it cannot work loose. It is effective but optional — the standard backing alone is sufficient for most purposes. If you do use a lighter, work outside or with good ventilation, hold the lighter no closer than 1 to 2 cm from the post, and apply heat for only one to two seconds until you see the tip soften slightly. Let it cool completely before touching. Never use this method on a toy intended for a child — safety eyes with any kind of backing are not suitable for children under three regardless of how they are secured.
Q: Can I attach the arms by sewing rather than crocheting them on in Round 21? Yes — sewn-on arms are a completely valid alternative if you prefer to finish the entire body first and attach everything in one assembly session. Complete the body through Round 24 or so to give yourself a clear finished surface to pin against, then sew each arm using the long tail left on the piece, stitching through the flat sealed edge and catching the body stitches on every pass. The crocheted-on method gives a slightly more flush attachment, but sewn arms are entirely secure and allow you to adjust positioning more freely.
Q: The snout looks too large or too small against the face. Can I resize it? The snout size relative to the face depends on your yarn weight and tension. If it reads too large, try working Rounds 1 and 2 only and leaving off Round 3 — this produces a smaller, rounder muzzle that suits a more baby-like expression. If it reads too small, add a Round 5 of even sc around with no changes to get a slightly wider disc. Plush yarn adds bulk at the edges when you sew the snout on, so it always reads slightly larger on the face than it looks as a loose piece — keep this in mind when judging size before sewing.