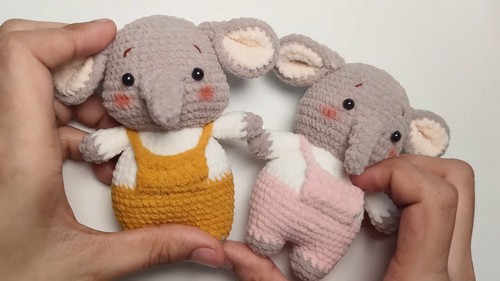
Twin siblings each get a match when the crochet elephant amigurumi comes in mustard overalls for one and pink overalls for the other. Baby showers call for something soft, and the crochet elephant with overalls brings cream ears, rosy cheeks and a chubby trunk to the gift table.
Grey worsted and one contrast colour are all this one needs. Two stubby legs join into the body with a three chain bridge, so there is no seam at the hips to sew. The head matches the body at its widest point, so the finished toy has a solid, top heavy toddler shape.
Crochet Elephant Amigurumi
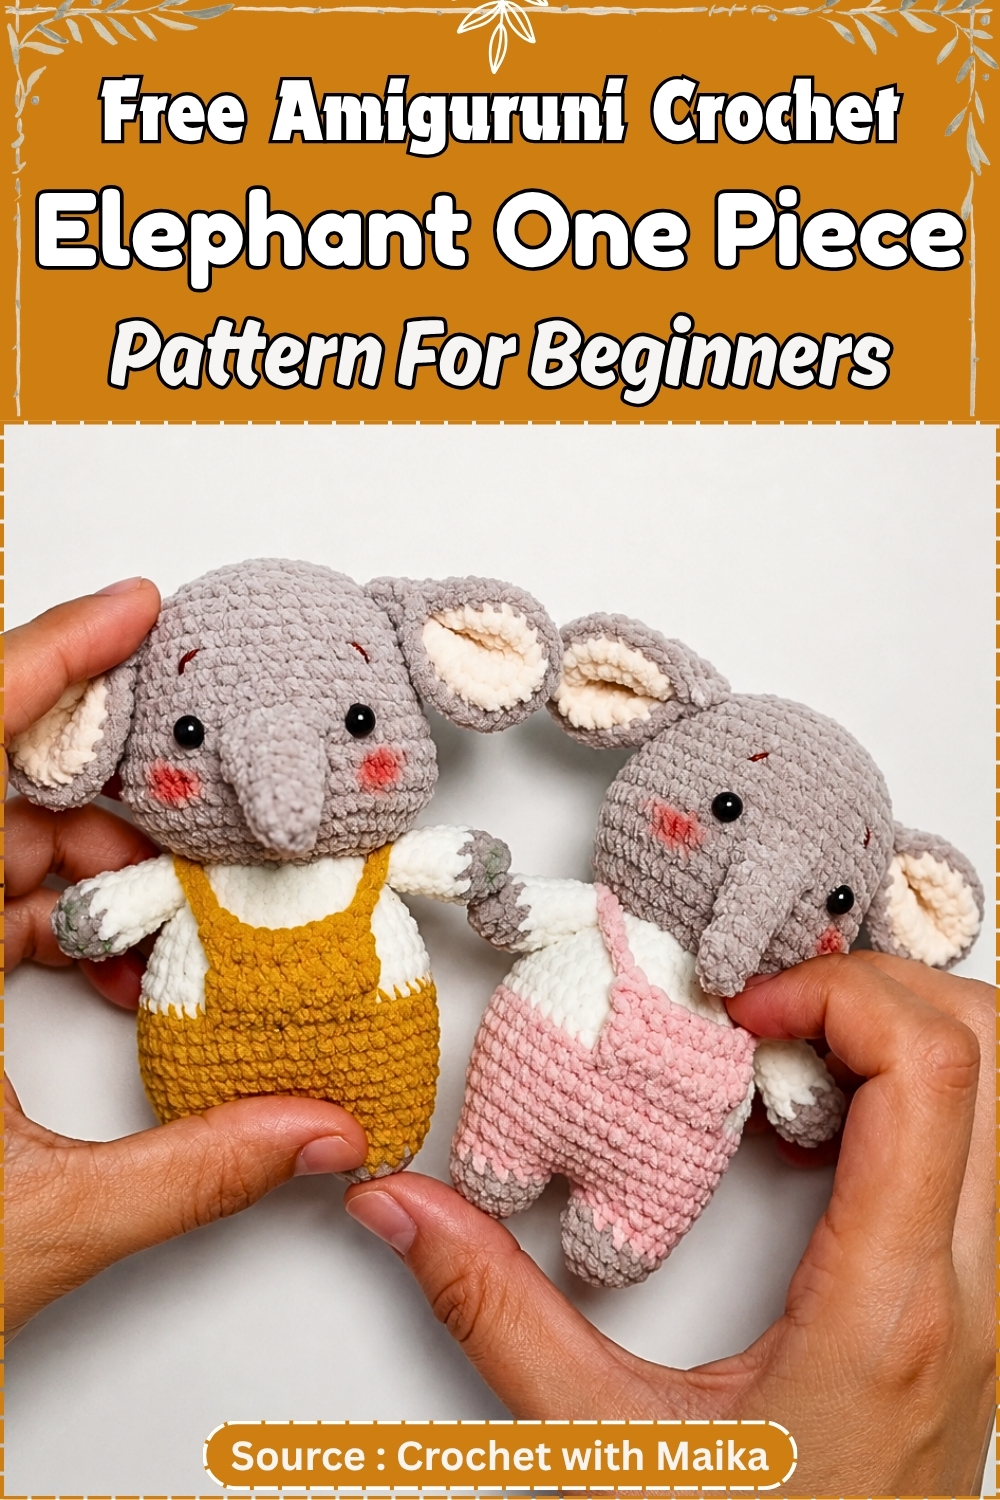
Overalls slip on at the end and stay put without a single stitch holding them. Buttons are optional. Most of the work is plain single crochet. Chenille makes it squishier but harder to count. Plan on a weekend for the elephant itself and one more evening for the outfit.
What You Need
The elephant is 6 pieces plus an outfit:
- 1 head
- 1 trunk
- 2 ears
- 1 body with both legs, worked as one piece
- 2 arms
- 1 pair of overalls (pants, bib and 2 straps, all worked as one piece)
Materials:
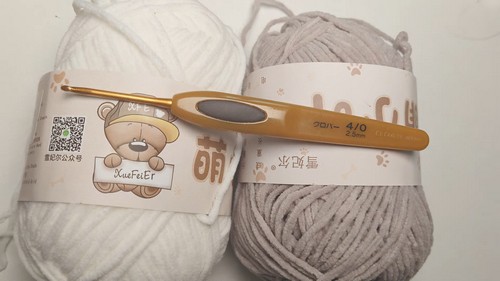
- Medium weight yarn (worsted or chenille) in grey
- Medium weight yarn in any contrast colour for the overalls
- 3.0 mm to 4.0 mm crochet hook, depending on your yarn
- 8 mm safety eyes
- Fiberfill stuffing
- Yarn needle
- Stitch marker
- Scissors
- 2 small buttons (optional)
My estimate, not the pattern’s: in worsted with a 3.5 mm hook it stands roughly 15 to 18 cm tall, and uses around 50 to 70 g of grey plus 20 to 30 g of the contrast colour.
Abbreviations (US Terms)
- MR: magic ring
- ch: chain
- sc: single crochet
- inc: increase (2 sc in one stitch)
- dec: decrease (invisible decrease recommended)
- sl st: slip stitch
- FO: fasten off
Crochet Elephant Pattern
The Elephant
Head
- Use grey yarn and work in continuous rounds.
- R1: 6 sc in MR. (6)
- R2: Inc x 6. (12)
- R3: (1 sc, inc) x 6. (18)
- R4: (2 sc, inc) x 6. (24)
- R5: (3 sc, inc) x 6. (30)
- R6: (4 sc, inc) x 6. (36) Flat as a coaster here.
- R7 to R12: Sc in each st around, 6 rounds total. (36) Now a deep, straight sided bowl.
- Insert the safety eyes between R10 and R11, about 6 to 7 stitches apart.
- R13: (4 sc, dec) x 6. (30)
- R14: (3 sc, dec) x 6. (24)
- R15: (2 sc, dec) x 6. (18)
- Stuff the head firmly.
- R16: (1 sc, dec) x 6. (12) A firm ball with a small opening, which becomes the neck.
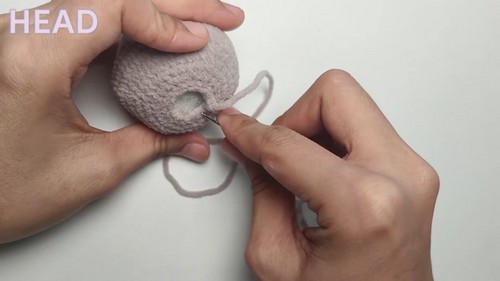
- FO, leaving a long tail for sewing the head to the body.
Trunk
- Use grey yarn.
- R1: 5 sc in MR. (5)
- R2: Sc in each st. (5)
- R3: Inc, 4 sc. (6)
- R4: Sc in each st. (6)
- R5: 1 sc, inc, 4 sc. (7)
- R6: Sc in each st. (7)
- R7: 2 sc, inc, 4 sc. (8)
- R8: Sc in each st. (8)
- R9: 3 sc, inc, 4 sc. (9)
- R10: Sc in each st. (9) A gently tapered tube that already wants to curve to one side.
- FO, leaving a tail for sewing.
- Stuff the trunk very lightly.
- Sew it to the front of the face, centred between the eyes.
Ears (Make 2)
- Use grey yarn.
- R1: 6 sc in MR. (6)
- R2: Inc x 6. (12)
- R3: (1 sc, inc) x 6. (18)
- R4: (2 sc, inc) x 6. (24)
- R5: (3 sc, inc) x 6. (30) A flat circle, with no cupping.
- Fold the circle in half. Do not stuff.
- Sc across the curved edge through both layers to close the ear, about 15 sc. A neat half moon.
- FO, leaving a tail.
- Sew the ears to the sides of the head, around R7 to R11.
First amigurumi project? Take it slow, watch the video tutorial below, and use the written pattern below as your cheat sheet!
Legs and Body
- Use grey yarn.
- Make two legs, then join them to form the body.
- R1: 6 sc in MR. (6)
- R2: Inc x 6. (12)
- R3 to R5: Sc in each st, 3 rounds total. (12) A short stubby cylinder.
- FO the first leg.
- Make the second leg following R1 to R5, but do not fasten off.
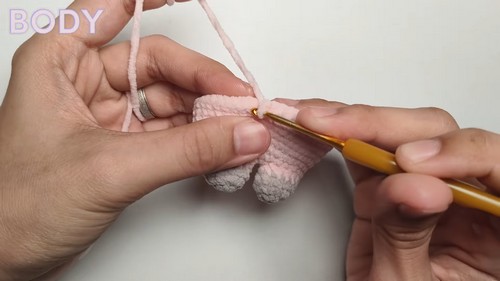
- R6 (joining): From the 2nd leg, ch 3.
- Join to the 1st leg with a sc.
- Sc in the remaining 11 stitches of the 1st leg.
- Sc 3 across one side of the chain.
- Sc 12 around the 2nd leg.
- Sc 3 across the other side of the chain. (30) Two legs side by side under one shared opening.
- R7: (4 sc, inc) x 6. (36)
- R8 to R12: Sc in each st around, 5 rounds total. (36) The body rises straight up from the legs like a little barrel.
- R13: (4 sc, dec) x 6. (30)
- R14 to R15: Sc in each st, 2 rounds total. (30)
- R16: (3 sc, dec) x 6. (24)
- R17: Sc in each st. (24)
- R18: (2 sc, dec) x 6. (18)
- Stuff the body firmly.
- R19: (1 sc, dec) x 6. (12) Shoulders rounded in, leaving a small neck opening.
- FO and weave in the ends.
- Use the tail from the head to sew the head and body together.
Arms (Make 2)
- Use grey yarn.
- R1: 6 sc in MR. (6)
- R2: (2 sc, inc) x 2. (8)
- R3 to R9: Sc in each st, 7 rounds total. (8) A slim, even tube with a rounded end, roughly finger shaped.
- Stuff lightly at the bottom only.
- Pinch the top flat and sc across both sides to close. (4 sc)
- FO, leaving a tail.
- Sew to the sides of the body, just below the neck.
The Overalls
Pants
- Use the contrast yarn.
- Make two leg holes, then join them the same way as the body.
- R1: Ch 16 and join with a sl st to form a ring.
- R2 to R4: Ch 1, 16 sc around, sl st to join. (16) A short open tube, wide enough to slide over an elephant leg.
- FO the first leg hole.
- Make the second leg hole, but do not fasten off.
- R5 (joining): Ch 2 from the 2nd leg hole.
- Join to the 1st leg hole with a sc.
- Sc in the remaining 15 sts of the 1st leg hole.
- Sc 2 in the chain.
- Sc 16 around the 2nd leg hole.
- Sc 2 in the other side of the chain. (36)
- R6 to R9: Sc in each st around, 4 rounds total. (36) A pair of shorts taking shape.
- R10: (4 sc, dec) x 6. (30)
- R11: Sc in each st. (30) The waist pulls in slightly so it will hug the body.
- FO and weave in the ends.
- Slip the overalls onto the elephant’s body now.
Front Bib
- Find the centre front 10 stitches on the top edge of the pants (R11).
- Attach your yarn there.
- Row 1: Ch 1, 10 sc, turn. (10)
- Row 2 to Row 4: Ch 1, 10 sc, turn. (10) A small flat square standing up from the waistband.
- FO and weave in the ends.
Straps (Make 2)
- Attach yarn to the top right corner of the bib.
- Ch 15, or enough chains to reach over the shoulder to the back of the overalls.
- Cross the strap over the back.
- Attach it to the back edge of the overalls with a sl st.
- Fasten off.
- Repeat for the left strap.
- Optional: sew two small buttons onto the front corners of the bib.
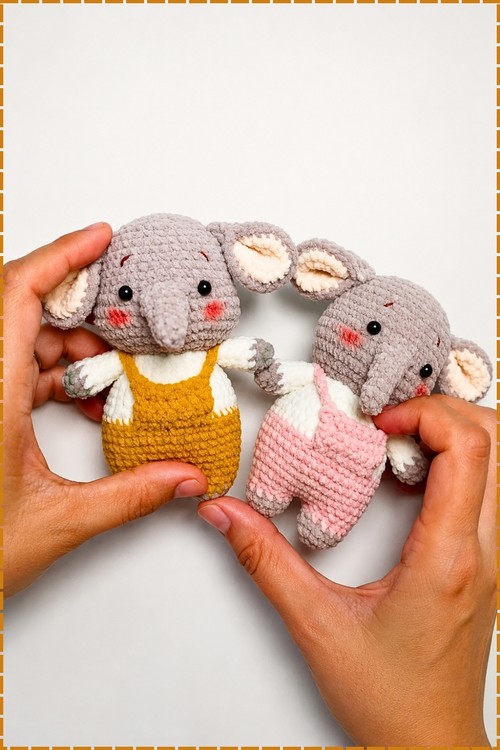
Assembly and Stuffing
Most of the sewing happens as you go: trunk onto the face, then ears onto the head, then head onto body, then arms. Pin every piece before you sew it. The trunk especially, since its increases drift into a line along one side and that longer side bends the whole trunk into a curve. Pin it with that side facing down and the tip lifts upward. Ears sit level with each other on the sides of the head, and the arms go just under where the head meets the body.
Stuff the head and body firmly, pushing filling right down into the legs so it stands. The trunk gets barely a wisp. Ears get nothing. Arms are stuffed only at the bottom so they hang softly from the shoulder.
Overstuffing shows at the waist. A round belly is nice, but if the body bulges past the pants’ 30 stitch waistband, the overalls will not slide on. Try the pants on before you close R19 if you are unsure.
Toy Safety
Safety eyes go in after R12, between R10 and R11, before the decreases start and before any stuffing. For a toy going to a child under three, skip them and embroider the eyes with black yarn in the same spot instead. Leave off the buttons too, since they are a choking risk, and add a few tacking stitches to hold the overalls in place.
FAQ
- Is chenille worth the trouble? It gives the softest elephant by far, but the stitches are almost impossible to see. Use a stitch marker every round and count by feel rather than by eye.
- Will the overalls fall off? Not with the straps crossed and attached. If yours is for a child who will tug at it, stitch the waistband to the body in a couple of places.
- What if my trunk points straight down? Unpick it and rotate it so the line of increases sits underneath. That side is longer and pushes the tip up.