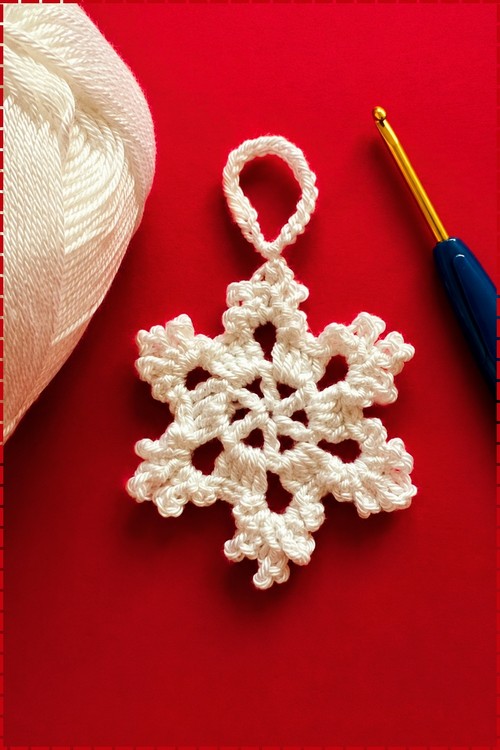
Winter weddings scatter crochet snowflake across tables and tie them to favour boxes. The top loop turns each crochet Christmas snowflake into a tree ornament, and a single ball of white cotton covers a whole batch for gift toppers and window garlands.
Six short arms tipped with tiny loops radiate from an open centre in this simple crochet snowflake pattern free, worked flat in white cotton with a chain loop at the top for hanging. Small openings between the arms give the snowflake a light, lacy look against any background. The whole piece works in a few rounds, so you can make a batch in one evening. Block and starch each snowflake before hanging, because soft cotton lets the arms curl and droop.
Crochet Snowflake
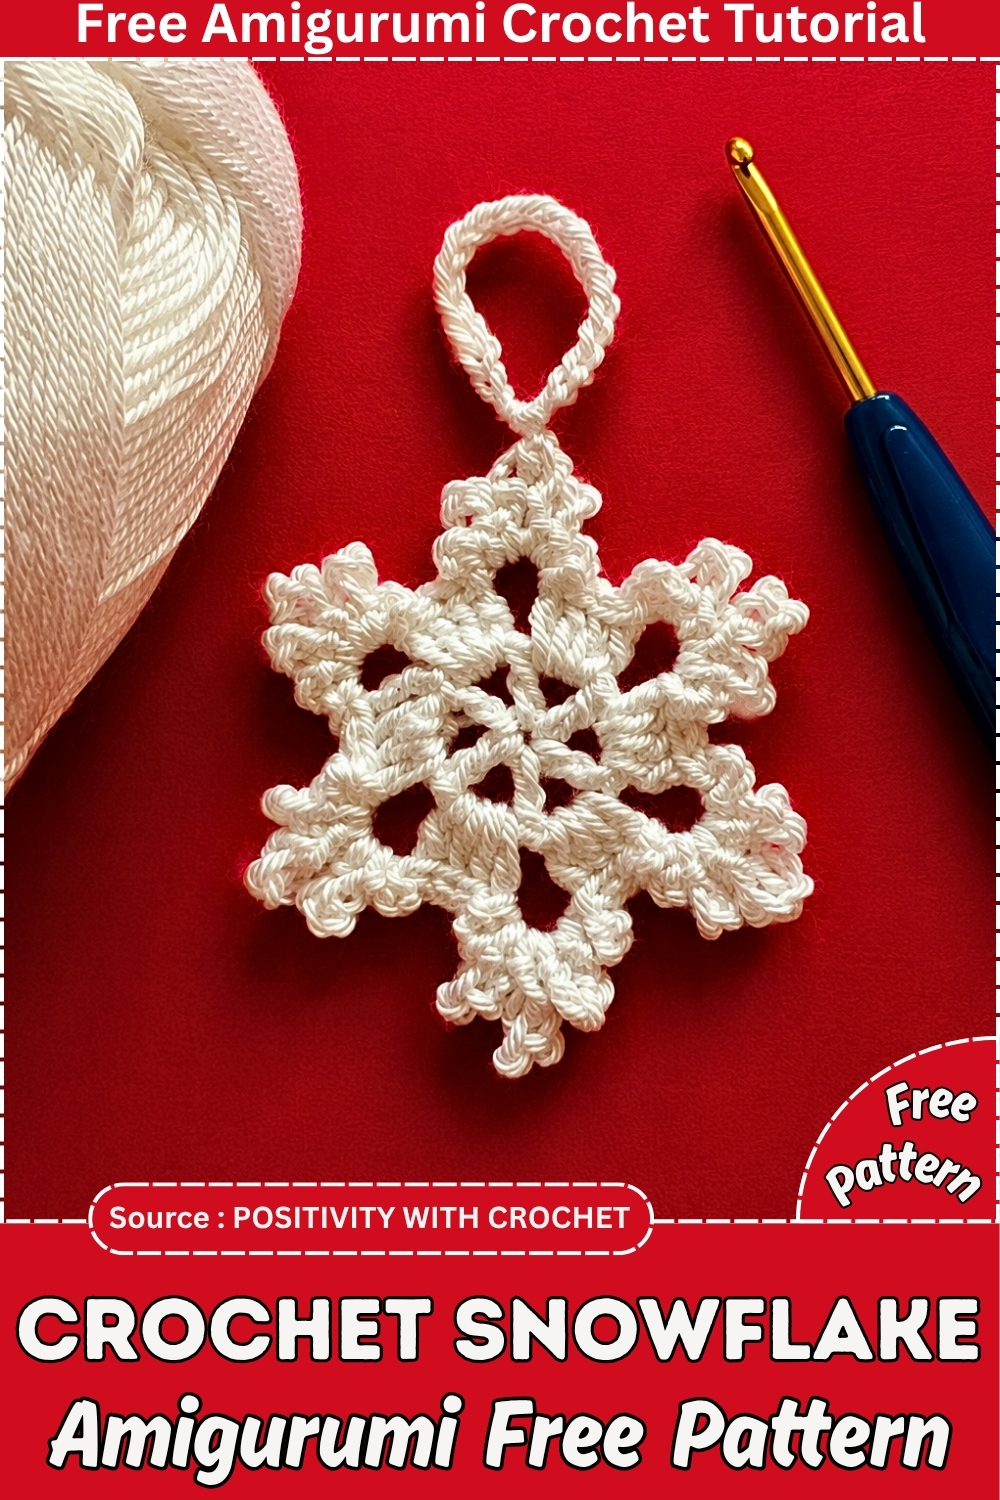
This is a flat, six-point snowflake worked in three rounds from a magic ring, finished with an optional chain loop so it can hang. It uses double crochet, chain spaces and slip stitches, nothing else.
Good for anyone who wants a small make that finishes in one sitting: tree decorations, gift tags, garlands, package toppers. Beginners can handle it as long as they are comfortable working into a chain space rather than into a stitch. Experienced makers will get through one in about fifteen minutes and then make eleven more, because these are the sort of thing that multiply once you start.
Quick Facts
- Finished size: roughly 4 inches across with a 3.5 mm hook and 4-ply yarn, approximate only
- Difficulty: easy, with one fiddly moment in round three
- Time: 15 to 25 minutes once you have done one
- Pieces: one, plus an optional hanging loop
- Not stuffed, not sewn, no shaping
Materials And Tools
- White 4-ply yarn, a very small amount
- 3.5 mm crochet hook
- Scissors
- Yarn needle for weaving in ends
- Optional: stiffening spray or a sugar water soak if you want it to hold flat
Abbreviations
- MR: magic ring
- ch: chain
- dc: double crochet
- sl st: slip stitch
- ch sp: chain space
Pieces List
- Snowflake, make 1, worked flat in three rounds
- Hanging loop, make 1, optional, a simple chain tied into a ring
Notes Before You Start
- Every stitch in rounds two and three goes into a chain space, not into the top of a stitch. If you find yourself splitting a chain, back out and go under the whole loop instead.
- Keep your chain tension loose in round three. The chain loops are the points of the snowflake, and tight chains give you stubby points that curl inward.
- Count your chain spaces at the end of round one. Six is what the rest of the pattern is built on, and it is much easier to fix now than later.
The Pattern
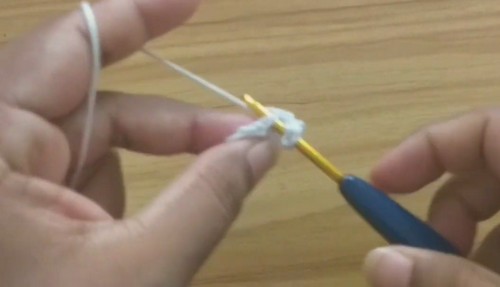
Round 1: The Center
- Make a magic ring
- Ch 4, which counts as your first dc plus a 2-chain space
- Work 1 dc into the ring, then ch 2
- Repeat the sequence of 1 dc and ch 2 into the ring until you have 6 dc in total inside the ring [6 dc, 6 ch-2 spaces]
- Pull the tail end firmly to close the ring completely
- Join with a sl st into the starting chain space. Checkpoint: you should have a small wheel with six evenly spaced spokes and six gaps between them. If you count five gaps, the starting ch 4 was not counted as a stitch, and the whole snowflake will end up lopsided from here.
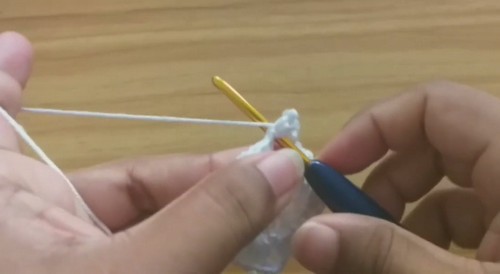
Round 2: The Petal Bases
- Ch 3, which counts as your first dc
- Work 3 more dc into the same chain space, giving 4 dc in that space
- Ch 3
- Move to the next ch sp and work 4 dc into it
- Ch 3
- Repeat the sequence of 4 dc into the next ch sp followed by ch 3, all the way around [24 dc, 6 ch-3 spaces]
- After the final ch 3, join with a sl st into the top of the beginning chain 3.
- Checkpoint: the piece should now be a flat six-lobed circle, with solid blocks of stitches separated by open chain bridges.
- Slight cupping here is normal and will flatten out in round three.
- Strong cupping means the dc clusters are too tight, so loosen your grip rather than adding stitches.
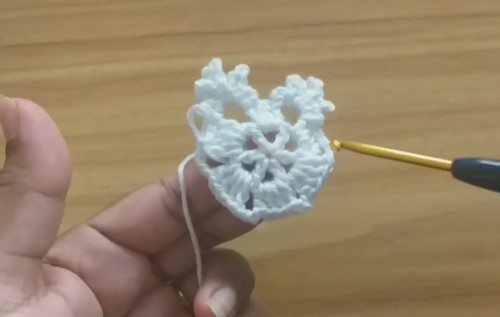
Round 3: The Snowflake Points
- Work 3 sl sts across the top of the dc cluster to reach the first ch-3 space
- Working into that ch-3 space, ch 3, then sl st into the same space
- Ch 5, then sl st into the same space
- Ch 7, then sl st into the same space
- Ch 5, then sl st into the same space
- Ch 3, then sl st into the same space. Checkpoint: that first point should now be five graduated loops fanning out from one spot, with the long chain 7 sitting dead centre. If the loops are stacking on top of each other instead of fanning, your slip stitches are landing too tight and pulling the loops together.
- Work 4 sl sts across the next 4 stitches to reach the following ch-3 space
- Repeat the full point sequence of ch 3, sl st, ch 5, sl st, ch 7, sl st, ch 5, sl st, ch 3, sl st into that space
- Continue around until all 6 ch-3 spaces carry a point [6 points]
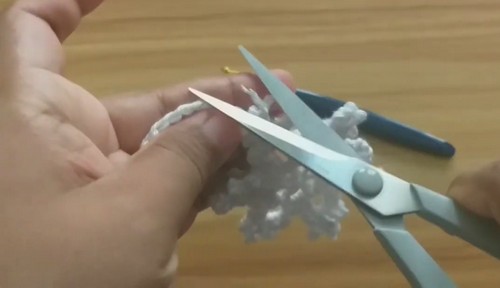
- Ch 1, pull the yarn through and tighten, cut the yarn, and weave the tail in on the back.
- Checkpoint: laid on a table, all six long centre chains should reach the same distance from the middle.
- One short point almost always means a chain 7 got worked as a chain 5, and it is worth pulling back to fix because it shows badly once hung.
Optional Hanging Loop
- Make a slip knot and put it on your hook
- Ch 20
- Pull the loop out longer and cut the yarn
- Tie the two ends together in a firm knot to close the loop
- Attach the loop to the tip of one point, on the long chain 7, so the snowflake hangs level
A Note On The Slip Stitch Counts
The pattern moves across three stitches to reach the first chain space and four stitches for every one after. That is not a mistake. The beginning chain 3 of round two stands in for the first double crochet, so the opening cluster has three worked stitches left to travel across while the rest have four. Count the stitches rather than the moves and you will land in the right place every time. This is the step people redo most often, so do it slowly the first time around.
Assembly
There is nothing to sew together here, which is most of the appeal. The only join is the hanging loop, and it goes on last. Slip it through the long centre chain at the tip of one point and tie it there, or thread it on with a needle if you want the knot buried. Pin nothing, block everything. If you want the snowflake to sit truly flat, pin it face down on a towel, spritz it with water or stiffening spray, and leave it overnight. It changes the piece completely.
Safety Eyes And Stuffing
Neither applies to this pattern. It is a flat, unstuffed decoration with no face and no filling, so there are no eyes to time and no stuffing to pack. Worth saying plainly because most patterns on this site need both. If you are hanging these anywhere a small child can reach, keep the hanging loop short and knot it twice, since a long loose loop on a low branch is the only real hazard this project has.
Yarn Substitution And Size Scaling
The counts here suit 4-ply with a 3.5 mm hook, which gives a snowflake around 4 inches across. Cotton holds the points better than acrylic and takes stiffening far more willingly, so use it if you have it. Drop to lace weight with a 2 mm hook for tiny ones around 2 inches. Go up to worsted with a 5 mm hook for a large window piece. The stitch counts never change with size, only the hook and yarn, which makes scaling this pattern unusually painless.
Colour Ideas
- White is standard, but pale blue reads as ice and silver metallic thread held with the yarn catches light on a tree
- Work rounds one and two in one colour and the points in another for a two-tone flake
- A gold version makes a good gift tag when the hanging loop is left long enough to thread through a parcel
- Stiffened flat versions in dark colours work as coasters, which sounds odd until you see the shape holding a mug
FAQ
- My snowflake curls up instead of lying flat. That is almost always tension in round two rather than anything structural. Block it with water and pins and it will relax. If you want it permanently rigid, use a stiffening spray or a strong sugar water soak and let it dry pinned out.
- Can I use a stitch marker on this one? You do not really need one, since every round is joined and closed. Counting your six chain spaces at the end of round one is more useful than any marker. That number is the only thing the rest of the pattern depends on.
- How do I keep the points even? Slow down on the chain counts in round three and say them out loud. Three, five, seven, five, three. Most uneven snowflakes come from miscounting the chain 7, not from tension.