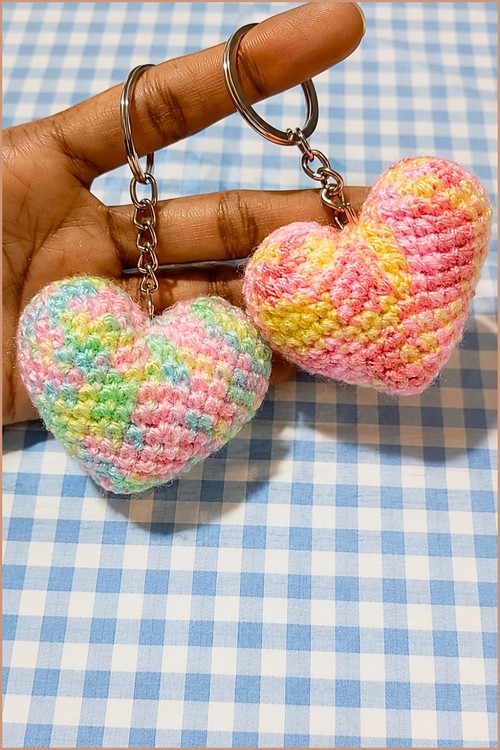
Valentine’s Day swaps get sweeter with an easy crochet heart keychain in pastel pink, mint and lemon hanging from a silver ring and chain. Silver split rings let each mini amigurumi heart clip onto a backpack zip, a pencil case or house keys as a small handmade gift.
My first batch of these came out of a single ball of leftover variegated yarn on a slow Sunday afternoon. Two small circles, one joining round, and suddenly there is a puffy little heart swinging from your keys. Nothing about the construction is difficult, yet people always assume it took ages.
Crochet Heart Keychain
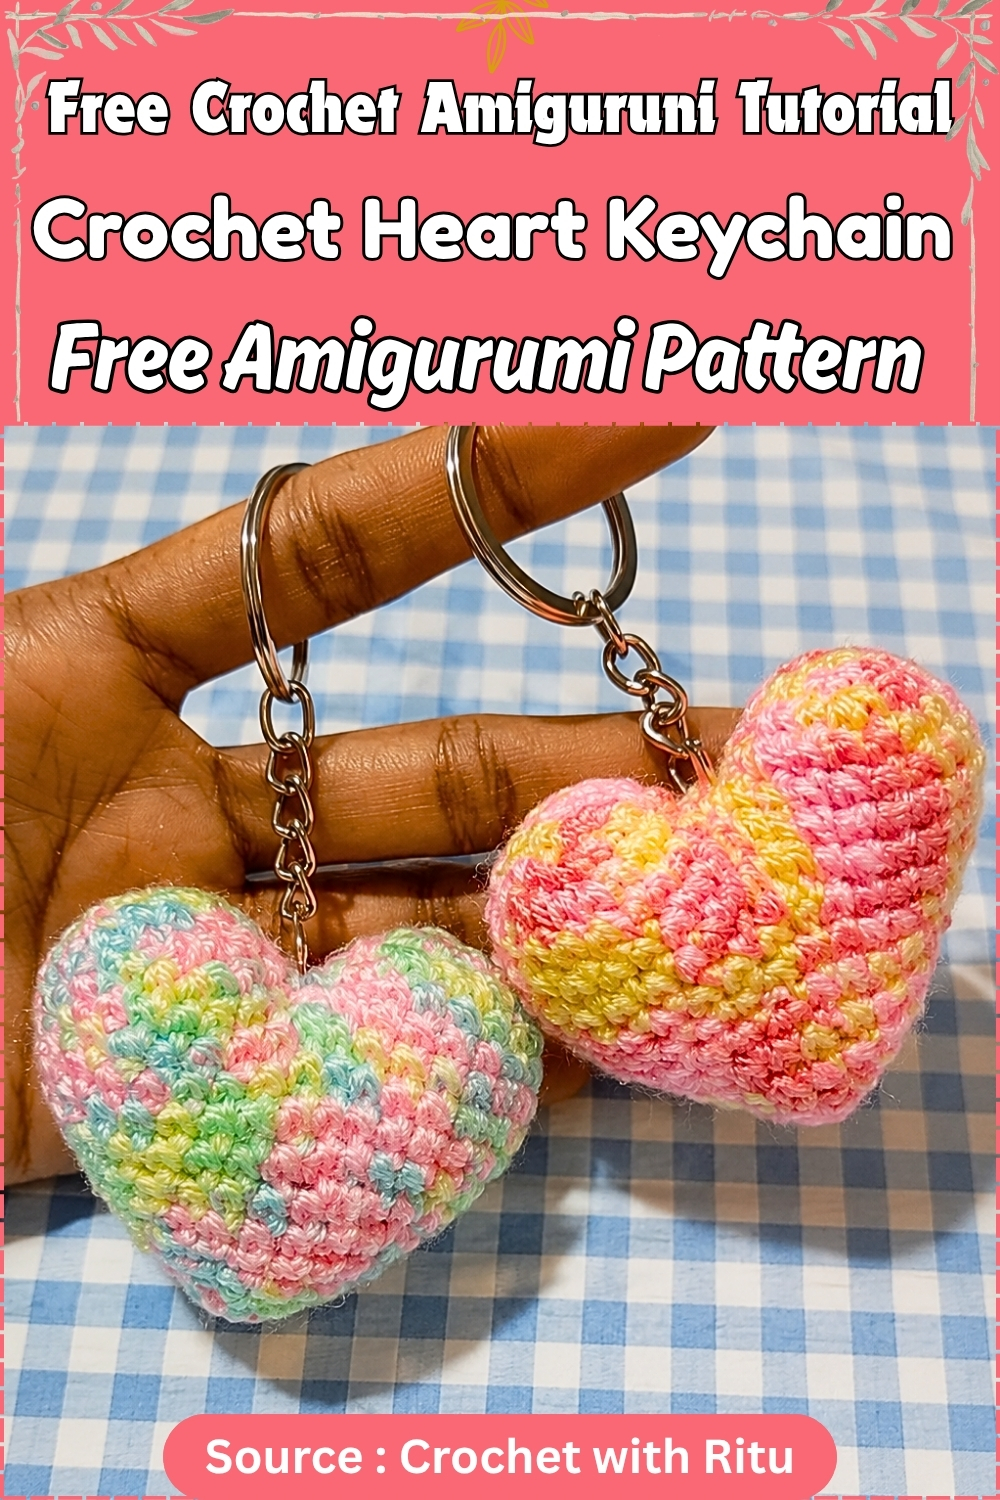
Variegated yarn shifts through pink, yellow and green on its own, so you never touch a colour change. Stitch counts stay small enough that tension wobbles disappear once it is stuffed. Most makers finish one in under an hour. Expect to make several, because nobody stops at one.
Short projects get made again and again, and this one earns that spot. The paired decreases stack neatly at the centre to pull in the notch at the top, which is the quietly clever part of the whole design. You attach the keyring at the end with the finishing tail, so there is no extra hardware fiddling. Make a handful in different colourways of the same yarn base and they read as a matched set without any planning at all.
Pieces List
- Top circles: make 2 (these become the two humps of the heart)
- Body and tip: worked continuously from the joined circles, no separate piece
Make both circles before you join. The second one stays on your hook.
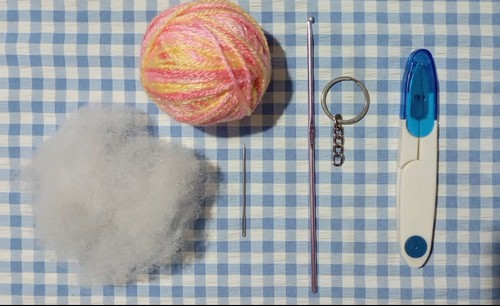
Materials and Tools
- 4-ply yarn in any colour (variegated works beautifully)
- 3 mm crochet hook
- Stitch marker
- Polyester fiberfill
- Tapestry needle
- Keychain ring
Finished size is roughly 5 to 6 cm tall at this yarn and hook, which hangs nicely on keys without bulk. Time is usually somewhere around 45 minutes to an hour, though that will vary with your speed.
Safety Eyes
This heart has no eyes, safety or embroidered, so there is nothing to place before closing. If you ever add a face, embroider it rather than using safety eyes for anything that might end up with a child under three.
Never read a crochet pattern before? No problem! The video tutorial below is perfect for beginners, or give the written pattern below a try!
The Pattern
Top Circles (Make 2)
- Round 1: Magic ring with 6 sc. (6)
- Round 2: 1 inc in each stitch around. (12)
- Round 3: (1 sc, 1 inc) × 6. (18)
- Round 4: 1 sc in each stitch around. (18) Checkpoint: each circle should be a flat, even disc with no cupping at the edge, and both should match exactly when held together.
- First circle: fasten off and cut the yarn.
- Second circle: do not cut the yarn. Keep the loop on your hook for joining.
Never read a crochet pattern before? No problem! The video tutorial below is perfect for beginners, or give the written pattern below a try!
Joining and Body
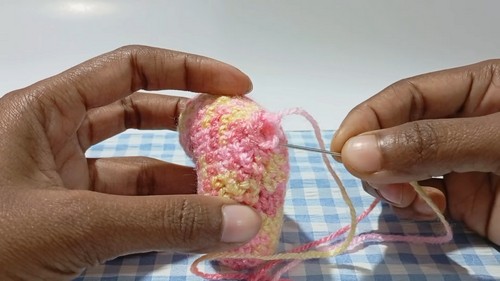
- Round 5 (Joining Round): Insert the hook into any stitch of the first circle. Work 18 sc around the first circle, then continue directly into the second circle and work 18 sc around it. (36) Checkpoint: the piece should lie flat like a figure eight, two circles touching at one point, with no twist between them.
- Pattern note: your count may land at 35 or 37 depending on where you joined. If so, add one increase or one decrease at the centre point during Round 6 to bring it back to 36.
- Round 6: 1 sc in each stitch around. (36)
- Round 7: 7 sc, 2 dec, 14 sc, 2 dec, 7 sc. (32)
- Round 8: 1 sc in each stitch around. (32)
- Round 9: 6 sc, 2 dec, 12 sc, 2 dec, 6 sc. (28)
- Round 10: 5 sc, 2 dec, 10 sc, 2 dec, 5 sc. (24)
- Round 11: 4 sc, 2 dec, 8 sc, 2 dec, 4 sc. (20) Checkpoint: the heart shape should be clearly showing, wide at the humps and narrowing downward, with the decreases stacked at the same two centre points.
- Stuff now. Pack both humps firmly using small pinches of fiberfill, shaping with your fingers as you go.
Tip
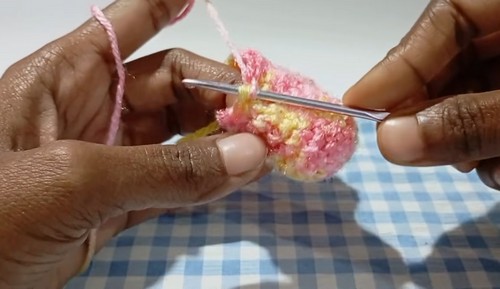
- Round 12: 3 sc, 2 dec, 6 sc, 2 dec, 3 sc. (16)
- Add a little more stuffing if needed.
- Round 13: 2 sc, 2 dec, 4 sc, 2 dec, 2 sc. (12)
- Top off the stuffing completely. After Round 14 there is no access.
- Round 14: 6 dec back to back. (6) Checkpoint: the tip should be a firm, tight point rather than flat or squared off.
Assembly and Keyring Attachment
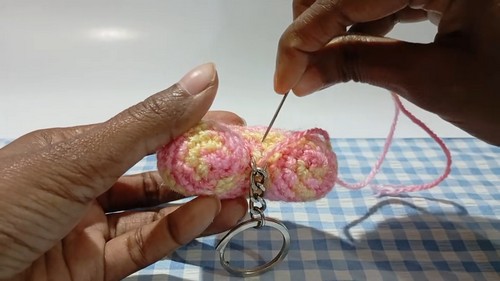
- Fasten off and leave a long tail, about 25 to 30 cm. Thread it onto your tapestry needle, weave through the front or back loops of the last 6 stitches, and pull firmly to close the tip.
- Bring the needle up through the centre of the body so it exits at the top centre, right in the notch between the two humps. Spot a small gap where the circles joined? Sew it shut with a few snug stitches now, before the ring goes on.
- Pin the ring in place first if you are unsure of the position. It should sit exactly in the notch, not drifting toward one hump. Loop the yarn through the ring several times, then pass the needle back and forth through the body to lock it. Pull the remaining tail inside and trim close.
Stuffing Guide
The humps want enough fiberfill to hold a proper dome. Go much past that and the stitches around the join start to spread, which is exactly where gaps show up. The tip needs only a tiny pinch to round it out. If the point feels hard and dense instead of softly rounded, use less next time.
Troubleshooting
- Gap at the join. Usually caused by overstuffing the humps. Close it with the finishing tail before attaching the ring, and stuff a touch lighter on the next one.
- Lopsided humps. One circle came out bigger than the other. Compare both after Round 4, before joining, while a remake is still easy.
- Pinched oval instead of a heart. The decreases in Rounds 7 to 11 drifted off the centre points. They need to stack directly above each other to pull in the notch.
- Twisted figure eight. A twist after Round 5 cannot be corrected later, so lay the piece flat and check before starting Round 6.
- Blunt tip. Either the tip was understuffed or a stray sc crept into Round 14 between decreases.
Yarn Substitution and Size Scaling
4-ply at 3 mm is the sweet spot for keychain size. Switch to DK with a 3.5 or 4 mm hook and the heart grows to roughly double, which suits a bag charm or a hanging decoration better than keys. You can go finer with a 2 mm hook for a tiny version, though the joining round then needs very steady tension.
Cotton is my favourite here. It holds the heart outline more crisply than acrylic and the tip pulls closed more neatly.
Colour and Customisation Ideas
Red will always read as a heart instantly. Burgundy looks more grown up, while a pink fading to cream gives a vintage feel. For gift sets, keep the yarn identical and swap the keyring hardware, or flip it around.
One odd little upgrade: leave the tail at the ring a bit longer and braid it before threading through. Two extra minutes, and it looks deliberate rather than tied on.
FAQ
How do I fix a visible gap where the circles join? Use the long finishing tail and sew a few straight stitches across it, pulled snug, before the ring goes on. Tuck the tail inside afterward and the repair disappears.
Can I skip the stuffing and make it flat? Yes, you just get a flat heart instead of a puffy one. Drop Rounds 6 and 8 by one each so the flat version does not ruffle.
My circles are slightly different sizes. Should I start over? If it is only a stitch or two off, stuffing usually hides it. A whole round of difference is worth remaking, since lopsided humps are much easier to fix before joining.
Why won’t the tip come to a point? Most often there was not enough fiberfill down there before Round 14. Also check that all six decreases ran back to back with no sc slipped between them.
Is this sturdy enough for daily use on keys? It holds up well if the ring is anchored with several passes of yarn and locked through the body. Cotton wears better than acrylic for something handled every day.