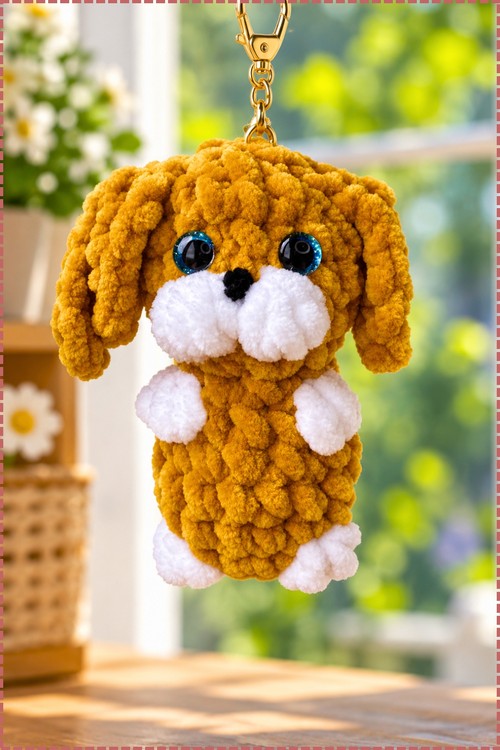
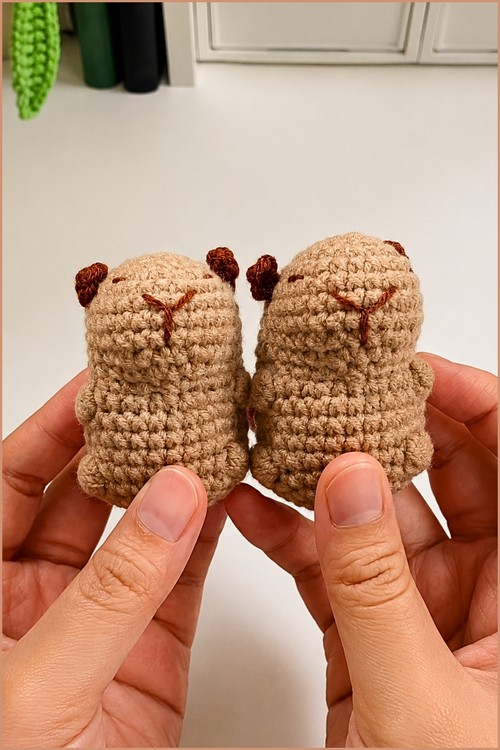
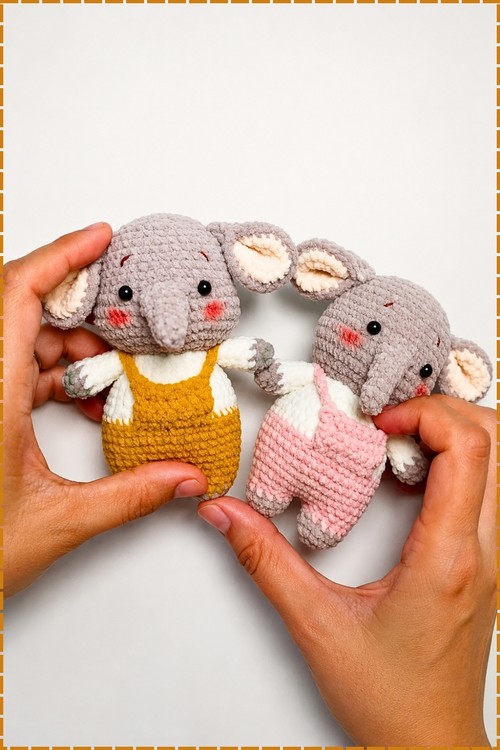
Kids adopt crochet bunny amigurumi dressed in overalls as their garden helpers. Crochet bunny clothes in blue and cream finish the outfit, and a red and white hat turns the same low sew pattern into a Santa bunny for Christmas.
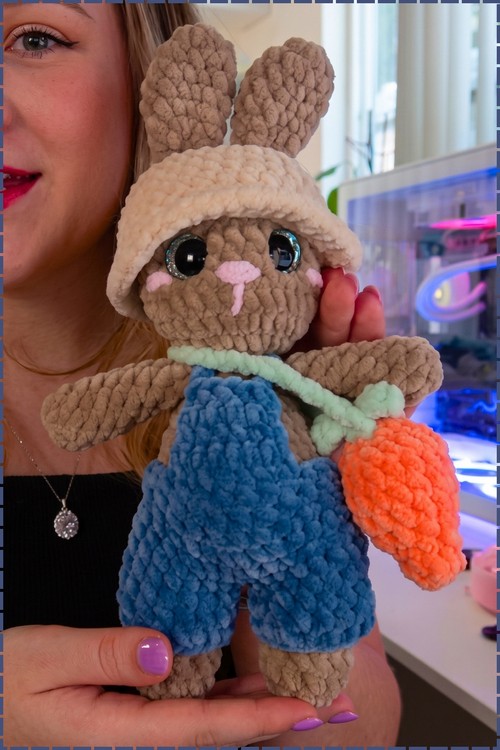
Blue overalls and a floppy cream sun hat dress the brown bunny in this low sew crochet bunny pattern free amigurumi, and a carrot bag hangs across its chest on a green strap. Tall ears rise through the brim, while large sparkly safety eyes sit above a pink nose and blushed cheeks. Velvet yarn gives the whole bunny a soft, plush finish. Fit the hat over the ears before closing the brim, since tight holes squash them flat.
Crochet Bunny With Santa Hat
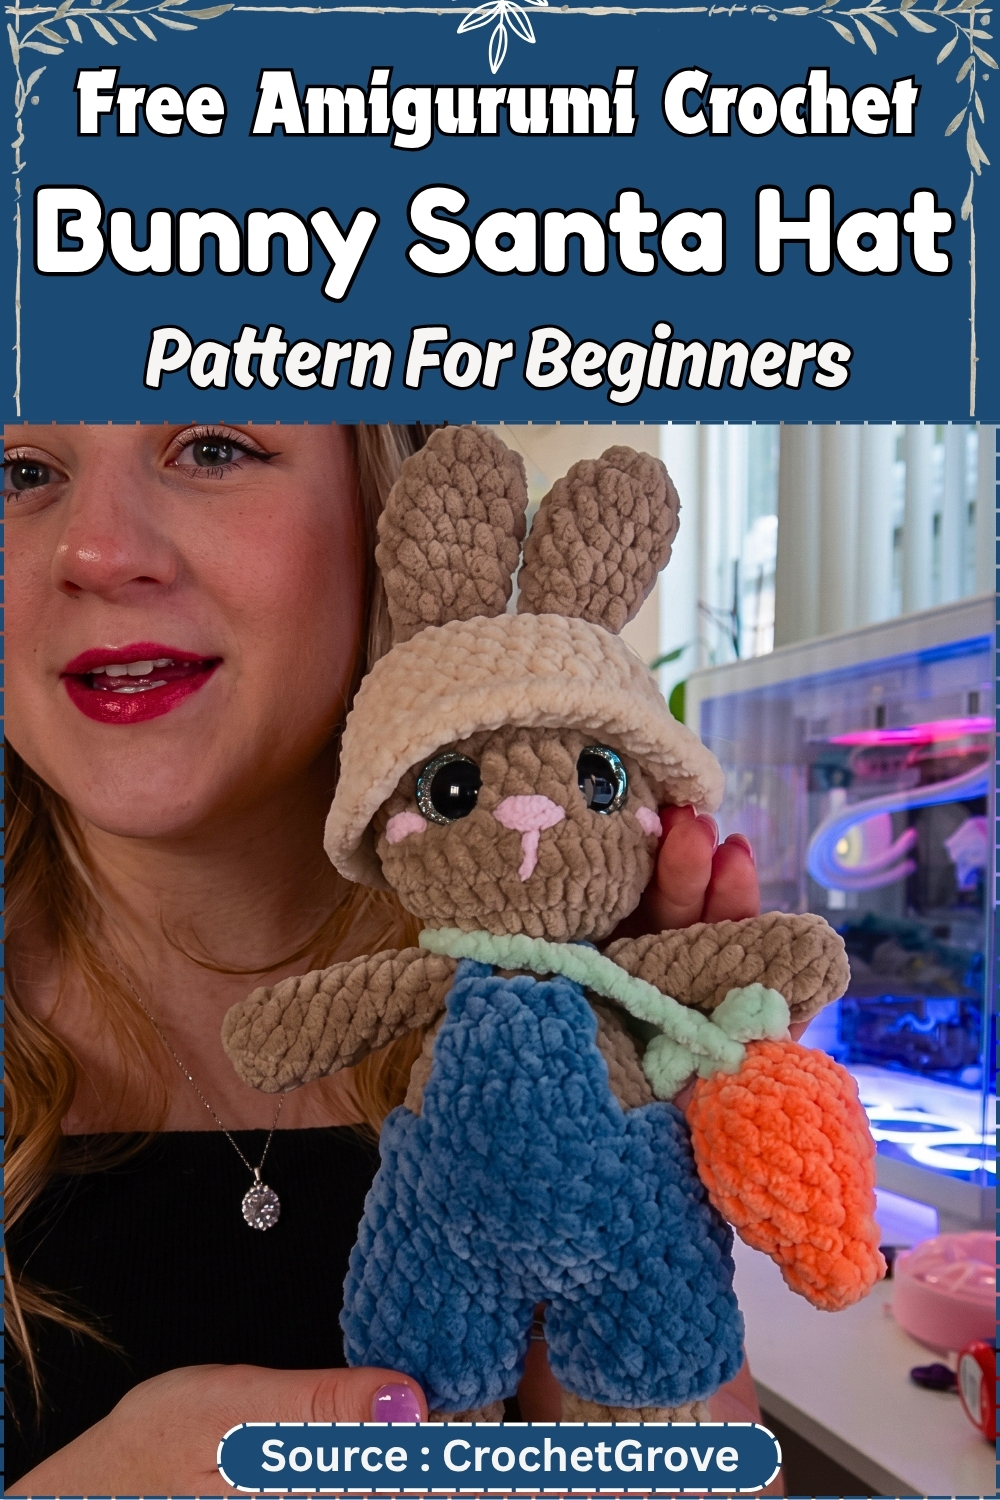
The first one of these ended up on my sister’s kitchen windowsill, wearing overalls whose straps I re-sewed three times before they sat straight. That is the only fiddly part of the whole make. Everything else is worked as one continuous piece, with the head rising straight out of the body and the arms and legs crocheted directly into the rounds as you pass them. Nothing to pin at an odd angle. No crooked neck to redo, because the head never comes off. If you can work a sphere and keep a stitch marker moving, this finishes in an afternoon.
Materials and Tools
- Sweet Snuggles Light yarn (or a similar soft chenille-style yarn) in your main body colour
- Chenille slim yarn in a contrast colour for the overalls and hat
- Light pink yarn for the nose and blush embroidery
- Small amount of orange and green yarn if you are making the carrot
- 4.0 mm crochet hook
- 20 mm safety eyes with backings
- Polyester fibrefill stuffing
- Yarn needle with an eye large enough for chenille
- Stitch marker
- Scissors
- Pins for positioning the ears
Approximate finished height is 9 to 10 inches or 23 to 25 cm, measured without the hat. Yours may run a little larger or smaller depending on tension and yarn weight. Working time is roughly 4 to 6 hours spread across a couple of sittings, with the overalls and hat taking longer than you expect for their size. These are estimates from experience with similar makes, not measurements taken from the original pattern.
Pieces List
- Legs: make 2
- Arms: make 2
- Body and head: 1, worked as a single continuous piece
- Ears: make 2
- Tail: 1
- Overalls: 1, worked in the round from two separate leg tubes
- Hat: 1
- Carrot: 1, optional
Before You Start
Everything except the overalls and the flat rows of the bib is worked in continuous spiral rounds. Do not join or chain up at the end of a round. Move your stitch marker into the first stitch of each new round every single time, because chenille hides the stitch definition and finding your place again by eye is close to impossible. Use the invisible decrease where the pattern calls for one, working through the front loops only of the next two stitches. It sits flatter than a standard decrease and keeps the fabric smooth on a stuffed piece.
Abbreviations used here:
- SC: single crochet
- Inc: increase, meaning 2 SC worked into the same stitch
- Dec: decrease, meaning 2 stitches worked together
- Ch: chain
- Sl st: slip stitch
- HDC: half double crochet
The Pattern
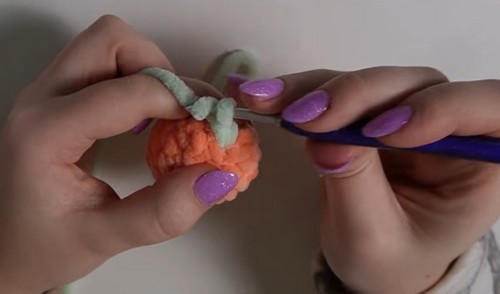
Legs (Make 2)
- Round 1: Make a magic circle and work 6 SC into it. (6 stitches)
- Round 2: Work 6 increases, one in each stitch. (12 stitches) Checkpoint: this should still lie flat as a small coin. Any cupping means your tension is too tight.
- Rounds 3 and 4: SC around. (12 stitches per round)
- Round 5: Work 1 SC, then 1 invisible decrease. Repeat that sequence 4 times in total. (8 stitches)
- Rounds 6 to 10: SC around for 5 rounds. (8 stitches per round) Checkpoint: the foot should now be a rounded toe with a narrow ankle tube above it, roughly the shape of a bowling pin.
- Stuff the foot lightly, only up to Round 5. Leave the ankle tube empty.
- Flatten the opening and work 4 SC straight across, catching both opposing sides.
- Ch 1 and fasten off, leaving a short tail. Checkpoint: the closed end should be a flat seam about as wide as your fingertip, ready to sit against the body.
- Repeat for the second leg.
Arms (Make 2)
- Round 1: Make a magic circle and work 8 SC into it. (8 stitches)
- Rounds 2 to 9: SC around for 8 rounds, giving 9 rounds in total including the magic circle. (8 stitches per round) Checkpoint: a straight, even tube with no flare at the open end. If it widens, you have picked up an extra stitch somewhere.
- Stuff only the top of the arm, to about Round 4. The rest stays flat so the arm hangs naturally.
- Flatten the opening and work 4 SC across both sides.
- Fasten off, leaving a short tail. Checkpoint: the stuffed end should feel like the rounded tip of your little finger, with the flat half folding easily.
Body and Joining the Limbs
- Round 1: Make a magic circle and work 8 SC into it. (8 stitches)
- Round 2: Work 8 increases. (16 stitches)
- Round 3: Work 1 SC, 1 increase. Repeat 8 times. (24 stitches)
- Round 4: Work 3 SC, 1 increase. Repeat 6 times. (30 stitches) Checkpoint: you should have a shallow bowl now, not a flat disc. This is the seat of the bunny and the widest point of the body.
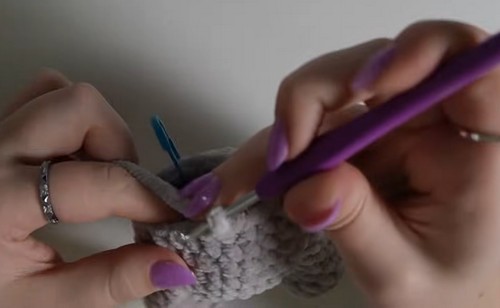
- Round 5: Attach the legs. Work 6 SC into the body, then join the first leg by working 4 SC through both the leg and the body together. Work 11 SC into the body, join the second leg with 4 SC through both leg and body, then finish the round with 5 SC. (30 stitches) Checkpoint: sit the piece down. The legs should point forward and slightly apart, with an even gap front and back. Fix any twist now, because you cannot after the next round.
- Round 6: SC around. (30 stitches)
- Round 7: Work 3 SC, 1 decrease. Repeat 6 times. (24 stitches)
- Round 8: SC around. (24 stitches)
- Round 9: Work 2 SC, 1 decrease. Repeat 6 times. (18 stitches) Checkpoint: the body should be pear shaped, wide at the base and pulling in at the top. Start stuffing the lower half now while you can still reach it.
- Round 10: SC around. (18 stitches)
- Round 11: Work 1 SC, 1 decrease. Repeat 6 times. (12 stitches)
- Round 12: Attach the arms. Work 2 SC, join the first arm with 4 SC through both the arm and the body, work 2 SC into the body, then join the second arm with 4 SC through both arm and body. (12 stitches) Checkpoint: the arms should sit directly opposite each other with 2 stitches between them on each side. Hold the piece up and let them dangle before moving on.
- Round 13: Work 1 SC, 1 regular decrease. Repeat 6 times. (6 stitches) See the Pattern Note below before working this round.
- Stuff the body fully, right up to the neck. Push the stuffing into the shoulders and around the arm joins so the body does not collapse inward there.
Head
- Round 14: Work 8 increases. (16 stitches)
- Round 15: Work 1 SC, 1 increase. Repeat 8 times. (24 stitches)
- Round 16: Work 3 SC, 1 increase. Repeat 6 times. (30 stitches) Checkpoint: the head should flare out sharply from the neck like an open umbrella. A gradual slope means an increase round got missed.
- Rounds 17 to 22: SC around for 6 rounds. (30 stitches per round) Checkpoint: by Round 22 you should have a straight-sided drum sitting on the neck, deep enough to fit a thumb inside.
- Eye placement: Insert the 20 mm safety eyes between Rounds 19 and 20, leaving about 3 stitches visible between them. Push the backings on firmly until they click down flat against the fabric.
- Round 23: Work 3 SC, 1 decrease. Repeat 6 times. (24 stitches)
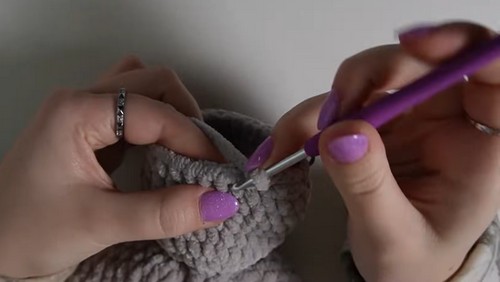
- Stuff the head firmly. Pay particular attention to the base of the neck and pack it out until the join between head and body looks round rather than pinched.
- Round 24: Work 2 SC, 1 decrease. Repeat 6 times. (18 stitches)
- Round 25: Work 1 SC, 1 decrease. Repeat 6 times. (12 stitches) Checkpoint: top up the stuffing here. Once you are past this round the opening is too small to add any more without distorting the shape.
- Work 6 decreases. (6 stitches)
- Sl st, ch 1, then thread the tail onto a yarn needle and weave through the front loops of the remaining stitches. Pull tight to close the hole and bury the tail inside the head. Checkpoint: the crown should be smooth with no dimple. A dent here means the head needs more stuffing, not a tighter pull.
Face Embroidery and Blush
- Thread the light pink yarn onto a yarn needle.
- Embroider a vertical line for the nose, positioned centrally between and slightly below the eyes.
- Work a second line straight down from the base of the nose to suggest the mouth.
- Add blush by looping the pink yarn repeatedly through the same two spots, roughly two stitches out from the outer edge of each eye.
- Tie off and hide all tails inside the head.
Ears (Make 2)
- Round 1: Make a magic circle and work 6 SC into it. (6 stitches)
- Round 2: Work 6 increases. (12 stitches)
- Rounds 3 to 5: SC around for 3 rounds. (12 stitches per round)
- Round 6: Work 2 SC, 1 decrease. Repeat 3 times. (9 stitches) Checkpoint: the ear should taper gently here rather than pinching in sharply. It is a soft narrowing, not a waist.
- Rounds 7 and 8: SC around for 2 rounds. (9 stitches per round)
- Skip the last stitch and work 4 SC across to close the opening. Do not stuff the ears.
- Leave a long tail for sewing.
- Pinch the base of the ear together and stitch through it several times to hold the curve.
- Sew the ears onto the top of the head, about 2 to 3 rows out from the centre on each side. Checkpoint: the ears should stand up on their own with a slight forward lean. If they flop sideways, the pinched base needs another pass of stitching.
Tail
- Round 1: Make a magic circle and work 6 SC into it. (6 stitches)
- Round 2: Work 6 increases. (12 stitches)
- Round 3: SC around. (12 stitches) Checkpoint: a shallow dome about the size of a large button.
- Round 4: Work 6 decreases. (6 stitches)
- Sl st and fasten off, leaving a tail for sewing.
- Stuff very lightly, just enough to hold a round shape.
- Sew onto the back of the body around Rounds 5 and 6.
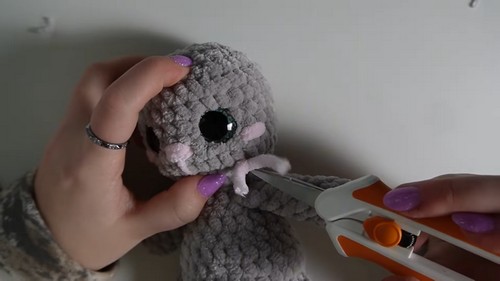
Overalls
- Leg holes, make 2: Ch 16 and join to form a circle.
- Rounds 1 to 3: Work 16 SC around. Sl st to join and ch 1 at the end of each round. (16 stitches per round) Checkpoint: each tube should slide over the bunny’s leg with a little ease. Snug is fine, tight is not.
- Fasten off the first leg. Keep working with the yarn attached to the second leg.
- Joining the legs: Bring both leg tubes together with a ch 1 gap between them at the centre.
- Work 16 SC around leg 1, work a decrease across the chain gap to stop a hole forming at the crotch, work 16 SC around leg 2, then work 1 SC into the front of the chain. (34 stitches) Checkpoint: hold the overalls up. The two legs should sit side by side with a closed centre and no gap you can see daylight through.
- Body: Work a round of decreases spaced around to bring the count down. (30 stitches)
- Tail hole: Ch 4 and skip 4 stitches at the centre back. Work around the rest of the round as normal.
- Next round: Work around, placing 4 SC across the chain that spans the tail hole. (30 stitches)
- Continue in rounds, decreasing gradually to bring the count down. (24 stitches) Checkpoint: try the overalls on the bunny now, with the tail through its hole. The waist should sit just under the arms.
- Sl st to join the final round for a clean top edge.
- Front bib: Find the centre front stitches, attach yarn and work 7 SC across.
- Work 2 rows of 7 SC. (7 stitches per row)
- Decrease at both edges on the next row. (5 stitches)
- Work straight rows of 5 SC to the height you want the bib. (5 stitches per row)
- Straps: Ch 12 from one top corner of the bib, sl st to the back waistband.
- Ch 12 for the second strap and sl st to the opposite corner of the bib and waistband to match.
- Fasten off and weave in ends. Checkpoint: both straps should be the same length and sit flat over the shoulders without pulling the bib upward.
Hat
- Round 1: Make a magic circle and work 6 SC into it. (6 stitches)
- Round 2: Work 6 increases. (12 stitches)
- Round 3: Work 1 SC, ch 6 and skip 4 stitches to form the first ear hole, 1 increase, 1 SC, ch 6 and skip 4 stitches to form the second ear hole, 1 increase.
- Round 4: SC around, working evenly across each chain space so the two ear openings stay open and even. Checkpoint: hold the hat over the bunny’s head. Both ear holes should line up with the ears without stretching them apart.
- Round 5: Work 3 SC, 1 increase. Repeat around.
- Rounds 6 to 11: SC around for 6 rounds, until the hat reaches just above the bunny’s eyes. Checkpoint: the hat should be a straight tube from the ear holes down, with no flare yet.
- Brim: Work HDC post stitches around the post of each stitch, adding a regular increase at intervals. Working 4 post stitches then 1 increase, repeated around, gives a good flare.
- Sl st to join and weave in the ends. Checkpoint: the brim should turn outward on its own and hold a firm ridge where the post stitches meet the body of the hat.
Carrot Purse (Optional)
- Rounds 1 to 5: Make a magic circle with 5 SC, then increase gradually over the following rounds. (15 stitches by the end of Round 5) Checkpoint: a narrow cone, wider at the open end and pointed at the magic circle end.
- Rounds 6 and 7: SC around. (15 stitches per round)
- Rounds 8 and 9: Decrease gradually around, stuffing as you go. (decreasing to close)
- Close off the top tip and fasten off.
- Leaves: Attach green yarn at the top. Ch 3 or 4, then work 3 SC back down the chain to form a leafy sprout. Repeat for as many sprouts as you want.
- Purse strap: Ch approximately 30 and sl st to the opposite side of the carrot top to make a loop the bunny can wear across one shoulder.
Pattern Note
Two things in the original need flagging rather than quietly correcting.
- Round 13 of the body says to work 1 SC and 1 decrease, repeated 6 times, ending on 6 stitches. That repeat needs 18 stitches to work and you only have 12 coming out of Round 12. Round 14 then asks for 8 increases, which needs 8 stitches on the neck. Working 1 SC and 1 decrease repeated 4 times gives you exactly 8 and feeds Round 14 correctly. Six plain decreases would give you 6 and leave Round 14 short. Count your neck stitches before you start the head.
- The hat does not state stitch counts for Rounds 3 to 5, and the carrot only says to increase gradually. Keep your own tally on those rounds. For the hat, count after Round 4 and again after Round 5 so you know what you are working into for the brim.
Safety Eye Timing
The eyes go in between Rounds 19 and 20 of the head, with about 3 stitches showing between them. This has to happen while the head is still open and unstuffed. Once you work Round 23 the opening starts closing and you will not get your hand inside to fit the backings. Push each backing on until it sits flush and you feel it lock. If you have set them crooked, a pair of pliers and steady pressure will usually get them off again, though the fabric may stretch. For any toy going to a child under three, skip the safety eyes entirely and embroider them with black yarn instead.
Assembly
- Most of the assembly is already done, since the arms and legs are worked into the body as you go. What is left is the ears, the tail and the clothes. Sew the ears first, positioning them 2 to 3 rows out from the centre top of the head, and pin them before you commit. Pinned ears look right at three angles and wrong at every other one, so step back and check from the front before threading a needle. Sew the tail to the back of the body around Rounds 5 and 6, low enough that the overalls tail hole lines up with it.
- Dress the bunny after everything is stitched. Feed both legs through the overall leg tubes, pull the tail through its hole at the back, then bring the straps over the shoulders. If the straps sit too far apart and keep sliding off, cross them at the back rather than lengthening them. The hat goes on last, with each ear threaded through its own hole. Push the ear all the way through so the base sits under the brim rather than pinched inside it. Add the carrot strap over one shoulder if you made it.
Stuffing Guide
- Firmness varies by piece and it matters more than it sounds. The feet take a light touch, stuffed only up to Round 5, with the ankle tube left empty so the legs stay bendable at the join. Arms get stuffing only in the top portion to Round 4, leaving the lower half flat so they hang against the body instead of sticking out. The body wants firm stuffing all the way to the neck, especially around the shoulders where the arms attach, since that area collapses first if you go light on it.
- The head is the piece to stuff hardest. Pack it before Round 23, then again at Round 25, working the fibrefill down into the base of the neck until the join looks round instead of nipped in. Over-stuffing shows as stretched stitches with white fill glowing through the gaps, and on chenille it also flattens the pile so the surface goes shiny. The tail takes a pinch of stuffing and nothing more. Ears, hat and overalls stay completely unstuffed.
Yarn Substitution and Size Scaling
- Chenille yarns vary a lot in thickness even inside the same weight category, so treat the 4.0 mm hook as a starting point rather than a rule. Work the first leg, then look at the fabric. If you can see stuffing through the stitches, drop to a 3.5 mm and start again. Any soft worsted or DK yarn works here if chenille is not available, though a smooth acrylic gives sharper stitch definition and a slightly smaller finished toy. Going up to a bulky yarn with a 5.0 mm hook produces a noticeably larger bunny, roughly 12 to 13 inches, and you will need larger safety eyes to keep the proportions right.
- Scaling changes the accessories more than the body. If you size up, the overall leg tubes need extra chains at the start and the hat needs an extra increase round before the straight section. Neither is difficult, but count as you go rather than following the written numbers. These substitution notes are general guidance based on similar amigurumi makes rather than tested alternatives from the original pattern.
Colour and Customization Ideas
- For the Santa version, work the hat in bright red through Round 11, then switch to white for the post stitch brim. Add a small white pom on the crown once the brim is done. A soft cream or grey body with a red hat reads as festive without going loud, while a pure white body gives you a snow bunny. The overalls take colour well in denim blue, forest green or mustard.
- Beyond the holiday look, this pattern takes seasonal changes easily. Swap the carrot for a small crocheted pumpkin in autumn, or a tiny egg in pastel colours for spring. Striped overalls work if you change colour every two rounds on the leg tubes. You can also skip the overalls entirely and work the body in a second colour from Round 6 onward, giving the look of a onesie with no separate garment to sew. Embroider a small heart on the bib for a gift version.
Toy Safety
- If this bunny is going to a baby or a child under three, replace the safety eyes with embroidered ones in black yarn. Safety eyes are secure when fitted correctly, but no attached part is worth the risk with a toy that will be chewed. Embroider the eyes at the same position, between Rounds 19 and 20 with 3 stitches between them, using a satin stitch worked in a small circle and finishing off inside the head.
- The other loose parts need the same thought. Sew the ears and tail with doubled yarn and go through each attachment point several times. Skip the carrot purse and its long strap for a baby, since a 30 chain loop is a strangulation risk. Consider crocheting the overalls straps directly into the waistband rather than leaving them as chains that could catch. Wash the finished toy by hand in cool water and let it dry flat, since a machine cycle will pull the seams over time.