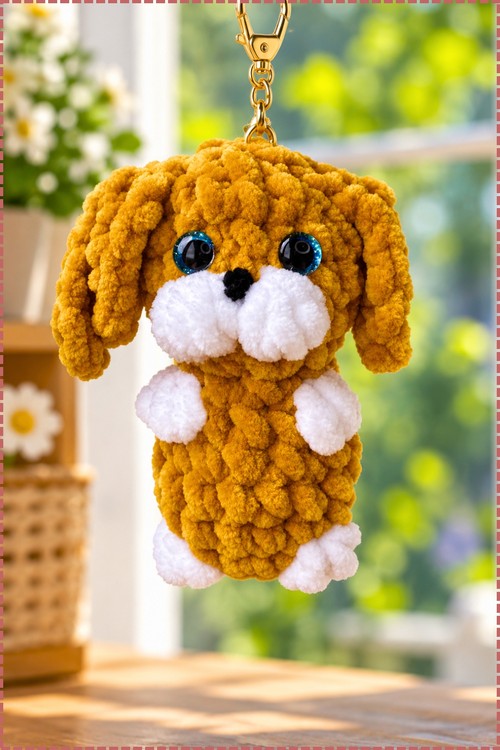
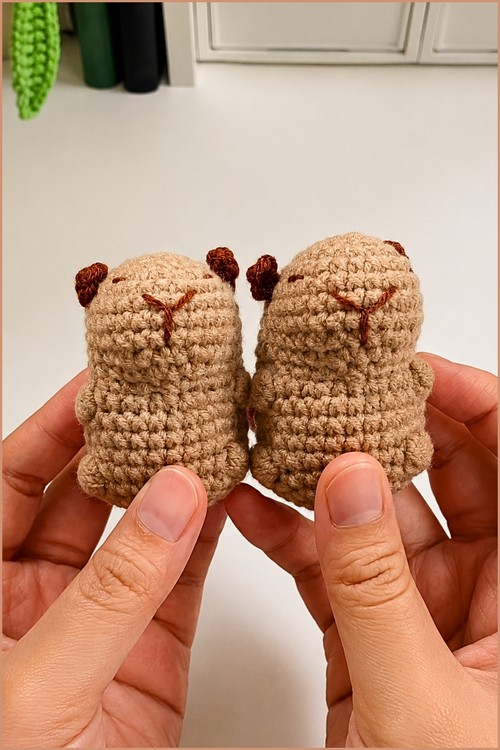
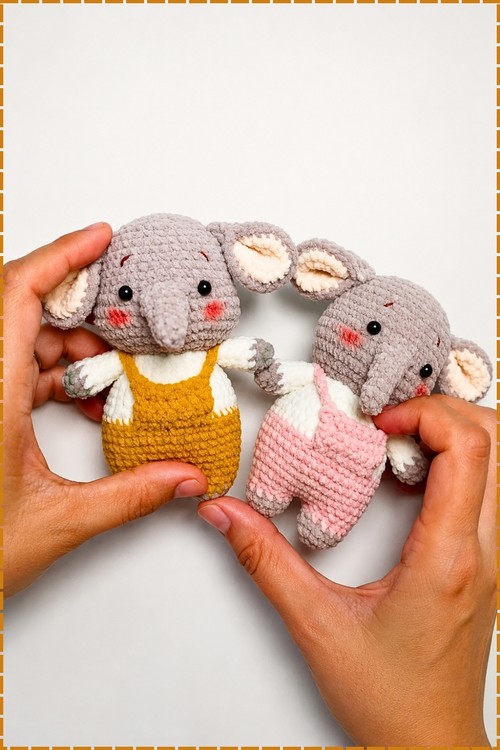
Playrooms welcome crochet alpaca amigurumi that stand guard beside the toy box instead of flopping over. Rainbow scraps from your stash cover the striped blanket, and red, green and white stripes turn the same alpaca into a Christmas gift.
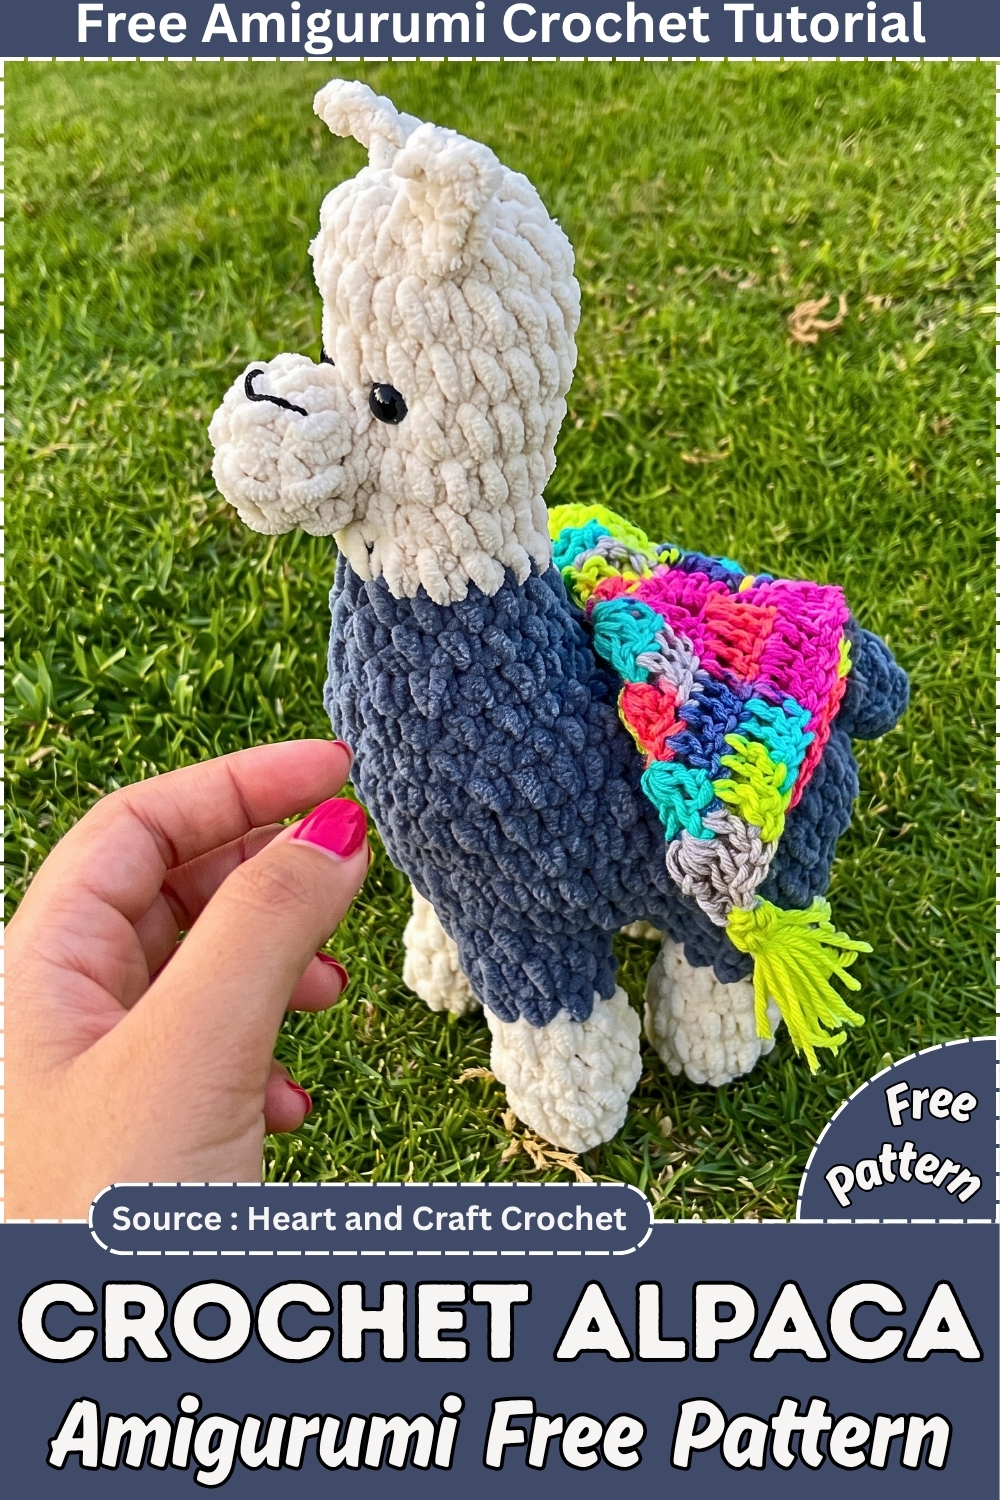
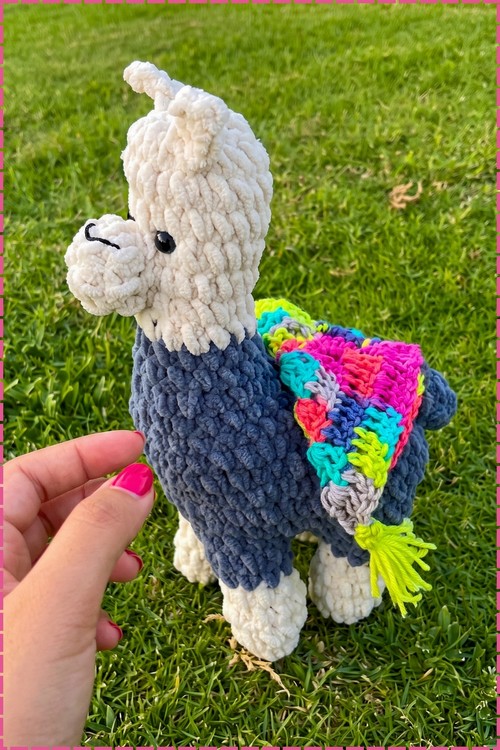
On four cream hooves, the standing alpaca from this crochet alpaca amigurumi free pattern carries a rainbow striped blanket across its slate blue back, finished with a yellow tassel. Cream chenille shapes the long neck, head and upright ears, and black safety eyes sit above a stitched nose and mouth. Because the alpaca stands on its own legs, it can hold its place on a shelf or bed. Stuff all four legs firmly and evenly, since soft or uneven legs leave the alpaca wobbling.
Crochet Alpaca Amigurumi
Teens pile crochet alpaca amigurumi onto beds and dorm shelves for instant softness. Cream, fawn or blush chenille all suit an alpaca, and a keyring loop turns the same plush into a bag charm.
The first one of these I made went to a friend’s four year old, who called it a llama from the moment she saw it and has never once been corrected. Chenille yarn is what makes this build work. It hides uneven tension, it moves fast on a 4.5 mm hook, and the finished body has real weight to it, the kind of squish a kid actually carries around. The construction is a little unusual. Four legs get made separately, joined into pairs, then the two pairs get stitched into one solid base before a single body round happens. Once that base stands up on its own, the rest is easy going.
Materials and Tools
These are approximate and based on typical chenille gauge, not measured from the original make. Adjust to what you have.
- Main color chenille or blanket yarn in off-white or cream, roughly 90 to 120 g. Alize Velluto and Bernat Baby Blanket both behave well here.
- Secondary chenille or blanket yarn in dark gray for the hooves, roughly 30 to 40 g.
- Thin black yarn or embroidery floss for the face.
- 4.5 mm crochet hook.
- One pair of safety eyes, around 10 to 12 mm for this scale.
- Stitch markers, and a few paper clips for the leg join.
- Yarn needle with an eye wide enough to take chenille.
- Scissors.
- Polyester fiberfill.
Expect somewhere around 3 to 4 hours of work and a finished height near 8 to 9 inches, depending on your tension and yarn weight.
Abbreviations Used
- SC: single crochet
- DC: double crochet
- Increase: 2 single crochets worked into the same stitch
- Decrease: insert hook and pull up a loop in one stitch, insert and pull up a loop in the next stitch, yarn over and pull through all three loops
- Sl st: slip stitch
- Ch: chain
Pieces List
- Legs: 4
- Snout: 1
- Ears: 2
- Tail: 1
- Body, neck and head: worked as one continuous piece directly onto the joined legs
Only four separate pieces get sewn on at the end. Everything else grows out of the legs, which is why the leg join deserves your patience.
The Pattern
Legs (Make 4)
- Make a slip knot with the dark gray yarn, insert the 4.5 mm hook and tighten. Chain 2.
- Round 1: skip the first chain and work 5 single crochets into the second chain. [5]
- Round 2: work 2 single crochets in each stitch around. [10] Checkpoint: this should now cup slightly, like a bottle cap rather than a flat coin.
- Place a stitch marker in the first stitch of the round and move it up as you go.
- Rounds 3 to 5: work 1 single crochet in each stitch around, three rounds total. [10] Checkpoint: by the end of round 5 the leg should stand as a short straight tube with a rounded closed base, no flare at the top.
- Snip the gray yarn leaving a tail, and join the light main color.
- Round 6: work 1 single crochet in each stitch around in the light color. [10] Checkpoint: the gray should read as a hoof band about five rounds deep with one pale round sitting above it.
- Snip the yarn and pull through.
- Make four legs in total. On two of them, leave the yarn attached after round 6, since you will work straight from it into the join.
Joining the Legs Into Pairs
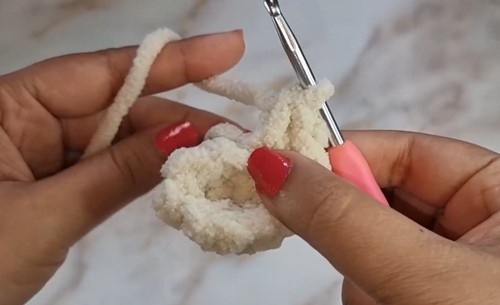
- Take a leg with the yarn still attached and chain 2.
- Join to a second leg with a secure slip stitch.
- Round 1: work 7 single crochets into the first leg.
- Work 1 increase into each of the next 3 stitches.
- Work 1 single crochet into each of the 2 chains of the bridge between the legs.
- Work 1 increase into each of the next 3 stitches on the second leg.
- Work 9 single crochets around the second leg.
- Work 1 single crochet into each of the remaining 2 sides of the bridging chain. [30] Checkpoint: laid flat, the pair should look like a figure eight with a short filled bridge between the two circles, and both legs should point the same direction.
- Repeat all of the above with the remaining two legs so you end up with two joined pairs.
If magic rings and invisible decreases sound like another language, start with the video tutorial below, it makes everything click!
Joining the Two Pairs Into a Base
- Line both pairs up side by side, hooves facing the same way.
- Mark 11 corresponding stitches along the inner center edge of each pair using stitch markers or paper clips.
- Attach gray yarn and work 11 slip stitches back and forth through the front loops of both pairs, bridging them into one solid base.
- Remove the markers. Checkpoint: before you work a single body stitch, this base should sit on a table and stand on all four legs by itself. If it wobbles or twists, undo the slip stitches and realign, because nothing above this point will fix it.
Body
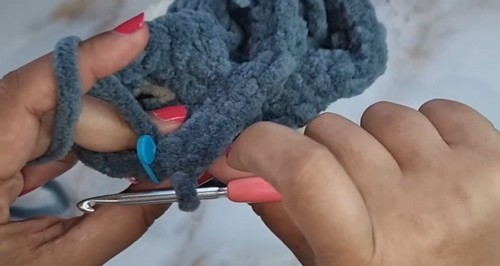
- Chain 1 and mark it. It counts as your first stitch.
- Round 1: work 39 single crochets around the entire perimeter of the joined leg base. [39]
- Rounds 2 to 5: work 1 single crochet in each stitch around, four rounds total. [39] Checkpoint: at the end of round 5 the body should be an open barrel with straight sides, clearly longer front to back than it is tall.
- Round 6: work 3 decreases, then 27 single crochets, then 3 more decreases. [33]
- Round 7: work 3 decreases, then 21 single crochets, then 3 more decreases. [27] Checkpoint: the opening should be pinching in at two ends rather than closing evenly all around. That uneven narrowing is what gives the alpaca a long back instead of a ball.
- Stuff the body and all four legs firmly with fiberfill.
- Leave a long tail and snip the yarn.
- Sew 10 stitches across the back opening shut with the yarn needle, then bury the tail inside the body. The remaining opening at the front becomes the neck. [17]
Neck
- Reattach the main color yarn at the back of the neck opening and chain 1.
- Round 1: work 1 single crochet in each stitch around. [17]
- Round 2: work 1 decrease, 13 single crochets, 1 decrease. [15]
- Round 3: work 1 decrease, 11 single crochets, 1 decrease. [13] Checkpoint: the neck should be narrowing from the sides only, so from the front it looks like a slim column rising off a wide body.
- Round 4: work 1 single crochet in each stitch around. [13]
- Snip the yarn and change back to the off-white light color.
- Round 5: work 1 single crochet in each stitch around in off-white. [13]
- Stuff the neck firmly. Checkpoint: a well stuffed neck holds the head upright with no lean. If it flops forward now, it will only get worse once the head goes on, so add more.
Head
- Round 1: work 1 increase in the first stitch, 4 single crochets, 1 increase in each of the next 3 stitches, 4 single crochets, then 1 increase in the last stitch. [18]
- Rounds 2 to 5: work 1 single crochet in each stitch around, four rounds total. [18] Checkpoint: the head should read as a short oval that sits slightly forward of the neck rather than balanced dead center on top.
- Insert the safety eyes 2 rounds down from the top of the head with about 3 stitches between them, then fasten the backings from the inside.
- Add more stuffing to the head.
- Round 6: work 1 single crochet, 1 decrease, and repeat that six times around. [12]
- Round 7: work 6 decreases around. [6] Checkpoint: the top should be drawing in like a purse closing, with the stuffing already firm underneath so the crown does not dent.
- Leave a long tail, snip the yarn, thread it onto the needle and cinch the top hole completely closed.
Snout
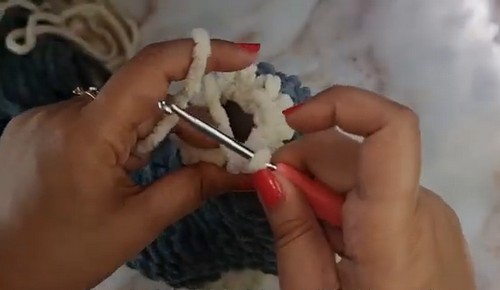
- Chain 2 loosely with the off-white yarn.
- Work 6 single crochets into the second chain from the hook. [6]
- Row 2: work 1 single crochet in each of the first 2 stitches, 1 increase in each of the next 2 stitches, then 1 single crochet in each of the final 2 stitches. [8]
- Row 3: work 3 single crochets, 1 increase in each of the next 2 stitches, then 3 single crochets. [10] Checkpoint: a small flat oval, wider through the middle than at either end, that curves gently when you pinch it against the head.
- Work a slip stitch into the next stitch, leave a long tail for sewing and snip the yarn.
- Using thin black yarn, embroider a Y shape centered on the piece for the nose and mouth.
Ears (Make 2)
- Chain 5.
- Working back down the chain, work 1 slip stitch in the second chain from the hook.
- Work 1 single crochet in the next chain.
- Work 1 double crochet in the next chain.
- Work 1 single crochet in the next chain.
- Work 1 slip stitch into the beginning loop to close the ear shape. Checkpoint: you want a leaf shape with a visible bulge at the middle where the double crochet sits. If it reads as a straight strip, your double crochet is too tight.
- Fasten off leaving a tail for sewing. Make two.
Tail
- Chain 2 loosely.
- Work 6 single crochets into the second chain from the hook. [6]
- Work 1 single crochet in each stitch around for 6 stitches. [6] Checkpoint: a firm little nub, no stuffing required.
- Fasten off leaving a tail for sewing.
Safety Eye Timing
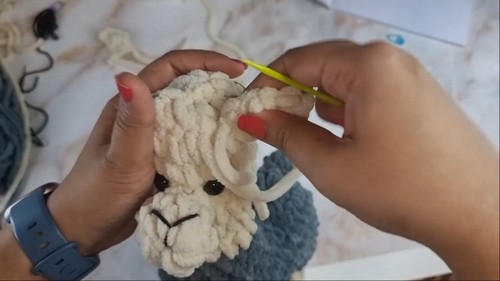
The eyes go in at the head, 2 rounds down from the top, after round 5 and before round 6. That timing is not flexible. Once round 7 cinches shut you cannot reach inside to fit a backing washer, and pushing an eye through chenille after stuffing splits the pile and leaves a bald ring around the post.
For any toy going to a child under three, skip the safety eyes entirely and embroider them instead. Two French knots in black yarn placed 3 stitches apart at that same round give you the same face with nothing that can work loose. Do the embroidery before you stuff, so you can bury the knots inside the head.
Assembly
- Attach the snout first, centered on the head just below and between the eyes. Pin it, then step back and look at the toy from three feet away before a single stitch goes in. Snout placement decides the whole face and it is the one seam you will regret rushing.
- Sew all the way around the edge of the snout with the long tail, keeping your stitches in the outer edge of the oval so the front stays domed.
- Pin both ears near the top of the head, angled slightly outward rather than straight up. Check symmetry from the front, then from directly above.
- Sew the ears down through the base of each one, catching two or three stitches on the head per side so they sit firm and do not swivel.
- Sew the tail onto the back of the body, level with the top of the hind legs.
- Bury every tail inside the body. Chenille grips itself, so a tail run through the stuffing for an inch or two and snipped will never surface.
Stuffing Guide
- Body and legs get stuffed firmly. This is a standing toy and soft legs mean it sits down.
- Stuff the legs before you close the body, using the blunt end of your hook to push fiberfill down into each one. It is much harder to reach them once the back seam is sewn.
- Neck gets stuffed firm, verging on hard. All the head weight rides on it.
- Head gets stuffed firm but round. Add in small pinches, not one large handful, or you will get a lumpy crown.
- Snout and tail stay unstuffed. The chenille pile alone gives them enough body.
- Overstuffing shows first at the body decrease rounds, where the fabric stretches and the stitches gap open. If you can see stuffing through the fabric anywhere, pull a little back out.
Pattern Note
Two things in this pattern do not fully add up, and I have left both as written rather than quietly changing them.
The leg joining round is the main one. Counting the stitches described gives 32 (7 plus 3 increases, 2 bridge stitches, 3 more increases, 9 single crochets, 2 bridge stitches), but the round is stated as 30. The second leg is also asked for 12 stitches when it only has 10 available. In practice most makers land at 30 by working fewer plain stitches around the second leg. Count what you actually have at the end of the round and go with that number, because the body round of 39 depends on it.
The other is a color instruction. The main color is named as off-white, but the neck says to reattach the main color and then round 5 says to change back to off-white. Decide before you start whether the lower neck is gray or pale. Gray reads closest to the finished toy in the original.
Troubleshooting
- The base will not stand flat. Almost always the 11 slip stitch join is off by a stitch or two, so one pair sits higher than the other. Undo it and remark, matching stitch to stitch rather than eyeballing the center.
- Body round 1 does not come out at 39. Recount the perimeter before you blame yourself. If your leg pairs came out at 32 instead of 30, your perimeter changes with it. Work whatever number gives you an even, gap free round and adjust the decrease rounds by the same amount at each end.
- You cannot see individual stitches in chenille. Nobody can. Work by feel instead, pressing your thumb along the top edge to find the little firm ridge of each stitch, and never skip moving the round marker.
- Legs splay outward under the body. Understuffed legs, or stuffing added after the body was closed. Push more fiberfill down into each leg through the neck opening before you sew the back shut.
- The head leans forward. The neck is not firm enough. You can fix this after the fact by working a threaded needle down through the top of the head and adding stuffing through the head cavity, but it is far easier to overstuff the neck at round 5.
- The face looks wrong and you cannot say why. Check the gap between the eyes first. Three stitches is right at this scale, and one stitch too wide pushes the whole face into a blank stare.
- Ears twist around after sewing. You caught only the very tip of each ear. Sew through the full base edge, both loops, across two or three head stitches.
- Seams show as a visible line. Chenille seams disappear if you brush the pile across them with your fingernail after sewing. Do this once at the end on every join.
Yarn Substitution and Size Scaling
Any bulky or super bulky yarn will work on a 4.5 mm hook here, though a plied acrylic gives you sharper stitch definition and a slightly smaller finished toy than chenille does. Worsted weight on a 3.5 mm hook takes the alpaca down to roughly 5 to 6 inches, which changes your eye size to about 6 mm. Going the other way, jumbo yarn on a 6 mm hook produces something around 12 inches tall, but the leg join gets bulky and stiff at that scale, so add extra slip stitches across the bridge if it feels loose.
Whatever you swap in, keep the hook a full size or two smaller than the label suggests. Stuffing has to stay inside.
Color and Customization Ideas
- Cream body with charcoal hooves is the classic pairing, but soft caramel with cream hooves reads more like a real alpaca.
- Work rounds 3 to 5 of the legs in a bright color for striped socks.
- A row of chain stitch in contrasting yarn around the neck makes a collar or a tiny blanket edge.
- Two small pom poms sewn either side of the head, just behind the ears, give you the shaggy fleece look without any extra shaping.
- Embroider a heart or an initial on one flank before assembly, while the fabric is still flat and easy to hold.
Toy Safety
- Under three years old, embroidered eyes only. No safety eyes, no beads, no buttons.
- Keep all yarn tails buried and trimmed short inside the body.
- Chenille sheds fine fluff as you work, which is worth knowing if the toy is going to a child with allergies. A quick tumble in a dryer on cold with a dryer sheet before gifting clears most of it.
- Check seams periodically on a toy that gets carried around, especially the ears and snout, since those are what small hands grab first.
FAQ
- Can I make this without chenille yarn? Yes, and it will look neater. Chenille hides mistakes but it also hides stitch definition. A worsted or bulky acrylic on a smaller hook gives you a crisper toy that is easier to count on.
- Why are the legs made separately instead of shaped from the body? Because it gives you four legs that genuinely stand. Bottom up shaping tends to produce stubby legs that splay. The tradeoff is that fussy join in the middle, which is honestly the only difficult part of the whole make.
- Is this a llama or an alpaca? The short ears and the rounded snout put it closer to an alpaca. Longer, more upright ears would make it a llama, and you can get there by chaining 7 instead of 5 for the ears.
- Do I have to use safety eyes? No. Embroidered eyes work just as well and are the right call for any toy going to a small child. Two French knots at the same round, three stitches apart.
- My stitch count came out different at the leg join. Should I frog it? Not if it looks right and lies flat. Just recount the perimeter before you start the body, then use your own number for round 1 and take the same total off the plain single crochets in the decrease rounds.