Never water a crochet cactus, which makes it the one houseplant that survives a dark office desk. Small amounts of green, tan and pink yarn cover each potted cactus, and a white or yellow flower gives a mini cactus garden more variety.
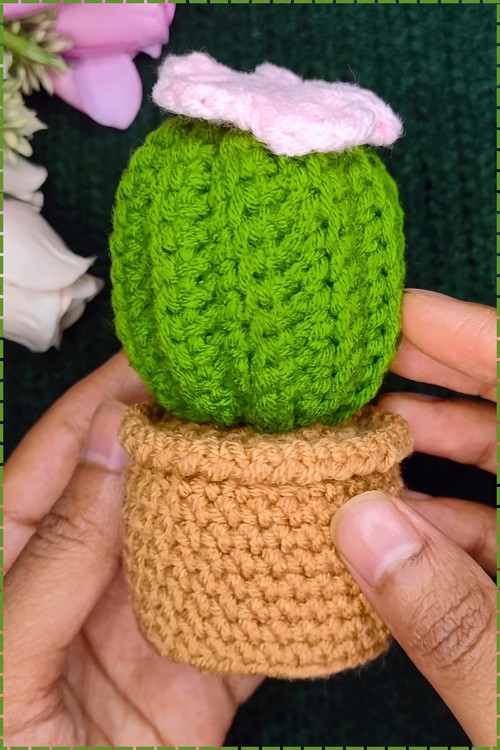
Unlike a real barrel cactus, the plant in this easy crochet cactus amigurumi free pattern has no spines, just soft vertical ribs running down a round green body with a pink flower resting on top. The cactus sits inside a separate tan pot with a folded rim. Beginners work every piece in simple rounds, so the shaping stays manageable. Weight the bottom of the pot before stuffing, because a heavy cactus tips a light base.
Crochet Cactus Amigurumi
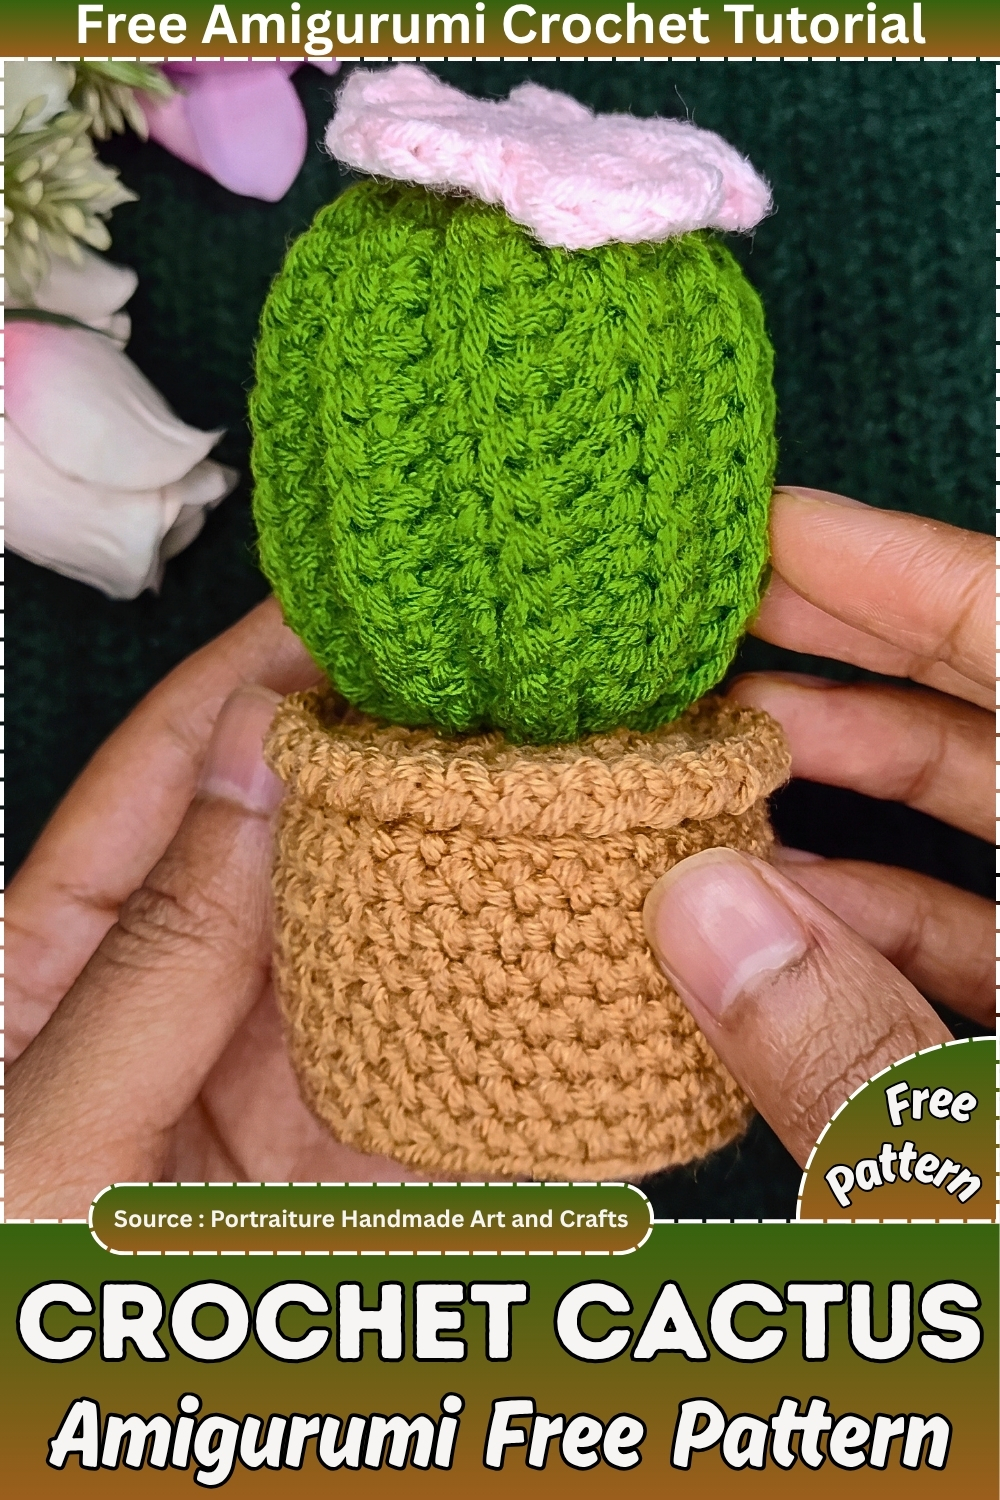
My sister moved into a flat with one north-facing window and a long history of killing every plant she carried through the door. So the housewarming gift chose itself. A small crocheted cactus sitting in a terracotta-coloured pot, no watering required, no guilt when she forgets about it for three weeks straight. It took one evening. The whole make is worked in the round using single crochet with a handful of increases, then a few decreases to close the top, and it finishes at roughly the height of a coffee mug. Beginner hands can manage this on a first attempt.
Why I Love This One
Green yarn is unusually forgiving. Uneven tension that would scream at you in cream or pale pink more or less vanishes into a green column, which makes this a kind one to learn shaping on.
Materials and Tools
These are approximate. The original pattern does not specify weights or hook sizes, so treat everything here as a sensible starting point and adjust to your own tension.
- Worsted weight yarn in a cactus green, roughly 40 to 50 g
- Worsted weight yarn in brown or black for the soil, small amount
- Worsted weight yarn in terracotta or any pot colour you like, roughly 25 to 35 g
- 3.5 mm or 4 mm hook, sized down from the yarn band so the fabric stays tight enough to hide stuffing
- Polyester fiberfill
- Stitch marker
- Yarn needle for assembly and weaving in
- Scissors
- Optional: a few grams of dried beans or rice in a small fabric pouch to weight the pot base
Approximate finished size is around 12 to 15 cm tall including the pot, depending on your yarn and how many rounds of height you work. Approximate time is two to three hours for a confident beginner, spread over an evening.
Abbreviations
- MR: magic ring
- sc: single crochet
- inc: increase, two single crochet in the same stitch
- dec: decrease, two stitches worked together
- st / sts: stitch / stitches
- FO: fasten off
Pieces List
- Cactus body: 1
- Cactus offshoots or arms: 2, optional, or as many as you want
- Soil disc: 1
- Pot: 1
Four pieces total if you make both arms. Two of them are flat circles, which means the fiddly part of this project is really just the main column.
The Pattern
Work in continuous rounds unless a step tells you otherwise, and keep a marker in the first stitch of each round. The original pattern is written by construction stage rather than by numbered rounds with stitch counts, so the round counts below are left open for you to set. See the Pattern Note further down before you start.
Cactus Body
- Begin with a magic ring, or a small chain ring if you prefer that start.
- Work evenly spaced increases across the first few rounds to open the piece out to the width you want your cactus to be. Checkpoint: at the end of your increase rounds the piece should lie flat like a coin on the table, with the outer edge staying put rather than curling up into a cup. If it cups early, your increases are too close together.
- Once the width is right, stop increasing and work single crochet in each stitch around, round after round, to build the vertical height of the column. Checkpoint: after several straight rounds you should have a tube with parallel sides, the same width at the top as at the bottom. A cone shape here means a stray increase or decrease slipped in.
- Keep working even rounds upward. The subtle vertical ridging builds as you go, formed by the natural lean of continuous rounds. Checkpoint: hold the tube up to the light at your full height. The ridges will look faint and slightly spiralled at this stage and much more defined once stuffed, so do not panic if the surface looks plain right now.
- Begin working evenly spaced decreases to taper the top. Stuff the piece firmly with fiberfill as the opening narrows, since you will not be able to reach in once the hole shrinks. Checkpoint: as the decreases progress the top should gather in like a drawstring bag, doming gently rather than flattening into a lid.
- FO, leaving a long tail to close the remaining hole and secure the top.
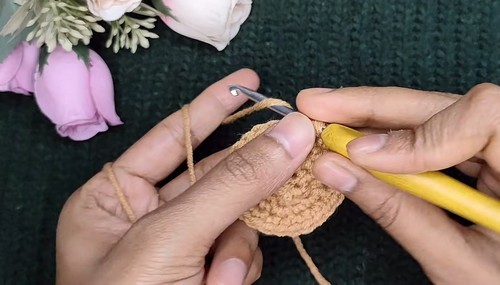
Cactus Offshoots or Arms
Optional. Two arms is the usual look, but a single arm reads well too.
- Begin a new magic ring in the same green.
- Work a few quick rounds of increases to open the base of the arm.
- Work a small number of even rounds to give the arm its stubby length. Checkpoint: the finished arm should look like a short thumb, wider at the open end and rounded at the tip. If it looks like a long finger, you have worked too many even rounds for the scale of the body.
- Stuff lightly. Arms hold their shape better slightly under-filled than packed tight.
- FO, leaving a tail long enough to sew the arm to the main body.
- Repeat for the second arm.
Never made an amigurumi before? The video tutorial below is the perfect starting point, and the written pattern is right here whenever you’re ready!
Soil Disc
- Using a contrasting brown or black, work a flat circular disc in the round, increasing evenly each round so it stays flat.
- Continue until the disc is wide enough to sit snugly inside the mouth of your pot. Checkpoint: place the disc on a flat surface. It should lie completely flat with no ruffling at the edge and no doming in the centre. Ruffling means too many increases and doming means too few.
- FO, leaving a tail long enough to sew the disc into the pot.
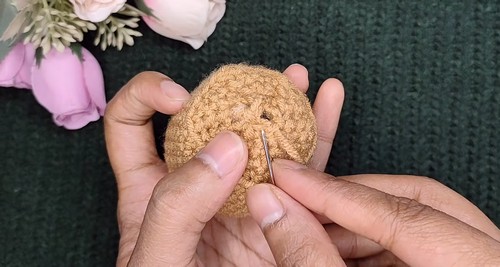
Pot
- Switch to your pot colour and begin with a magic ring.
- Work increases to shape the flat base of the pot to the width you want. Checkpoint: the base should be a flat circle, slightly narrower than the soil disc, since the pot walls will flare out above it.
- Work into the back loops of the next round to turn the corner sharply, then work straight or slightly flared rounds upward to build the pot walls and rim. Checkpoint: the pot should now stand up on its own with a defined edge between base and wall, rather than curving up like a bowl.
- FO, leaving a tail for assembly.
Assembly
- Weight the pot first if you want it. A small pouch of rice or beans dropped in the bottom stops the finished cactus from tipping when someone knocks the desk.
- Sit the soil disc into the mouth of the pot and pin it in place all the way around before sewing. Whip stitch it to the inside of the rim so the seam sits below the top edge.
- Position the cactus body in the centre of the soil disc. Pin it from four sides first, then stand back and look at it from eye level. A cactus that is two millimetres off centre looks obviously wrong from across a room.
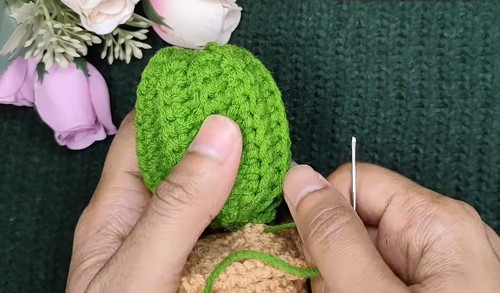
- Whip stitch the base of the cactus to the soil disc, working all the way around so it cannot rock.
- Pin the arms to the sides of the column at slightly different heights. Real cacti are not symmetrical and neither should this one be. Sew each arm on with the open edge flush against the body, going around twice for strength.
- Weave all ends into the inside of the pieces where nothing will pull them loose.
Stuffing Guide
- The main column takes the firmest stuffing in the project. You want it dense enough to stand straight without support, added in small pinches as you go rather than one big handful at the end. Arms stay soft. Stuff those loosely, just enough to round them out, or they will stick out stiffly instead of sitting against the body.
- The soil disc gets nothing at all. The pot can take a light filling around the weighted pouch if you used one, or stay hollow.
- Over-stuffing shows up in two places. White fiberfill peeking between stitches on the column means either too much filling or too loose a hook. And a top that domes into a point rather than a soft curve means you packed the last few centimetres too hard before the decreases closed.
If You Are Adding a Face
This pattern has no eyes, which is why there is no eye round listed. If you want to give the cactus a face, plan it before you start closing.
- Safety eyes go in during the even rounds of the column, roughly a third of the way up from the base, and they must be inserted and backed while the piece is still open and unstuffed. Once you begin the decreases and start filling, you cannot reach the washers.
- For any cactus going to a child under three, skip safety eyes entirely and embroider the face with black yarn instead. Plastic eyes pull out, and a small stuffed shape like this is exactly the size a toddler will try to chew on.
Troubleshooting
- The cactus leans instead of standing straight. Usually the base is not sewn all the way around, or the column was stuffed unevenly with a soft patch on one side. Undo a few assembly stitches and check the stuffing first.
- Stuffing shows through the fabric. Go down a hook size and start the piece again. It is the fastest fix and the only reliable one.
- The soil disc ruffles at the edge. Too many increases for the number of rounds. Frog back to the last flat round and space the increases wider.
- The top of the cactus flattens into a disc rather than doming. The decreases were worked too fast. Space them further apart across more rounds.
- Arms will not sit flat against the body. Nearly always over-stuffing. Pull some filling out and try pinning again.
Yarn Substitution and Size Scaling
- Any yarn works here as long as you drop a hook size or two below the band recommendation so the stitches stay tight. DK yarn with a 3 mm hook gives a smaller cactus of around 9 to 11 cm, which is the right scale for a desk or a shelf edge. Chunky yarn with a 5 mm hook produces something closer to 20 cm that reads more like a floor plant.
- If you scale up, remember the pot has to grow with it. A big cactus in a small pot topples, and the weighted pouch becomes essential rather than optional.
- Cotton gives crisper stitch definition and shows the vertical ridges more clearly than acrylic. Acrylic is softer and more forgiving on tension. Both work.
Colour and Customization Ideas
- Swap the terracotta pot for a striped one by changing colours every two rounds up the wall
- Work the cactus in a dusty sage or a blue-green for a more muted shelf piece
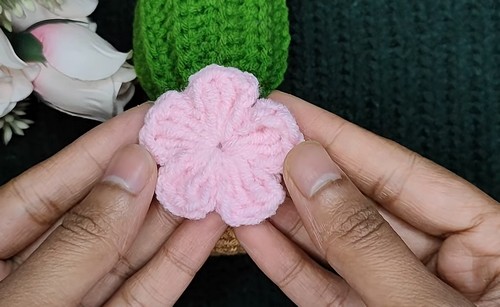
- Add a single crocheted flower or a small pom pom at the top of the column
- Embroider tiny white or cream lines up the ridges as spines
- Make three cacti at different heights and group them in one wide pot
- Use a variegated green so the column shades naturally from base to tip
- Try a pale pink or lavender pot for a nursery shelf
Toy Safety
A finished cactus is a fine ornament for any age and a fine toy from around three years upward. Below that, embroider the face if you add one, skip the pom pom and any small sewn-on details, and make sure every piece is attached with a full round of stitching rather than a few anchor points. Check the weighted pouch is sewn shut properly if you used one. Loose rice inside a toy is a choking risk.
FAQ
- Do I need a real pot for this? No, the crocheted pot is part of the pattern and holds its shape on its own once the base is worked into the back loops. A small terracotta pot works if you would rather have the weight, and the crocheted soil disc drops straight into it.
- How much yarn will this use? Somewhere around 40 to 50 g of green and a similar amount for the pot in worsted weight, though that shifts with your size and tension. One skein of each is more than enough with plenty left over.
- Can I make it without the arms? Yes. A plain column reads as a barrel cactus and looks completely intentional. The arms are the fiddliest part of assembly, so skipping them is a reasonable call on your first one.
- Why does my cactus look plain and flat instead of ridged? Almost always because it is not stuffed yet. The vertical texture in this design comes from the fabric being pushed outward from the inside, so an unstuffed column looks like a plain tube. Stuff it firmly and the ridges appear.