Little paleontologists hook crochet dinosaur keychains onto school bags and lunch boxes. No sewing means no separate legs or heads to attach, so a free crochet dinosaur pattern like this suits a quick matching pair in two colours.
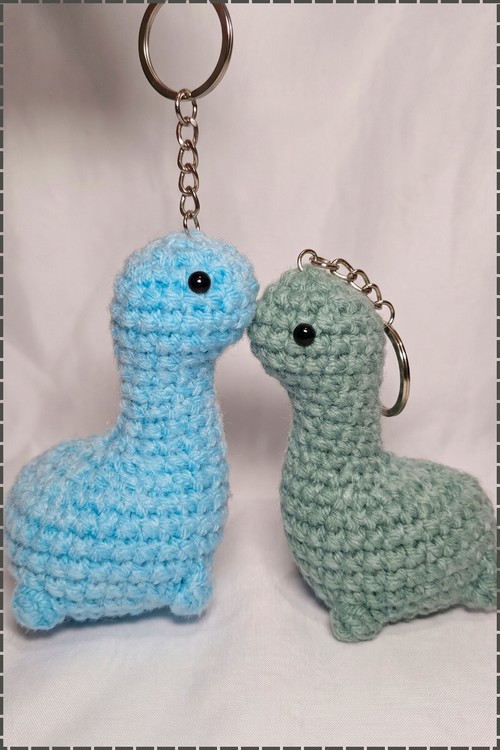
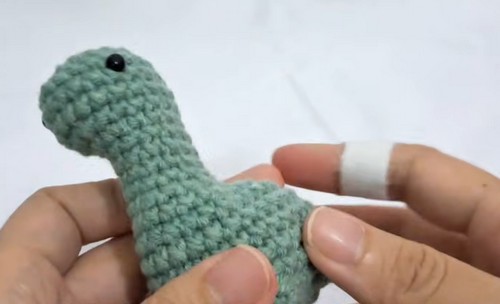
Long curved necks lift the small heads of the two dinosaurs in this crochet dinosaur amigurumi free pattern, one in bright sky blue and one in soft sage green. Each rounded body sits on four short stubby legs, with a single black safety eye on each side of the head. A metal chain joins the top of each head to a split keyring. Stuff the neck as you work up it, since a no sew piece closes before you can reach inside again.
Crochet Dinosaur Amigurumi
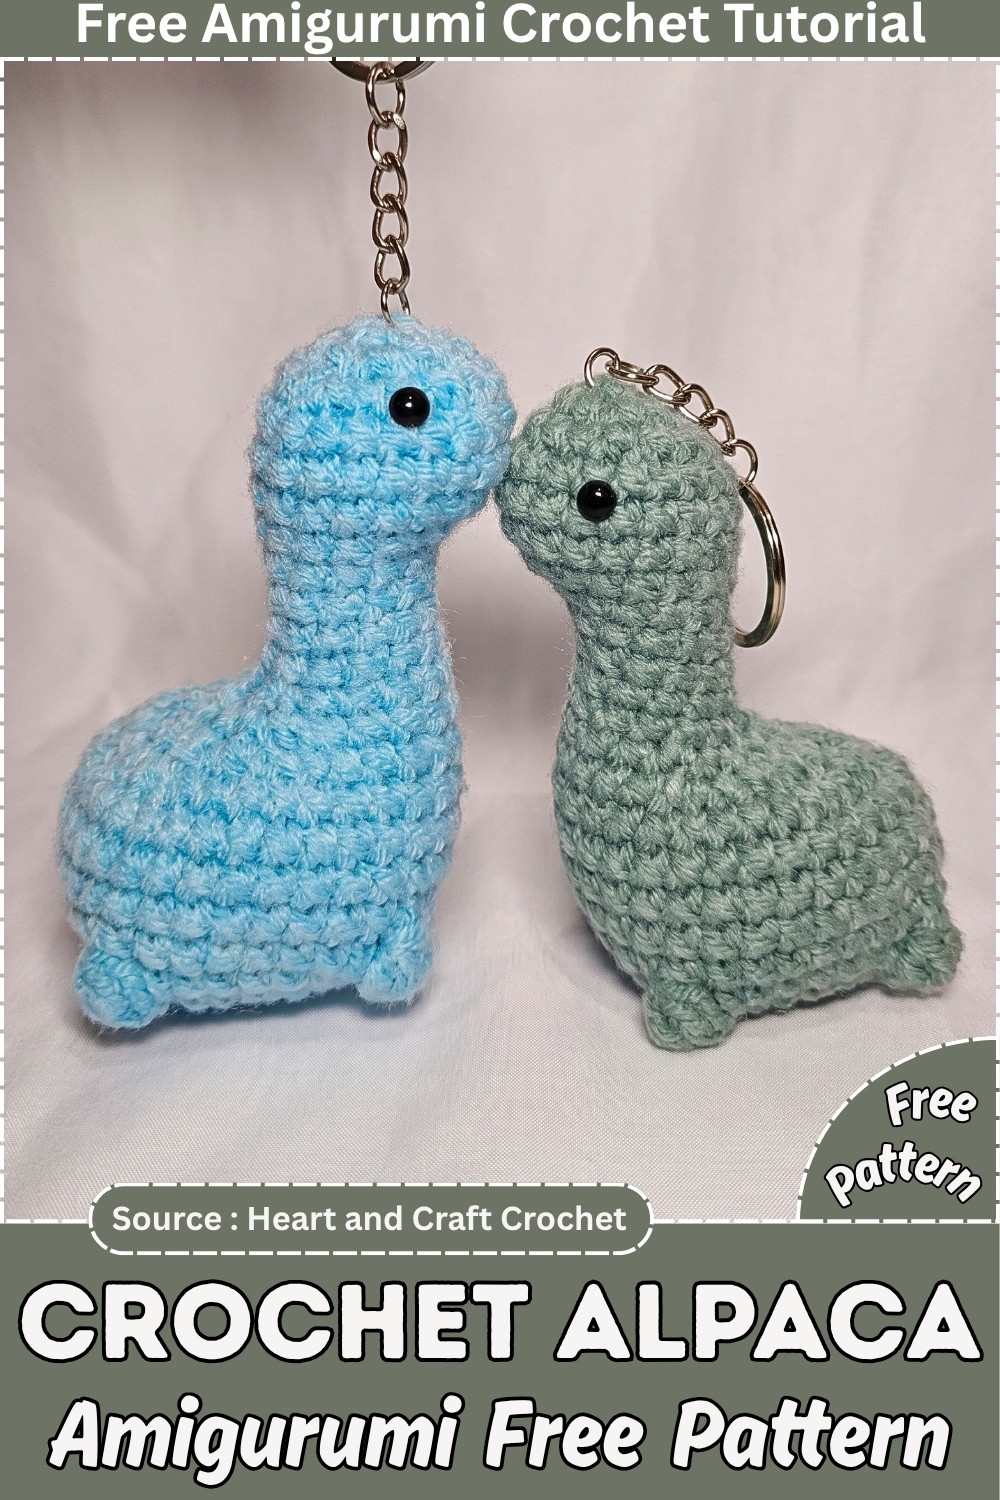
One piece. No sewing. The body, head and feet all come out of a single continuous round sequence, with bubble stitches worked directly into the body rounds to raise the foot shapes rather than attaching separate pieces. That construction is what makes this a useful beginner project and a fast one — under an hour once you have the bubble stitch down. The finished size is keychain scale, roughly 2 to 3 inches depending on your yarn weight and tension.
Materials and Tools
- DK or sport weight yarn in your dinosaur color, a small amount — 10 to 15 g is usually enough
- 2.5 mm or 3 mm crochet hook
- A pair of small safety eyes, 6 mm works well at this scale
- Polyester fiberfill, a small handful
- Stitch marker
- Yarn needle
- Keychain ring and a short length of chain, if you want to attach it
Pieces List
One piece only. The entire dinosaur is worked in a continuous round sequence. No assembly required.
Abbreviations
- SC: single crochet
- Inc: increase (2 single crochets in one stitch)
- Dec: decrease (insert hook and pull up a loop in one stitch, repeat in the next, yarn over and pull through all loops)
- Bubble stitch: a cluster of stitches worked into one spot to raise a small bump off the surface — worked here for the feet details
The Pattern
Body and Head (Single Continuous Piece)
- Make a magic ring and work 8 single crochets into it. Pull to close. [8] Checkpoint: a tight flat rosette with no hole at the center.
- Round 2: work 1 increase in every stitch around. [16]
- Round 3: work 1 single crochet, then 1 increase, and repeat to the end of the round. [24]
- Round 4: work 2 single crochets, then 1 increase, and repeat to the end of the round. [32] Checkpoint: a flat circle, the widest the body will get. It should sit level with no cupping or rippling at the edge.
- Round 5: work 7 single crochets, then 1 bubble stitch, then 7 single crochets, then 1 bubble stitch, and continue this pattern to create 4 bubble stitches evenly spaced around the round. [32 base stitches, plus 4 raised bubble points] Checkpoint: four small bumps should sit on the surface of the circle at even intervals. These are the feet, and they need to be spaced symmetrically now because there is no adjusting them later.
- Rounds 6 to 9: work 1 single crochet in every stitch around, four rounds total. Checkpoint: by the end of round 9 the piece should have started curving upward into a bowl shape, with the bubble stitch feet visible along the lower curve.
- Round 10: work 7 single crochets, then 6 decreases, then 13 single crochets.
- Round 11: work 4 single crochets, then 6 decreases, then 10 single crochets.
- Round 12: work 2 single crochets, then 6 decreases, then 6 single crochets. Checkpoint: the body is clearly narrowing on one side, forming what will become the neck. The opposite side stays fuller and rounded.
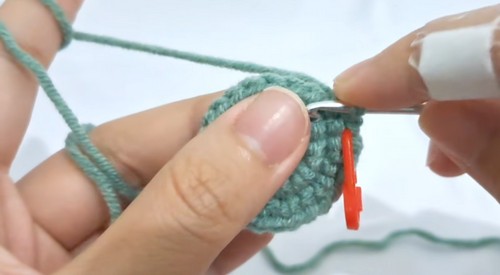
- Insert stuffing into the piece at this point, filling the body section.
- Round 13: work 2 single crochets, then 2 decreases, then 8 single crochets.
- Rounds 14 to 16: work 1 single crochet in every stitch around, three rounds total.
- Add more stuffing if the body has settled and needs topping up.
- Round 17: work 10 single crochets, then 1 increase in each of the next 2 stitches.
- Round 18: work 2 increases, then 10 single crochets, then 2 increases.
- Round 19: work 2 increases, then 16 single crochets. Checkpoint: the piece should be widening again from the neck into the head shape, visibly rounder and more forward-facing than the narrow section below it.
- Rounds 20 and 21: work 1 single crochet in every stitch around.
- Round 22: work 3 single crochets, then 1 decrease, and repeat to the end of the round.
- Insert safety eyes now, before round 23 closes the head. See the safety eye section below for the exact timing and the embroidered alternative.
- Round 23: work decreases for the whole round.
- Cut the yarn leaving a tail.
- Insert the hook into the front loop of each remaining stitch, yarn over and pull through to gather all loops together.
- Pull tight to close the hole completely.
- Weave in the remaining ends.
New to reading amigurumi patterns? No worries, just follow along with the video tutorial below and keep the written pattern handy as a reference!
Safety Eye Timing
- The pattern places the eyes after round 22 and before round 23. By that point the head is nearly closed, which makes fitting the backing washers tight on a piece this small. Work quickly and use a blunt tool — the back of a crochet hook or the tip of a pen — to press each washer flat from inside before the opening gets any smaller.
- For any toy or keychain going to a child under three, skip the safety eyes and embroider instead. Two small black satin stitch dots placed during round 20 or 21, while there is still comfortable access, give you the same face with nothing that can be pulled off. Bury the yarn tails fully inside the head before closing.
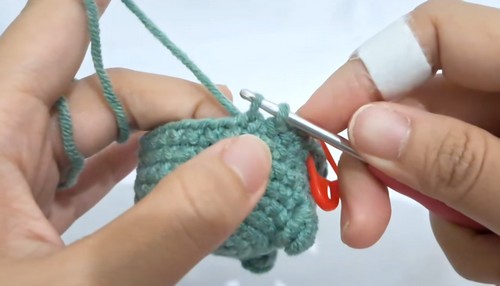
Stuffing Guide
- This is a small piece and needs less stuffing than you expect.
- Fill the body through the narrowing section after round 12, then add a small pinch to the head once round 19 has opened it back up.
- The finished dino should feel lightly firm rather than taut. Overstuffing at this scale pushes the stitches apart and the fabric goes thin and stretched.
- The bubble stitch feet need no stuffing of their own. They are surface texture only.
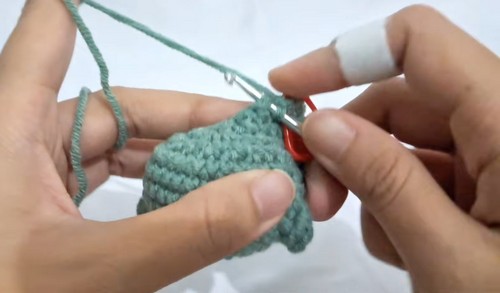
Assembly
No sewing. No separate pieces. Once the final tail is woven in, the dinosaur is done. Attach a keychain ring through the top of the head with a short length of chain or a slip knot in a contrasting yarn if you want a hanger.
FAQ
- What yarn weight gives the best result? Sport or DK on a 2.5 to 3 mm hook. Going bulkier makes the bubble stitch feet look less defined, and going finer makes the stuffing difficult to control at this scale.
- Can I skip the bubble stitches? Yes. Work plain single crochets through round 5 and the body shape stays the same, just without the raised feet. Some people prefer the cleaner look, especially for a keychain that will take wear.
- Do I need a stitch marker for such a small piece? More than for a larger one, not less. The decrease rounds in the 10 to 13 range happen fast and on a piece this small one missed stitch throws off the whole snout shape.