
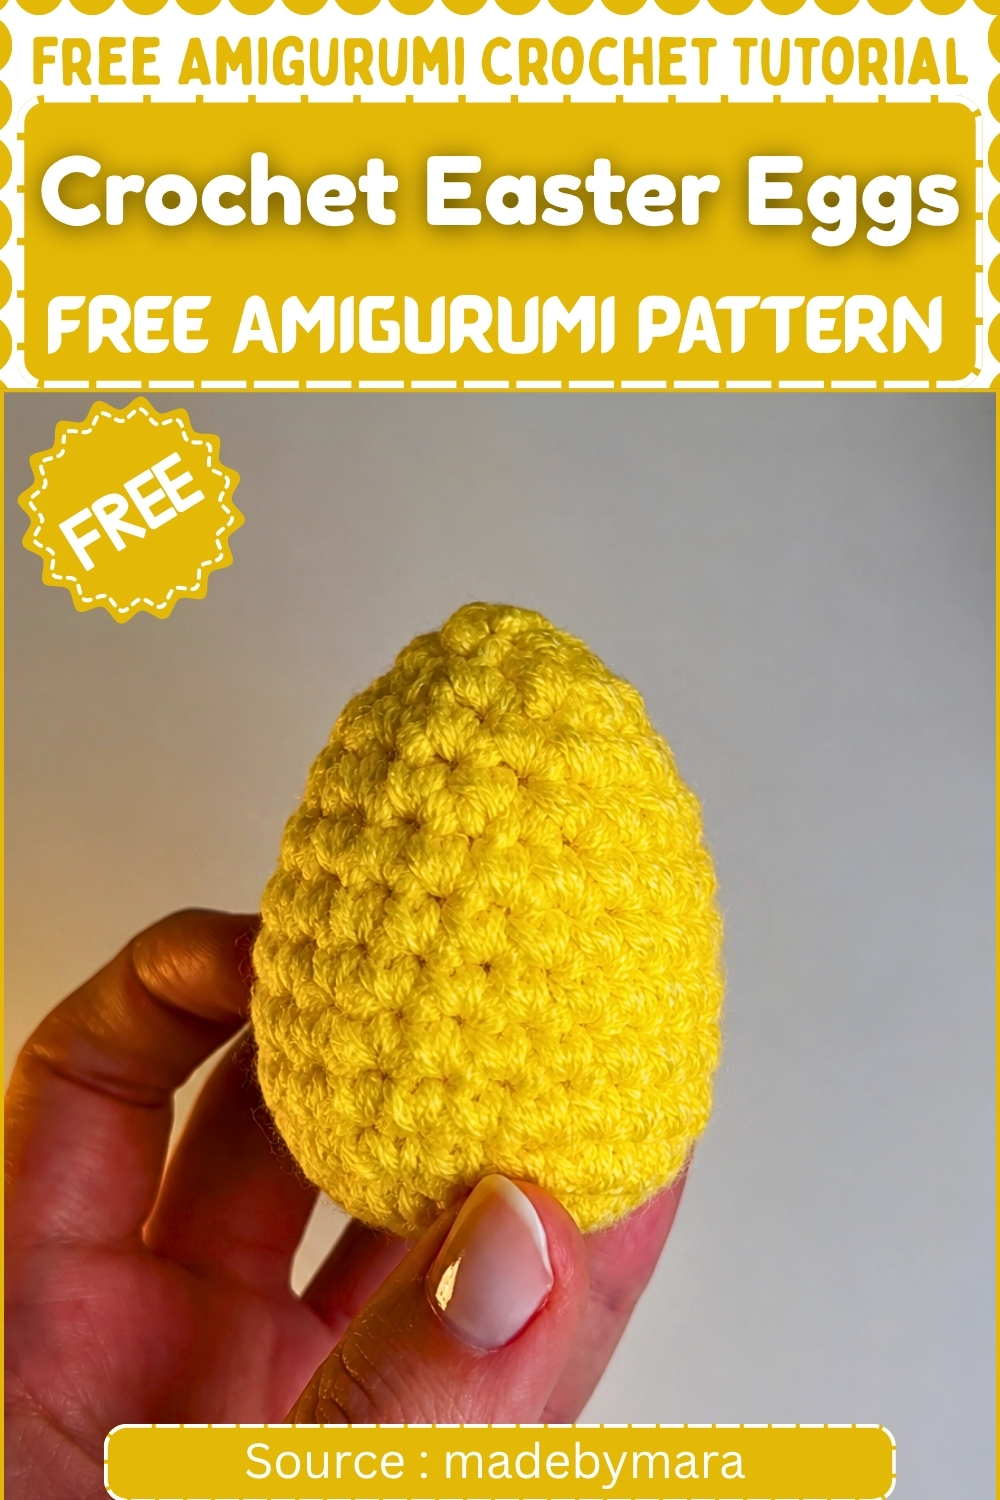
These crochet Easter eggs are the sort of project you can pick up and finish in the time it takes to watch an episode of something. Each one is a small worked-in-the-round shape, so they’re ideal for practising even tension, and a handful of them fills a basket or a bowl nicely. Free pattern’s below.
Small and quick to finish, crochet Easter eggs are one of those projects that work just as well for a beginner looking to practice shaping as they do for someone building up a seasonal decoration set. The pattern uses a no magic ring starting method, which removes one of the most common points of frustration for newer crocheters and keeps the whole process approachable from the first stitch.
Crochet Easter Eggs Amigurumi
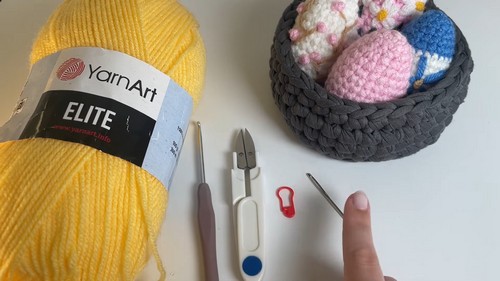
Materials
Yarn: Weight 4 yarn in any color — or two strands of Weight 2 acrylic yarn held together as one throughout
Hook: 3.5 mm
Other supplies:
- Scissors
- Stitch marker
- Yarn needle
- Fiberfill stuffing or recycled scrap yarn for stuffing
Abbreviations
- sc — single crochet
- st / sts — stitch / stitches
- increase — 2 sc worked into the same stitch
- decrease — 2 stitches worked together into 1
The Pattern
Work in continuous rounds throughout — do not join with a slip stitch at the end of each round. Place a stitch marker in the first stitch of each new round and move it up as you go.
Round 1 — The Base Ring:
- Make a slip knot and chain 4
- Slip stitch into the very first chain you made — the one furthest from your hook — to close the chain into a small ring
- Chain 1 to bring your working yarn up to the height of the round — this chain does not count as a stitch
- Work 6 sc directly into the center of that ring, inserting your hook through the hole in the middle rather than into the chain stitches themselves
- Place your stitch marker into the first sc you just made
- Pull the starting yarn tail to draw the center ring closed so no hole remains
This chain-ring method is an excellent alternative to the magic ring — it produces the same tight, closed center and suits makers who find the magic ring fiddly or difficult to maintain while working the first round.
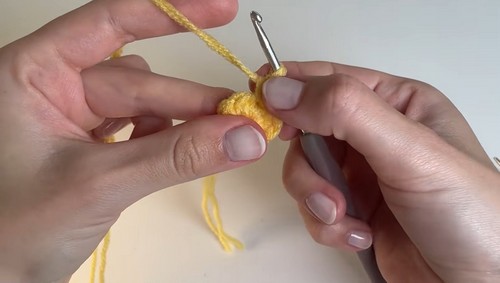
Round 2 — Doubling the Base:
- Remove the stitch marker from the previous round
- Work 2 sc into every stitch all the way around — 6 increases total, one into each of the 6 stitches from Round 1
- Move your stitch marker into the new first stitch of this round so you know where Round 2 begins
- You now have 12 stitches
Doubling the count in one round establishes a flat, even circular base — the egg will sit cleanly on this foundation once it is finished.
Never read a crochet pattern before? No problem! The video tutorial below is perfect for beginners, or give the written pattern below a try!
Round 3 — Expanding the Base:
- Work 1 sc into the first stitch
- Work 1 increase into the next stitch — 2 sc into the same stitch
- Repeat this combination — 1 sc followed by 1 increase — all the way around the round, working it a total of 6 times
- You now have 18 stitches
Spacing the increases evenly one stitch apart keeps the base circular rather than developing corners — if the increases were bunched together, the circle would flatten into a hexagon.
Round 4 — Final Increase Round:
- Work 1 sc into the first stitch
- Work 1 sc into the next stitch
- Work 1 increase into the following stitch — 2 sc into the same stitch
- Repeat this combination — 2 sc followed by 1 increase — all the way around the round, working it a total of 6 times
- You now have 24 stitches
After this round, the work will naturally begin to curve downward at the edges and form a small bowl shape — this is correct and means your tension is working exactly as it should for three-dimensional shaping. Round 4 is the widest point of the egg.
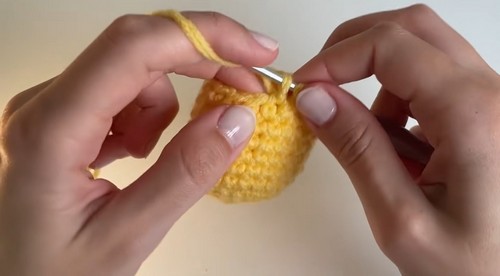
Rounds 5, 6, 7, 8, and 9 — The Egg Body:
- Work 1 sc into every stitch around with no increases or decreases
- Repeat this same even round a total of 5 times, keeping 24 stitches in every round
- These rounds build the vertical walls of the egg and transform the flat bowl into a deep, rounded cup
If you want to turn the egg into a creature, place 4 mm or 6 mm safety eyes between Rounds 7 and 8 while the opening is still wide and accessible — leave about 4 stitches of space between them, check their placement from the front before pressing the washers on, and lock them before continuing.
Round 10 — First Decrease Round:
- Work 1 sc into the first stitch
- Work 1 sc into the next stitch
- Work 1 decrease over the next 2 stitches — insert your hook into the first stitch, then into the second stitch, yarn over and pull through both stitches, yarn over and pull through the remaining loops to complete the decrease
- Repeat this combination — 2 sc followed by 1 decrease — all the way around the round, working it a total of 6 times
- You now have 18 stitches
This round begins pulling the walls back inward, transitioning from the wide center body toward the narrower top of the egg.
Round 11 — The Straight Round:
- Work 1 sc into every stitch around with no increases or decreases
- Keep 18 stitches throughout the round
Adding one even round between the two decrease rounds softens the taper and keeps the egg looking elongated and natural — without this round, the top closes too abruptly and the finished shape reads as a sphere rather than an egg.
Round 12 — Second Decrease Round and Stuffing:
- Work 1 sc into the first stitch
- Work 1 decrease over the next 2 stitches
- Repeat this combination — 1 sc followed by 1 decrease — all the way around the round, working it a total of 6 times
- You now have 12 stitches
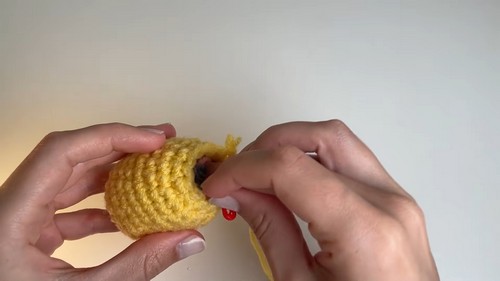
Before continuing, pause and stuff the egg now — this is the last comfortable opportunity to fill it before the opening narrows past the point of easy access:
- Tear your fiberfill into small, loose clumps rather than pushing in one large ball — small pieces distribute evenly and prevent lumpy sections from showing through the stitches
- Use the back of your crochet hook to push stuffing into the bottom curves first, ensuring the wider base is packed firmly before you fill the upper section
- Fill until the egg holds its oval shape when you squeeze it gently, but stop before the stitches begin to visibly stretch or separate — overstuffing shows the filling through the fabric
Round 13 — Final Closure:
- Work 1 decrease over the next 2 stitches
- Continue working 1 decrease into every remaining pair of stitches — 6 decreases total, worked sequentially one after the other all the way around
- You now have 6 stitches remaining
- Cut the yarn, leaving a tail of approximately 15 cm
- Pull the tail directly through the loop on your hook to fasten off — do not slip stitch
Finishing — Sewing the Top Closed:
- Thread the yarn tail onto your yarn needle
- Pass the needle through the front loop only of each of the 6 remaining stitches, working all the way around the opening
- Pull the tail firmly and steadily to draw the top closed into a tight, seamless circle — the front-loop-only pass is what keeps the closure smooth and nearly invisible
- Once the opening is fully cinched shut, push the needle straight down into the center of the egg and bring it out through the side of the egg at a spot where the tail will be hidden
- Pull the tail taut so the knotted end disappears inside
- Snip the excess tail close to the surface and push any remaining yarn fuzz inside the egg with the tip of your hook or needle

Notes on Stuffing and Finishing
Scrap yarn makes an excellent substitute for fiberfill in this pattern — chop leftover yarn ends into short lengths and use them as fill. The finished weight is pleasant and the egg holds its shape well without any risk of the fiberfill shifting or compacting over time. The chain-ring start, while slightly different from a magic ring in technique, produces an equally tight center — pull the starting tail firmly after Round 1 to confirm the hole is fully closed before continuing. If any gap remains, a single whip stitch through the ring with the yarn tail closes it.
FAQ
Q: Can I use this same pattern to make a set of different-sized eggs? Yes — size is determined entirely by yarn weight and hook size together. Weight 4 yarn on a 3.5 mm hook produces a medium egg, roughly the size of a large hen’s egg. Switching to a chunky or bulky yarn on a 5.5 or 6.0 mm hook makes a considerably larger version. Dropping to a fingering or sock weight on a 2.5 mm hook produces a miniature egg suitable for tiny basket fillers or ornament hangers. The pattern rounds are identical regardless of size — only the yarn and hook change.
Q: How do I add a face or decoration to the egg? Safety eyes should go in between Rounds 7 and 8 while the opening is still wide — mark both positions with a loop of scrap yarn first, check the spacing from the front, then lock the washers before closing. Embroidered details like a small smile, rosy cheeks, or decorative lines can all be added after the egg is fully assembled and closed, using a yarn needle and embroidery thread or a strand of yarn split in half. Working embroidery on a stuffed, closed surface gives you a firm base to stitch against, which makes keeping tension even much easier.
Q: My finished egg looks lumpy rather than smooth. What went wrong? The most common cause is stuffing that went in as one large piece rather than several small ones. Large clumps of fiberfill bunch into uneven masses inside a small space, and those masses show through the surface stitches. Tear everything apart into small, light pieces before pushing any of it in, and add it gradually rather than all at once. The second common cause is overstuffing — if the stitches are visibly stretching open, remove some fill and redistribute what remains. The egg should feel firmly rounded, not hard.