
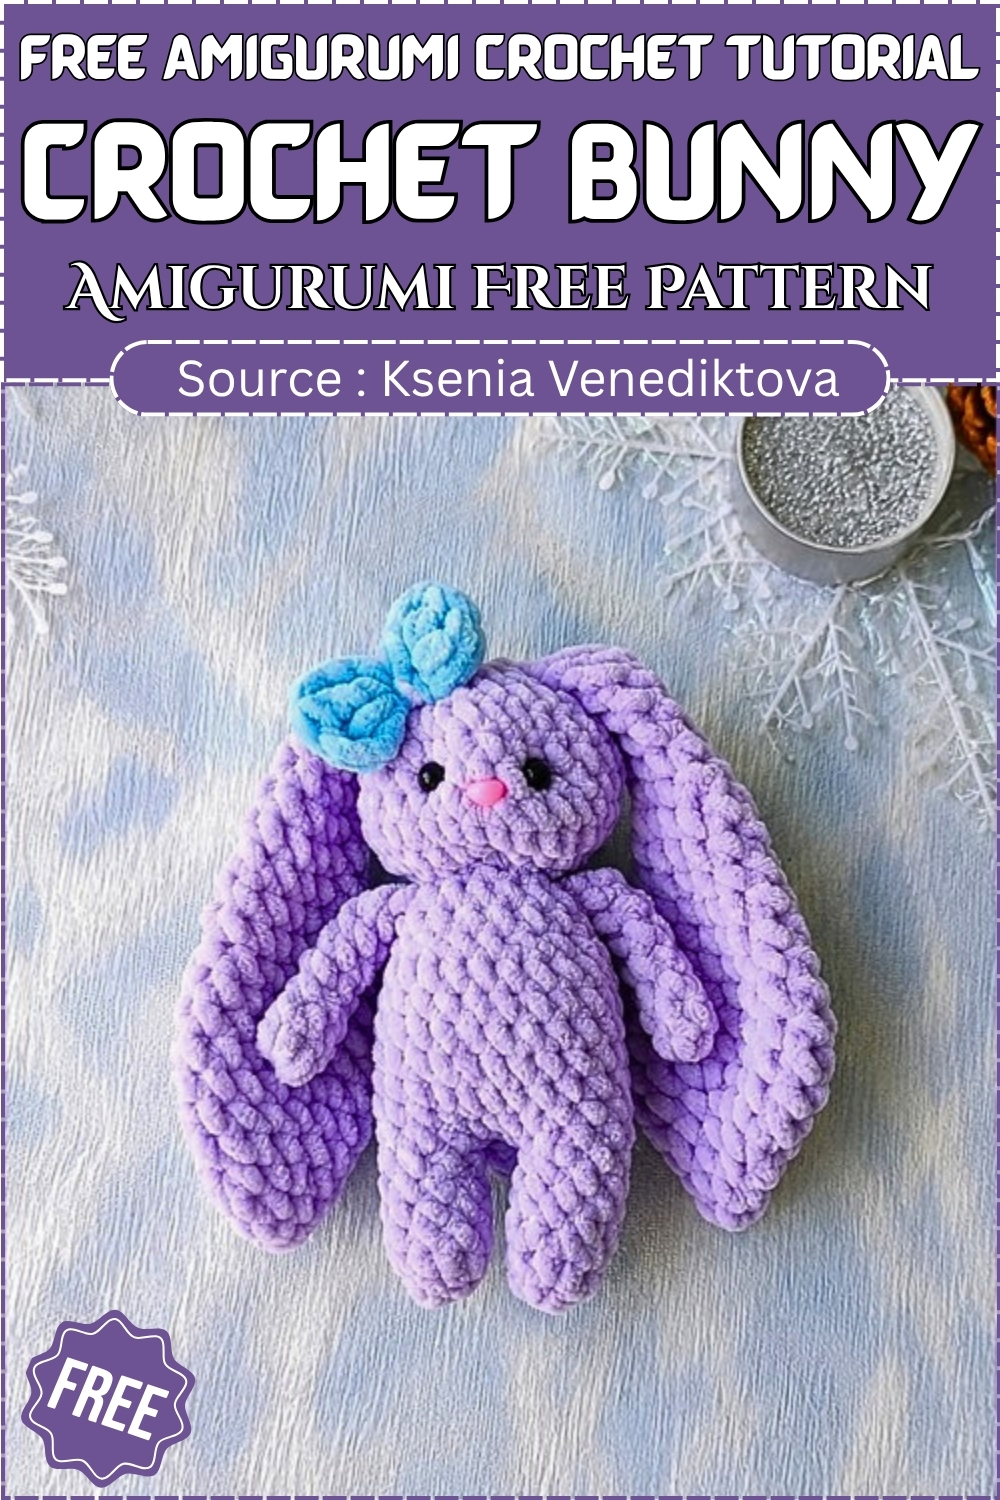
Say hello to Baylie the bunny as a soft, floppy-eared crochet plushie that’s every bit as huggable as she looks. This free bunny amigurumi pattern walks you through the whole make with beginner-friendly shaping, so it’s a lovely first plushie project or a quick evening make if you’ve stitched a few already. She’s the kind of handmade gift that gets carried everywhere, whether she’s for a new baby, an Easter basket, or your own shelf. Ready to bring Baylie home? Free pattern this way.
Baylie the Bunny is a plush, chenille-yarn amigurumi worked almost entirely in one piece — the legs join into the body, the arms attach as you go, and the body flows straight up into the head with no separate seaming at the neck.
Crochet Baylie The Bunny
This covers everything from the arms and legs through the finished head; the ears come in Part 2. It’s a good fit for confident beginners and up: you’ll need the magic ring, increases, decreases, and a leg-join, but nothing trickier than that. Here’s exactly how to make her, step by step.
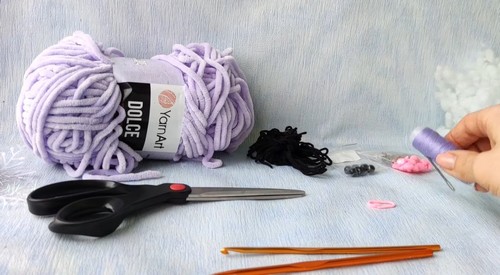
Materials & Tools
Yarn:
- Plush chenille yarn in your main color — the original uses YarnArt Dolce in color #744, a soft bluish grey
- A contrasting plush color if you’d like to add a bow
Hooks:
- 4.0 mm for the body and all limbs
- 5.0 mm for the ears in Part 2 (keep this hook nearby)
Eyes and nose:
- 8 mm safety beads or safety eyes
- One plastic safety nose
Other supplies:
- Hollow fiber fiberfill stuffing
- Yarn needle
- Matching regular sewing thread
- Stitch markers
- Scissors
Abbreviations
- sc — single crochet
- inc — increase (2 single crochets worked into the same stitch)
- dec — decrease (2 stitches worked together into one single crochet)
- st / sts — stitch / stitches
- sl st — slip stitch
Difficulty & Time
Easy to intermediate. The individual stitches are simple throughout, but the leg join and arm attachment mid-round ask for a little focused attention the first time you encounter them. Most of the time investment goes into careful stuffing and shaping rather than complicated technique — set aside an evening or two and you’ll be well placed to finish.
Note: This is Part 1, covering the limbs, body, and head. The ears are worked separately in Part 2 with the 5.0 mm hook.
Before You Begin — Construction Notes
- A handful of moments in this pattern make the difference between a bunny that sits up proudly and one that slumps, so these are worth reading before you cast on your first round.
- Working in chenille hides your stitches inside the soft pile, which makes counting genuinely tricky. A locking stitch marker in the first stitch of every round — moved up faithfully as you go — is the only reliable way to stay on track. When you add stuffing, roll the fiberfill into small clumps before pushing them in; one large mass tends to create lumps that show through the fabric even under plush yarn.
- The leg join connects two separately worked legs with a single chain, and keeping your hook tension even across this join is the key to avoiding an open gap in the crotch area. A small amount of stuffing added into the legs at Round 8, as the pattern directs, helps the base hold its shape while you build the body upward.
- Packing for stability is what gives Baylie her seat. Fill the hips and lower legs firmly — that weight low in the body is what allows the finished bunny to sit independently. The neck transition needs solid filling too; a loosely stuffed neck lets the head sag or tilt forward with handling over time.
- Attaching the arms at Round 15 works best when you position them exactly opposite each other on the sides of the torso before committing. Crocheting through both the arm’s flat edge and the body together keeps each arm lying flush against the rows rather than flaring outward.
- Setting the face should happen while the head is still open and easy to reach. Check eye and nose spacing from a full arm’s length before snapping the washers — once locked, they don’t release. Press each washer down the post until it sits tight against the inner fabric.
- Closing the head is done through the front loops only of the final round. Pull the tail slowly and steadily; rushing it can bunch the plush coating or separate it from the core thread.
The Pattern
The Arms (Make 2)
Do not stuff the arms as you crochet.
- Round 1: Work 6 sc into a magic ring. Join with a sl st. [6 sts]
- Rounds 2–6: Work sc in each stitch around for 5 rounds. [6 sts]
- Finish: Fold the top edges flat together and crochet them closed with 1 sc, then sl st. Cut the yarn and hide the tail end inside the arm.
The Legs (Make 2)
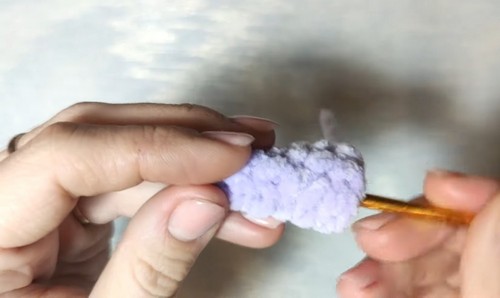
- Round 1: Work 6 sc into a magic ring. Join with a sl st. [6 sts]
- Round 2: Work the combination of 1 sc and 1 inc a total of 3 times around. [9 sts]
- Rounds 3–6: Work sc in each stitch around for 4 rounds. [9 sts]
- First leg: Finish with a sl st, cut the yarn, and hide the tail.
- Second leg: Do not cut the yarn after Round 6 — you will use this working yarn to connect the legs.
Never read a crochet pattern before? No problem! The video tutorial below is perfect for beginners, or give the written pattern below a try!
The Body
Round 7 — Connecting the legs:
- Chain 1 from your second leg
- Insert your hook into the first leg at the point of the finishing sl st and work 1 sc to join them
- Crochet 9 sc around the left leg, 1 sc into the connecting chain, 9 sc around the right leg, and 1 sc into the opposite side of the connecting chain
- Place your stitch marker here
Round 8 — Increasing the waist:
- Crochet 20 sc, work 1 inc right in the center of the round, then 2 sc [24 sts]
- Add a small amount of fiberfill stuffing into the legs at this point
Rounds 9–13 — Building the body:
- Work sc in each stitch around evenly for 5 rounds [24 sts]
- Stuff the body firmly with fiberfill once you finish Round 13
Round 14 — Shaping the torso:
- Work the combination of 2 sc and 1 dec a total of 6 times around [18 sts]
- Work the decreases through the front loops only
Round 15 — Attaching the arms:
- Work 18 sc around, joining the arms to the sides of the body as you go
- Secure each arm by crocheting through both the arm’s flat edge and the body together over 3 stitches
- Keep 6 sc across the chest and 6 sc across the back
Round 16 — Shaping the neck:
- Move your stitch marker as needed so the neck details align neatly
- Work the combination of 1 sc and 1 dec a total of 6 times around [12 sts]
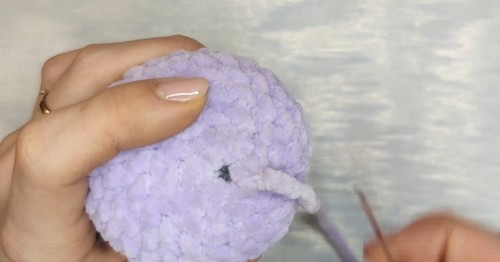
The Head
Round 17:
- Work 2 sc into every stitch around (12 increases total) [24 sts]
Round 18:
- Work the combination of 3 sc and 1 inc a total of 6 times around [30 sts]
Rounds 19–22:
- Work sc in each stitch around evenly for 4 rounds [30 sts]
Insert nose and eyes:
- Locate the head expansion section between head rounds 3 and 4
- Find the exact center of the face and insert your safety nose, securing the washer firmly against the inside
- Set your safety eyes symmetrically on either side of the nose, checking placement from a distance before snapping the washers shut
- Push each washer all the way down the post until it locks tightly against the inner fabric
Round 23:
- Work the combination of 3 sc and 1 dec a total of 6 times around [24 sts]
- Work the decreases through the front loops only
Round 24:
- Work the combination of 2 sc and 1 dec a total of 6 times around [18 sts]
Stuffing pause:
- Stuff the head generously now, smoothing out the sides first and then the center
Round 25:
- Work the combination of 1 sc and 1 dec a total of 6 times around [12 sts]
Round 26:
- Work 5 decreases sequentially
Finish:
- Slip stitch to close
- Cut the yarn, leaving a long tail
- Thread your yarn needle and weave the tail through the remaining front loops, pull tight to close the circle, knot securely, and hide the tail inside the body by plunging the needle through, pulling taut, and snipping close
Customization Ideas
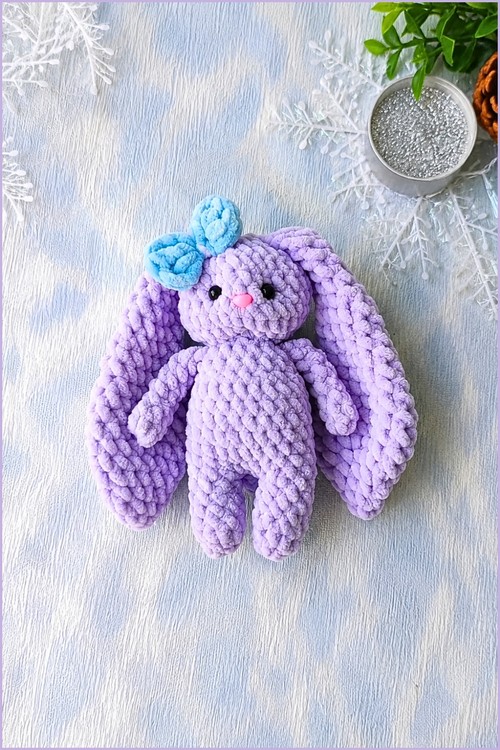
- Color: Baylie reads beautifully in almost any chenille shade. A warm ivory or oat gives her a classic look; dusty rose or sage makes her feel more contemporary. For a seasonal version, a pale lavender with a lilac bow is irresistible at Easter, and deep charcoal reads as surprisingly sophisticated on a shelf.
- Size scaling: YarnArt Dolce on a 4.0 mm hook produces a mid-sized sitting bunny — ideal for gifting. Switching to a bulkier chenille on a 5.0 or 5.5 mm hook produces a noticeably chunkier toy that toddlers can really grab onto. A lighter weight chenille on a 3.5 mm hook brings her down to a smaller keepsake size.
- The bow: The pattern mentions a contrasting plush yarn for a bow, and this small detail makes an outsized difference in photos. A bow at the neck, between the ears, or even at one ear gives you three completely different looks from the same base pattern. Try tying rather than sewing it if you want to swap colors for different recipients.
- Expression variations: The face as written gives Baylie a centered, calm expression. Shifting the eyes very slightly wider apart gives a more surprised or open look; closer together reads as sleepier or more focused. A tiny embroidered smile in matching thread adds warmth without adding complexity.
FAQ
Q: Can I use a regular acrylic yarn instead of chenille?
Yes, and the construction works identically — but the result will look and feel quite different. Chenille’s pile is what gives Baylie her soft, slightly sculptural quality. A smooth acrylic will show the stitch definition more clearly, which can look lovely in its own right but produces a firmer, more structured toy rather than a plush one. If you substitute, you may find you need to size down your hook slightly to keep the stuffing from showing through.
Q: Are 8 mm safety eyes appropriate for a baby gift?
Safety eyes with plastic washers carry a choking risk for children under three, regardless of size. For a baby or young toddler, embroider the eyes instead using black yarn in small tight satin stitches, or use felt circles sewn flat with thread. The nose can be replaced with an embroidered satin-stitch triangle. The finished look is softer and the toy is genuinely safer for small hands.
Q: My bunny won’t sit upright — what went wrong?
Almost always this comes down to stuffing density in the lower body. The hips and legs need to be packed firmly enough to provide ballast; if the base feels soft or compressible, add more fiberfill before closing the body. Also check that the leg join chain is centred evenly — an off-centre join shifts the weight distribution and tips the whole toy slightly to one side.
Q: Can I make the arms poseable with wire?
You can insert a short length of pipe cleaner or chenille wire through the arms before closing them at Round 15, but check the gauge carefully — the arm tube is narrow and a thick armature can distort the shape. Bend the ends of the wire back on themselves before inserting so there are no sharp points that could work through the fabric. This modification is not suitable for toys intended for children.