Warm tan yarn and dark brown nubby ears turn the free crochet capybara pattern into a calm, chubby figure that stands upright in one palm. Fans of the amigurumi capybara can make a matching pair for a nursery shelf, a desk corner or a small birthday surprise for a best friend.
Body and head worked as a single continuous piece means no neck seam, no alignment fuss, and nothing to wobble later. Ears are the only things sewn on, and placement is the only decision that actually matters. Milk cotton at 4-ply gives the finished piece a slightly matte, dense look that suits the animal well.
Crochet Capybara Amigurumi
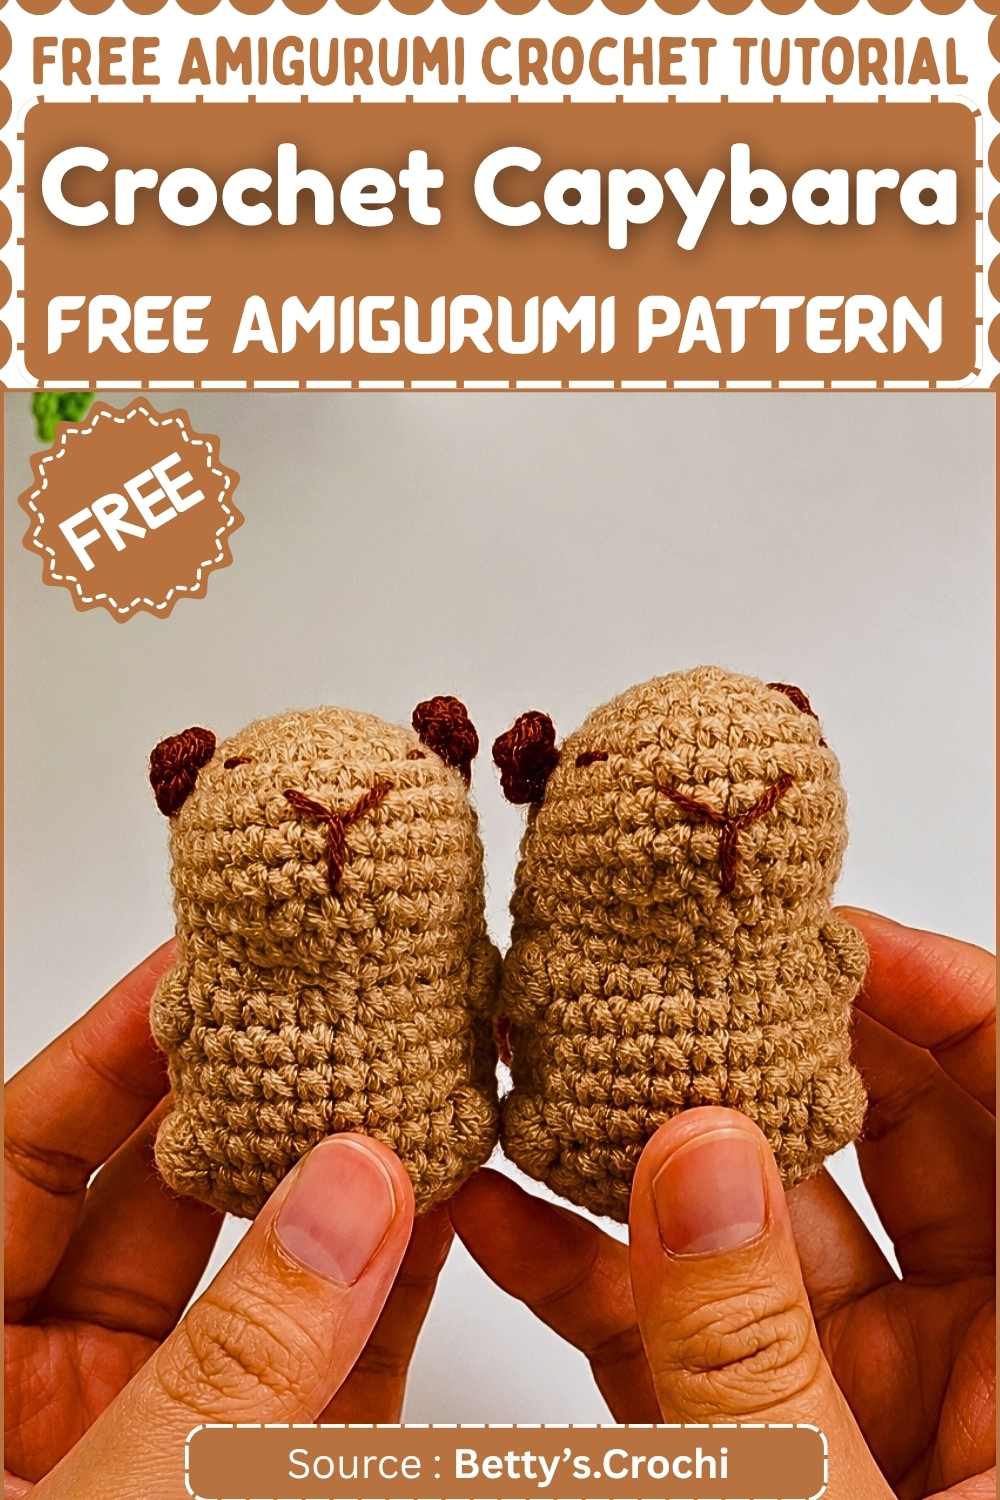
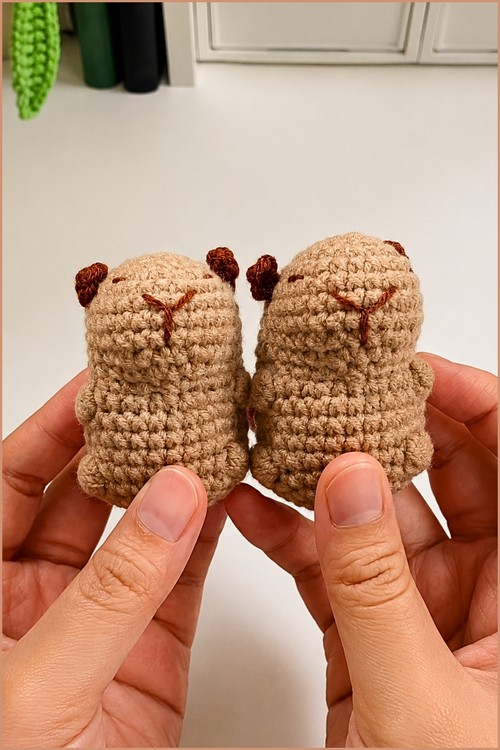
Two capybaras from the same pattern in slightly different tan shades come out looking like related but distinct individuals. The source is a video tutorial without written stitch counts, so this post follows the construction sequence faithfully, but you will need the video for exact round numbers.
Materials and Tools
- 4-ply or 5-ply milk cotton yarn in brown or tan
- Small amount of darker brown or black yarn for nose and mouth embroidery, or for a separate snout piece
- 2.5 mm or 3.0 mm crochet hook
- Fiberfill stuffing
- Safety eyes, or black embroidery thread for children under three
- Stitch marker
- Tapestry needle
- Scissors
Go with the 2.5 mm hook. Milk cotton crochets loose by nature, and the smaller hook gives a fabric tight enough that stuffing stays hidden. If your tension already runs tight, the 3.0 mm saves your hands.
Pieces List
- Body and head: 1 piece, worked continuously
- Ears: make 2
- Snout detail: make 1 optional flat oval, or embroider directly onto the face
Safety Eye Timing
Eyes go in while the body is still wide open, before stuffing and before the closing rounds narrow the opening too much to reach inside. Set them low on the face and further apart than feels right, near the sides rather than the front. Press the washers firmly from inside.
A note: the original tutorial places eye insertion in the final assembly section, after the body is stuffed and closed. That order is not possible since the washers must be pressed on from inside. The step is moved into the body section below, where it belongs.
For any toy going to a child under three, embroider closed eyes with black yarn instead of using safety hardware.
The Pattern
Body and Head
- Begin with a magic ring and work your foundation round of single crochet into it.
- Work in continuous rounds throughout, without joining or chaining up at the end of any round.
- Increase evenly over the opening rounds to build the width of the head, spacing increases so the piece stays flat rather than puckering. As an inline check: while increases are still happening, the work should sit as a flat disc with no cupping; edges curling up early mean increases are too far apart, ruffling means they are too close.
- Once the head reaches full width, work even rounds with no shaping to build the depth of the face and top of the head. As an inline check: by the end of the straight rounds the piece should sit like a shallow open bowl; a capybara’s head is blocky, so resist rounding it off.
- Insert safety eyes now, while the opening is wide. Set them low on the face, further apart than feels right, and press the washers firmly from inside before continuing.
- Continue in continuous rounds to build the body length, keeping the shape even and slightly barrel-like rather than tapering.
- Begin stuffing with fiberfill as you go, pushing small pieces into the head end first before the opening narrows. As an inline check: the stuffed head should hold its shape when pressed lightly from the top; if it dents and stays dented, add more.
- Shape the lower body with decreases spaced evenly around each round so the base closes smoothly. Keep stuffing as you close. As an inline check: before the final rounds the body should look slightly overfull; cotton settles, and a capybara that looks plump now will look deflated in a week if you underfill it.
- Close the remaining opening, fasten off, and weave the tail end back through the base.
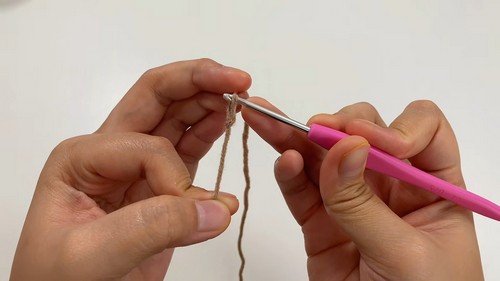
Ears (Make 2)
- Begin with a magic ring and work a small round of single crochet into it.
- Work the ear as a small, shallow piece. Leave it unstuffed.
- Fasten off leaving a long sewing tail. As an inline check: a finished ear should be able to fold in half and spring back; if it holds a crease it is too dense and will sit awkwardly once attached.
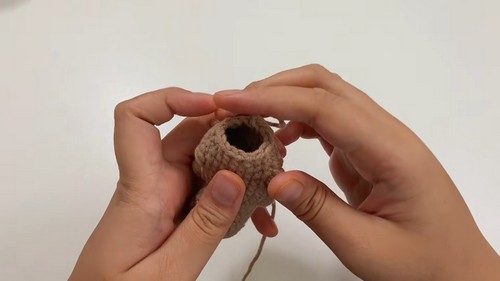
Assembly
Ears are the one placement call on this whole project, and they change the face more than any other decision. Real capybaras carry their ears high and surprisingly far back, closer to the crown than the temple. Sit the toy on a table at eye level, hold both ears in position with pins, and check from both the front and the side before committing. Sew each ear flat against the head, stitching through the ear base and into the body fabric so it cannot flop forward. Weave all ends into the body rather than knotting them at the surface.
New to crochet and not sure how to read a pattern yet? The video tutorial below will guide you through it step by step, you’ve got this!
Stuffing Guide
Firm throughout the body. Nothing in the ears. Milk cotton has almost no memory, so underfilling now means a soft, shapeless toy in a month. Push stuffing into the head before the opening narrows, then add in small tufts rather than one large piece, which creates lumps. Watch the stitches as you work: if fiberfill shows through between stitches you have gone past firm and into stretched, and you should ease back. The finished base should hold the toy upright without rocking.
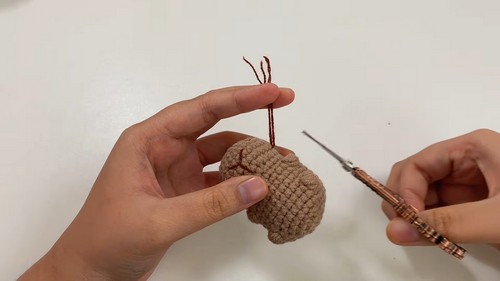
Troubleshooting
- If the head comes out round rather than blocky, the straight rounds probably started too late or the top was overstuffed. Ease fiberfill away from the crown and press the top flat while the piece is still open.
- If stuffing shows through the fabric, the hook is too large for the yarn. Drop to 2.5 mm and restart. There is no fix after the fact.
- If the magic ring opens at the nose, thread the starting tail onto a needle, run it around the ring stitches, pull gently to cinch, and knot it inside the body before stuffing.
- If the body spirals visibly, increases and decreases are stacking in a line. Offset them by a stitch or two on each shaping round.
- If the eyes look off and you cannot say exactly why, they are almost always too close together and too high. Embroider a small dark patch above each one to shift the visual placement without removing them.
- If ears will not sit flat, sew a second line of stitches along the back edge of each ear to tack it down.
- If the finished toy will not sit upright, the base closed too narrow. A small fabric pouch of poly pellets at the base fixes it on the next make.
Yarn Substitution and Size Scaling
4-ply milk cotton with a 2.5 mm hook produces a toy that fits in one hand, somewhere around five to six inches long, though tension will shift that estimate. DK weight with a 3.5 mm hook gives roughly half again as large using the same rounds. Chunky yarn at 5 mm produces something closer to a cushion. Whatever yarn you use, drop at least one hook size from the label recommendation to keep the fabric tight.
Colour and Customisation Ideas
A slightly grey-toned brown reads more like the real animal; a warmer chestnut reads better as a toy. Both work. A pale belly in a second colour across the underside is a small addition with a visible payoff. Some makers add a tiny crocheted orange on top of the head, which is an internet reference the audience will recognise immediately. Embroidered closed eyes give a sleepy read that actually suits the animal.
FAQ
The pattern has no stitch counts. How do I know when to stop increasing? Work increases until the piece lies flat without ruffling or cupping, then switch to straight rounds. Check it against your hand. The video shows the scale at each stage, which is more useful than a number alone.
Can I embroider the eyes instead of using safety eyes? Yes, and for children under three it is the right call. Use black yarn and a satin stitch cluster, placing them the same way the pattern describes: low on the face and further apart than you think.
The snout is missing from the pattern. What do I do? Work a small flat oval in brown and pin it to the face before sewing. A 6-stitch magic ring increased to about 12 stitches and worked flat for two rows gives roughly the right shape. Or just embroider the nose directly onto the face with a few straight stitches.