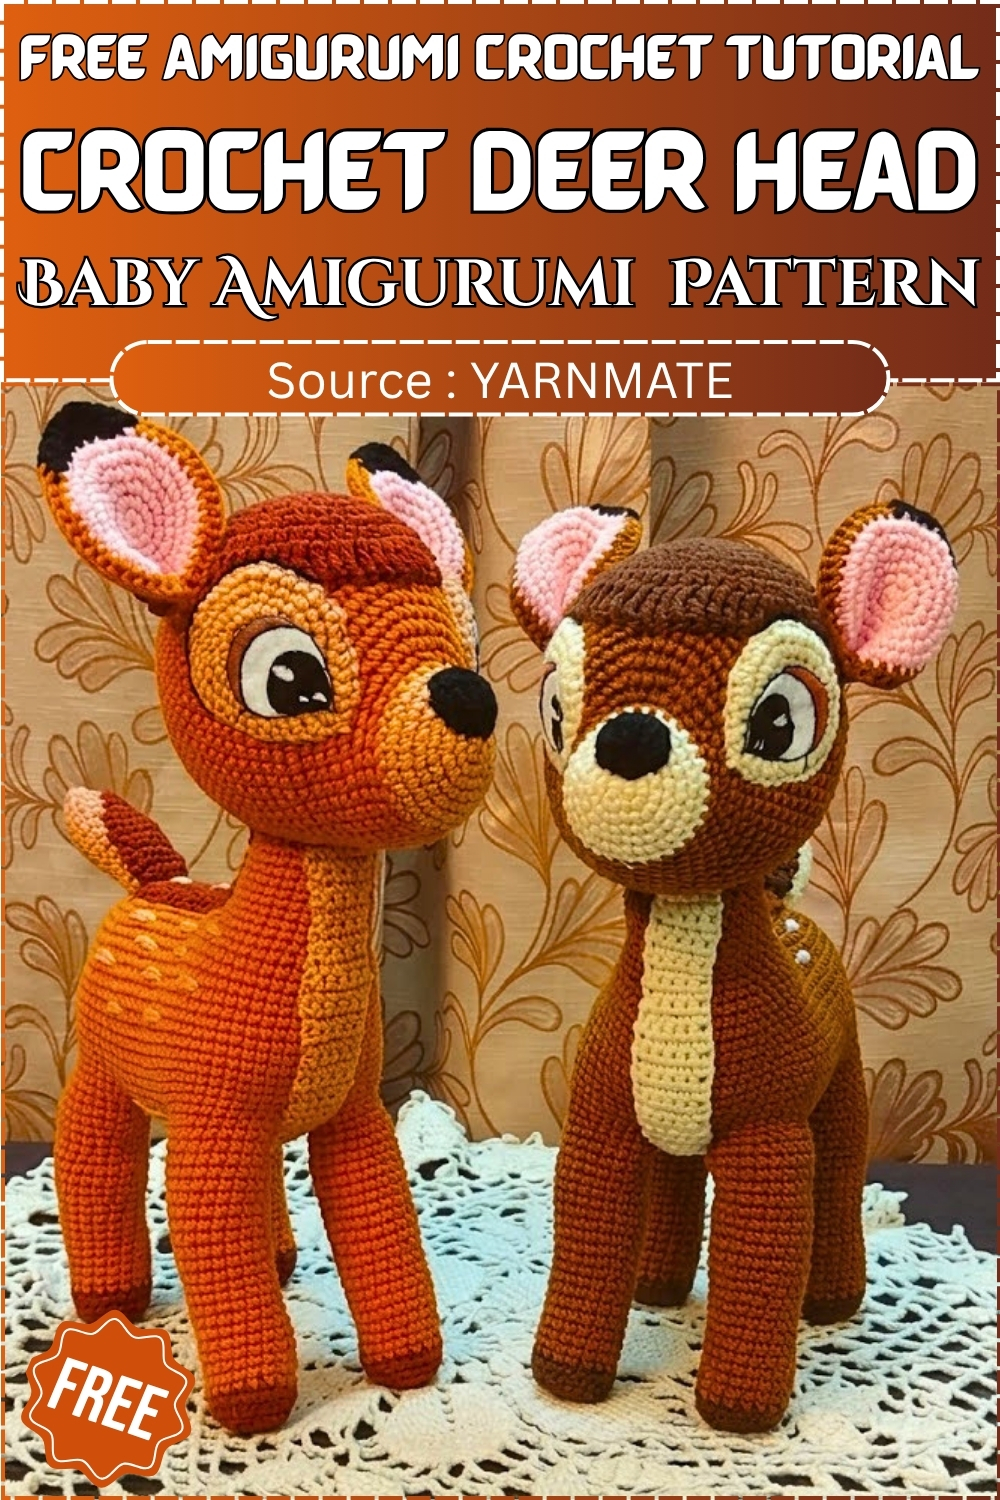
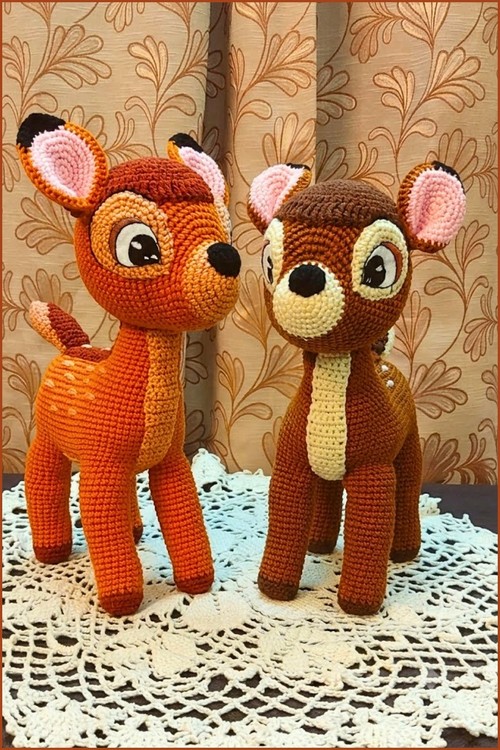
Bright orange or chocolate brown yarn gives this crochet deer head a woodland look, finished with pink lined ears and a glossy black nose. Woodland nurseries and forest themed shelves suit a baby deer amigurumi, especially when it arrives as a spring baby shower gift.
Large cartoon eyes and a pronounced snout are the two features that make baby deer amigurumi so immediately recognizable, and this pattern invests significant construction detail in getting both right. The head is worked as a large main piece with a separately crocheted snout attached at the front, which is what creates the dimensional muzzle shape rather than a flat face. Embroidered eye whites and black pupils placed on a fully closed and stuffed head are what give these deer their expressive, almost animated quality.
Crochet Deer
This is a head-only pattern with 39 rounds, a joined-round construction throughout, and an asymmetric increase sequence in Phase 2 that builds mass toward the top of the head rather than evenly around. The two-tone muzzle starts in a sandal or light yarn and transitions to orange-brown at Round 7, and that colour join is the most visible detail on the finished piece. Pull it snug from both tails. The thing most makers notice only in hindsight: the back of the head needs less stuffing than feels right, because the fourteen straight rounds in Phase 2 already create the depth that fiberfill would otherwise have to provide.
Colour and Customisation Ideas
Classic deer colouring is a warm tan or caramel body with a cream or sandal muzzle, which is exactly what the pattern uses. A grey-brown body with a white muzzle reads as a winter deer or a fawn. Deep rust with a cream muzzle has a warmer, more stylised look. For a more graphic effect, try a chocolate brown body with a very pale ivory muzzle where the contrast is higher. The asymmetric increase sequence in Phase 2 creates subtle cheek structure that reads differently depending on the body colour, so the same pattern produces noticeably different silhouettes in lighter versus darker shades.
Quick Facts
- Finished size: approximately 10 to 14 cm at DK weight
- Difficulty: intermediate
- Estimated time: 3 to 5 hours
- Piece count: 1 head (ears, antlers and body not included)
- Hook: 3 to 3.5 mm, or one size below your yarn label
- Construction: joined rounds throughout
Pieces List
- Deer head: make 1, worked continuously from magic ring
This pattern provides the head only. Ears, antlers and body are not included.
Materials and Tools
- Light or sandal coloured yarn for the muzzle section
- Orange or light brown yarn for the main head
- Crochet hook suited to your yarn weight
- Synthetic fiberfill or cotton stuffing
- Yarn needle
- Scissors
- Stitch marker
DK or light worsted at 3 to 3.5 mm is a reliable starting point. Go one hook size smaller than the yarn band suggests so the fabric stays tight enough that stuffing does not show through.
Safety Eye Timing
The pattern does not assign eyes to a specific round, but the practical window is Rounds 17 to 25 while the head is still a wide cup and the opening is large enough to reach inside. Pin the eyes in place and look at the face from a distance before pressing the washers on. Eyes placed too high on the forehead make the deer look startled. The eye line belongs noticeably below the midpoint of the head, not at it.
For children under three: embroider the eyes with black yarn instead of using safety hardware.
Tips
- Count after every increase round during Phase 2. The asymmetric placement in Rounds 9 to 16 is easy to lose track of mid-round, and a missed increase does not show up until two or three rounds later when the head silhouette reads wrong.
- Pull the colour change in Round 7 from both tails before continuing. A slack join at the muzzle border is the most visible flaw on the finished piece.
- Stuff before Round 37, not after. The opening at Round 36 is still wide enough to get both hands in. By Round 38 it is not, and under-stuffed cheeks cannot be fixed once the piece is closed.
The Pattern
Phase 1: Snout (Light or Sandal Yarn)
- This pattern uses joined rounds throughout. Slip stitch to close each round, chain 1 before starting the next. Keep your stitch marker at the chain 1 point so you always know where each round begins.
- Round 1: Magic ring with 6 sc. Slip stitch to join, chain 1. (6)
- Round 2: 1 inc in each stitch around. Slip stitch to join, chain 1. (12)
- Round 3: (1 sc, 1 inc) × 6. Slip stitch to join, chain 1. (18)
- Round 4: 1 sc in each stitch around. Slip stitch to join, chain 1. (18)
- Round 5: (1 sc, 1 inc, 1 sc) × 6. Slip stitch to join, chain 1. (24)
- Round 6: (3 sc, 1 inc) × 6. Slip stitch to join, chain 1. (30)
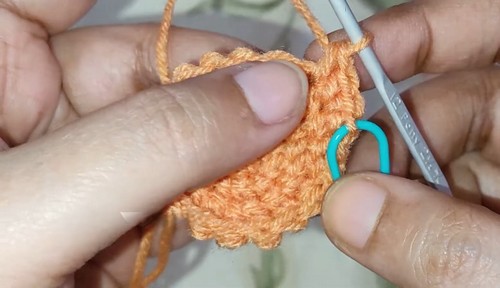
- Round 7: 1 sc in each stitch around. On the final yarn over of the last stitch, pull through with orange or light brown yarn to change colour. (30) Checkpoint: the snout disc should be a wide, flat circle noticeably broader than a typical amigurumi sphere at this round count; if it is curving into a bowl, tension tightened after Round 4, and the snout is meant to stay relatively flat to read as a protruding muzzle once the head rounds expand around it.
Phase 2: Main Head (Orange or Light Brown Yarn)
- Secure the new colour and continue. The increase pattern in Rounds 9 to 16 is asymmetric by design, building mass toward the top of the head rather than evenly around the circumference.
- Round 8: 1 sc in each stitch around. Slip stitch to join, chain 1. (30)
- Round 9: 14 sc, 3 inc back to back, 13 sc. Slip stitch to join, chain 1. (33)
- Round 10: 9 sc, (1 inc, 2 sc) × 5, 1 inc, 8 sc. Slip stitch to join, chain 1. (39)
- Round 11: 9 sc, (1 inc, 3 sc) × 5, 1 inc, 9 sc. Slip stitch to join, chain 1. (45)
- Round 12: 1 sc in each stitch around. Slip stitch to join, chain 1. (45)
- Round 13: 9 sc, (1 inc, 4 sc) × 5, 1 inc, 10 sc. Slip stitch to join, chain 1. (51)
- Round 14: 8 sc, (1 inc, 5 sc) × 5, 1 inc, 12 sc. Slip stitch to join, chain 1. (57)
- Round 15: 6 sc, 1 inc, continue the increase pattern around ending with 1 sc in the last stitch. Slip stitch to join, chain 1. (65)
- Round 16: 9 sc, (1 inc, 7 sc) × 7. Slip stitch to join, chain 1. (72) Checkpoint: the piece should be a wide, somewhat flat disc with a clear two-tone face visible, the sandal muzzle sitting in the centre surrounded by orange-brown; if the two colours have blurred into each other, the colour change in Round 7 was not pulled snug.
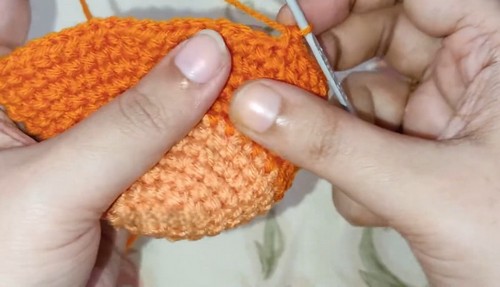
- Rounds 17 to 30: 1 sc in each stitch around. Slip stitch to join, chain 1 at the end of every round. (72)
- Set safety eyes during this section. See the safety eye note above for timing and placement.
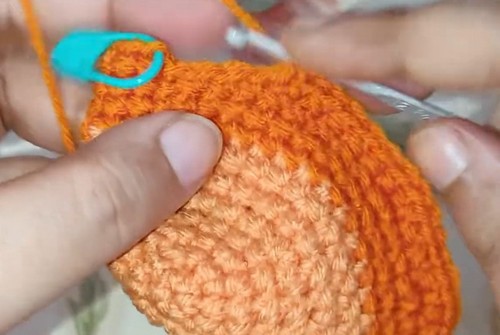
- After Round 25: the piece should be a deep cup shape, wide opening at the top and the two-tone face visible at the bottom; the fourteen straight rounds build the depth that stuffing will fill out.
If you’re new to reading crochet patterns, don’t worry, just follow along with the video tutorial below and use the written pattern as a reference!
Phase 3: Shaping and Closing
- Round 31: (6 sc, 1 dec) × 9. Slip stitch to join, chain 1. (63)
- Round 32: 1 sc in each stitch around. Slip stitch to join, chain 1. (63)
- Round 33: (5 sc, 1 dec) × 9. Slip stitch to join, chain 1. (54)
- Round 34: (4 sc, 1 dec) × 9. Slip stitch to join, chain 1. (45)
- Pattern note on Round 34: the source stitch count bracket shows a discrepancy. Round 33 produces 54 stitches, and (4 sc, 1 dec) × 9 from 54 gives 45, which is what the pattern intends. Work Round 34 exactly as written and count after. You should land at 45 stitches.
- Round 35: 1 sc in each stitch around. Slip stitch to join, chain 1. (45)
- Round 36: (3 sc, 1 dec) × 9. Slip stitch to join, chain 1. (36)
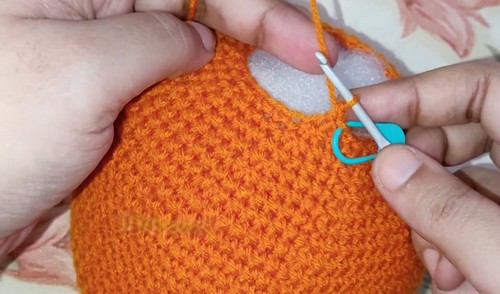
- Stuff firmly now. Fill the snout area densely. Push stuffing into the cheek area on each side and shape with your fingers. Use less at the back of the head than feels necessary.
- Round 37: (2 sc, 1 dec) × 9. Slip stitch to join, chain 1. (27)
- Round 38: (1 sc, 1 dec) × 9. Slip stitch to join, chain 1. (18)
- Round 39: 9 dec across all remaining stitches. (9) Checkpoint: the closed back of the head should be a small, tight knot, not a visible flat disc; if the closing hole looks large, run the tail through the remaining stitches twice before cinching.
- Fasten off leaving a short tail. Thread through the remaining 9 stitches and pull to close. Secure and weave in.
Stuffing Guide
The snout needs firm stuffing. This is the most important area. Under-stuffed, the muzzle collapses into the face and the two-tone effect that defines the piece disappears. The cheeks want full but not stretched, shaped with your fingers before each decrease round because they lose definition quickly once the opening narrows. The back of the head needs moderate stuffing, slightly less than feels right. The fourteen straight rounds provide the structure. Overstuffing the back pulls the head into a sphere rather than the slightly flattened deer-head shape the increase pattern creates.
Assembly
This pattern is the head only. When attaching ears and antlers: pin the ears above Round 16 on each side before sewing, and hold the head at eye level from the front to check the placement. Ears too far forward read as alert. Ears positioned straight up or slightly back read as calm.
Orient the head using the colour join at Round 7 as a reference point for front centre. Mark the top centre with a pin before adding ears so they go on evenly.
Toy Safety
Safety eyes are not suitable for children under three. Embroider with black yarn instead. Check all attachment points before gifting any finished piece.
FAQ
Round 15 does not give me a complete instruction. How do I work it? The source writes Round 15 as “6 sc, 1 inc, continue the increase pattern around ending with 1 sc in the last stitch” without a full breakdown. The target count is 65 from 57. Work the asymmetric increase pattern consistent with the preceding rounds, placing increases so the count reaches 65. Count at the end of the round and adjust by one stitch if needed before moving to Round 16.
The colour join at Round 7 looks loose and messy. Can I fix it after the fact? You can pull both tails from inside and work them in different directions to tighten the join. On an already-stuffed piece, thread each tail onto a needle and run it through the body at least twice before trimming. It will not be invisible, but it improves significantly.
The muzzle has collapsed into the face after stuffing. What went wrong? The snout area needed more stuffing than it got. On a piece that is still open, push more fiberfill forward into the muzzle before continuing the decrease rounds. If it is already closed, there is no practical fix, so stuff the snout very firmly on the next make before Round 37.
This pattern only includes the head. Where do I find the body, ears and antlers? The source pattern does not include those pieces. They are typically worked separately and attached. Standard amigurumi deer ears are small flattened ovals; antlers are usually wire-supported or worked in multiple tubes. Any compatible amigurumi deer pattern will give you the additional pieces to attach to this head.