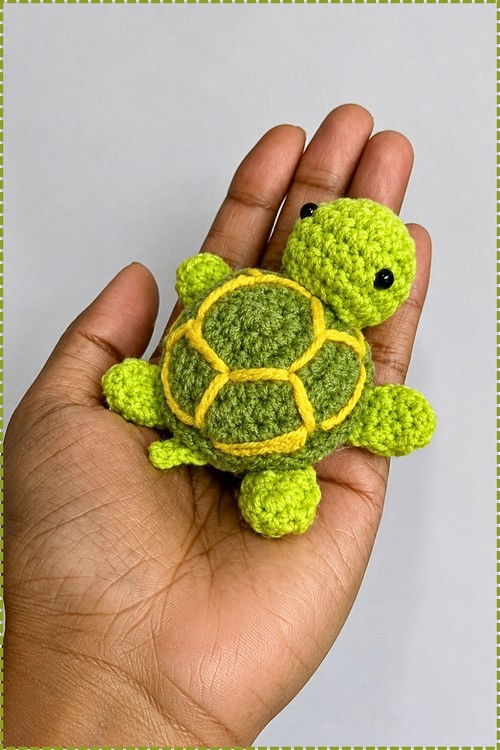
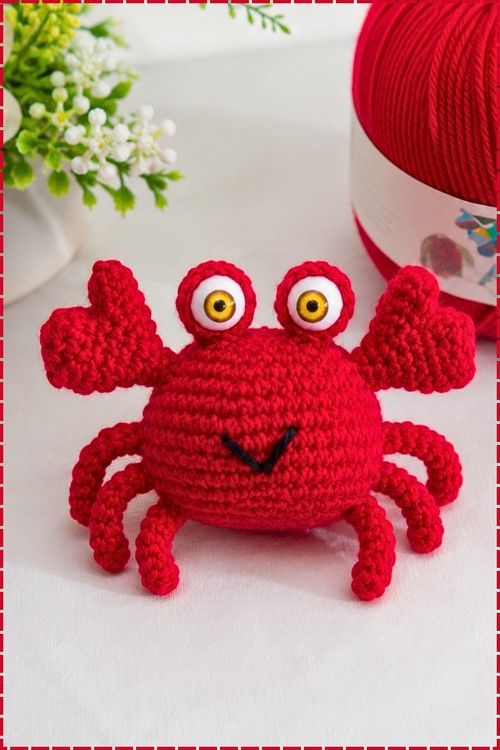
Summer seaside themes get an instant mascot from the Sebastian crab crochet pattern, a bright red amigurumi with wide yellow eyes and raised claws. Curled red legs keep the crochet crab amigurumi sitting steady beside seashells on a bathroom shelf or a beach cottage mantel.
There is something satisfying about a crab done at fine yarn weight. The 1 mm yarn and 1.66 mm hook make this one feel like miniature work, and the tight stitch texture that results gives Sebastian a density that heavier yarn cannot replicate. Eight attachment points sounds like a lot until you realise the whole build is logical: body first, then eyes in their crocheted casings, then legs, claws, and a tiny embroidered smile. The claw construction is the one moment that needs full attention before you start, because the split into two unequal sections is unlike anything in a standard amigurumi.
Crochet Sebastian the Crab
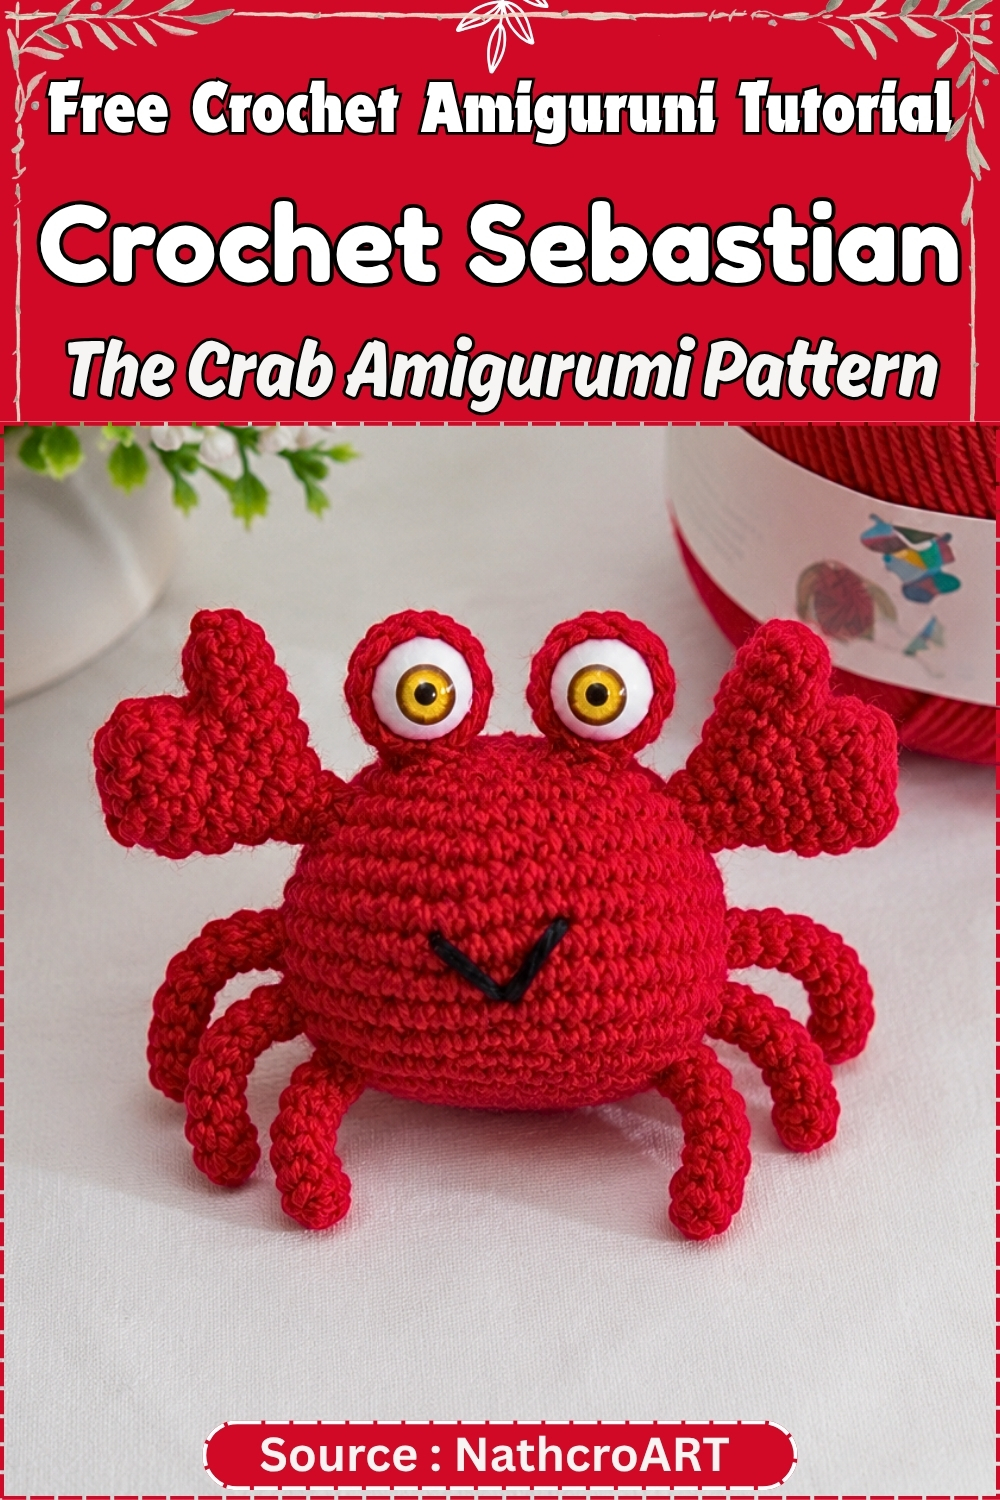
Working at this gauge rewards patience more than speed. Fine yarn at this hook size does not hide mistakes the way chunky yarn does, and that is ultimately a good thing for building skill. The poseable wire legs are optional but genuinely worth including if the crab is for display rather than a child. Sebastian sits differently with wire in the legs than he does without, and even a small adjustment to leg angle after assembly changes the whole character of the piece. This is the kind of project that earns a dedicated spot on a shelf rather than disappearing into a toy basket.
Pieces List
- Body: make 1
- Legs: make 4
- Eyes (crocheted casings with safety eyes inside): make 2
- Claws: make 2
Make all legs and claws before starting assembly. Eyes are constructed separately and attached after the body is closed.
Materials and Tools
- Red acrylic yarn, approximately 1 mm thickness
- Small amount of black yarn for the embroidered mouth
- 1.66 mm crochet hook
- Yarn needle
- Safety eyes with plastic washers
- Hot glue or craft glue
- Polyester fiberfill
- 5 cm pieces of wire (optional, for poseable legs)
- Stitch marker
- Scissors
The 1.66 mm hook and fine yarn are not suggestions. Going larger produces a noticeably bigger crab from the same stitch counts. If you want scale accuracy, stay with the specified materials.
For any toy going to a child under three: skip the safety eyes entirely and embroider them with black yarn instead. Safety eyes cannot be removed safely once the washer is seated, and at this small size they present a choking hazard.
Safety Eye Timing
The eyes in this pattern are set differently from most amigurumi. Each safety eye is inserted into a small crocheted casing during construction of that casing, not directly into the body. The casing is then sewn onto the finished body. This means eye placement happens during the eye section, not during body construction. Read the eye section carefully before starting the body so the sequence is clear in your head.
Once the washer is pressed onto the post from inside the casing, it cannot be removed without cutting. Look at the eye from the front before pressing the washer down.
For children under three: embroider a French knot or small chain circle in black yarn on each casing instead of inserting a safety eye.
The Pattern
Body
- Round 1: Magic ring with 6 sc. (6)
- Round 2: 6 inc. (12)
- Round 3: (1 sc, 1 inc) × 6. (18)
- Round 4: (2 sc, 1 inc) × 6. (24)
- Round 5: (3 sc, 1 inc) × 6. (30)
- Round 6: (4 sc, 1 inc) × 6. (36)
- Round 7: (5 sc, 1 inc) × 6. (42)
- Round 8: (6 sc, 1 inc) × 6. (48)
- Round 9: (7 sc, 1 inc) × 6. (54) Checkpoint: the body should be a wide, flat disc at this point, roughly the shape of a crab shell from above; if it is curling upward into a bowl, tension is too tight, and if the edges are ruffling, it is too loose.
- Rounds 10 to 13: 1 sc in each stitch around, 4 rounds total. (54) Checkpoint: after Round 13 a slight dome should be forming at the centre while the edges stay mostly flat; this is correct.
- Round 14 onward: Begin decreasing evenly, mirroring the increase sequence in reverse.
- Work (7 sc, 1 dec) × 6 for the first decrease round.
- Work (6 sc, 1 dec) × 6 for the next, and continue reducing by one sc per repeat each round.
- Continue decrease rounds until 12 stitches remain.
- Stuff the body firmly at this point before closing, adding fiberfill in small pinches.
- Work the final 6 dec. (6)
- Fasten off and close the opening with a yarn needle, weaving through the remaining stitches and pulling tight. Checkpoint: the finished body should sit stable on a flat surface with the domed side up; if it tips sideways the stuffing settled unevenly.
- Pattern note on decrease placement: the source pattern states “begin decrease round evenly” and “continue until 12 stitches remain” without specifying round-by-round instructions. The decrease structure above mirrors the increase sequence in reverse as the pattern intends, working from 54 stitches down to 12 and then closing.
Legs (Make 4)
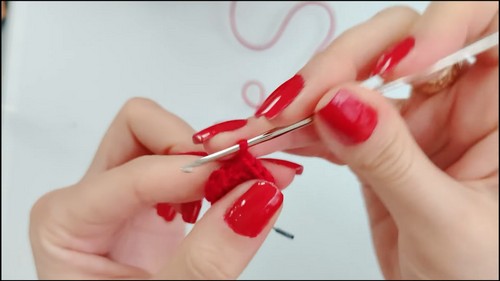
- Round 1: Magic ring with 5 sc. (5)
- Rounds 2 to 8: 1 sc in each stitch around, 7 rounds total. (5) Checkpoint: each leg should be a neat narrow tube roughly the length of a thumbnail at this yarn weight; if one is noticeably shorter, count the rounds before fastening off.
- Optional wire: if using poseable wire, insert a 5 cm piece into the leg now, before fastening off.
- Fasten off leaving a long sewing tail.
- Make all 4 legs before moving to assembly.
Still getting the hang of reading crochet patterns? That’s completely okay, the video tutorial below breaks everything down in a simple, beginner-friendly way!
Eyes (Make 2)
- Round 1: Magic ring with 6 sc. (6)
- Round 2: 6 inc. (12)
- Round 3: 12 sc. (12)
- Insert the safety eye post through the centre of the piece from the right side.
- Apply the washer on the inside to secure it. Add a drop of craft glue to the washer for extra hold if desired.
- Safety eye note: once the washer is pressed on it cannot be removed. Look at the eye from the front before committing. For children under three, embroider the eye with black yarn instead of inserting a safety eye.
- Fasten off leaving a long sewing tail. Checkpoint: the eye casing should be a small flat disc with the safety eye centred and not wobbling.
Claws (Make 2)
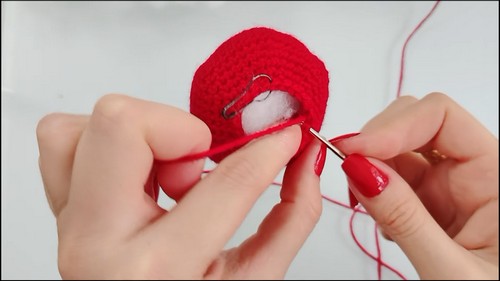
- Read through the entire claw section before starting.
- Round 1: Magic ring with 6 sc. (6)
- Continue working increase rounds until you reach 15 stitches.
- Pattern note on claw increase rounds: the pattern specifies 15 stitches as the target without giving round-by-round instructions. Starting from 6 stitches, Round 2 as 6 inc gives 12. From 12, a clean path to exactly 15 is not standard; the pattern intends 15 as the target, so work toward it using your closest even distribution. The source count is reproduced as given.
- Divide the stitches: 4 stitches will form the smaller claw section and 11 stitches will form the larger claw section.
- Work the 4 smaller claw stitches back and forth in rows to build the smaller section.
- Work the 11 larger claw stitches back and forth in rows to build the larger section.
- Join both sections together using slip stitches along the open edges.
- Fasten off leaving a long sewing tail. Checkpoint: the finished claw should read as a pincer, two unequal sections meeting at a point; if both sections look the same size, recount before the join.
Assembly
Pin before sewing anything. Sebastian has eight attachment points and symmetry matters far more on a flat-bottomed shape than it does on a round toy that can be turned to hide a mistake.
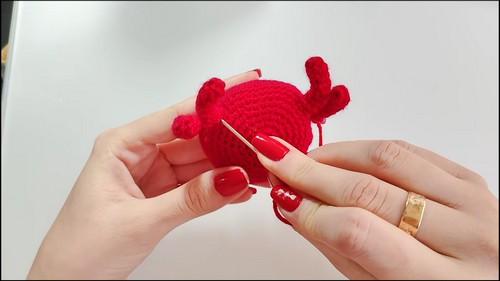
Attach the legs first. Sew two legs to each side of the body, leaving one round between each pair. They should angle slightly downward and outward, not point straight out like arms. Pin all four, stand the body upright, and check that it sits level before committing a single stitch. With wire inside, you can adjust leg angle after sewing, which is part of why the wire is worth including.
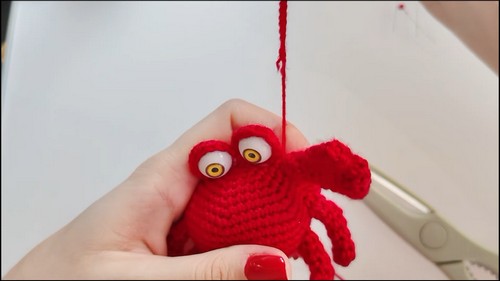
Attach the eye casings next, placing them evenly on the top of the body. The crocheted casing naturally elevates each eye above the surface, which gives Sebastian his characteristic stalked look without any additional construction.
Sew one claw to each side of the body, below the eyes.
Embroider the mouth last. Work a small curved smile in black yarn, centred between the eyes and approximately two rounds below them. Doing it last lets you see the face as a whole before fixing the placement permanently. Secure all yarn ends inside the body.
Stuffing Guide
Pack the body firmly before the closing rounds, adding fiberfill in small pinches rather than one large handful. At this small scale a single dense lump of fiberfill creates a visible bump on the body surface. The finished body should feel solid when pressed.
Legs are not stuffed unless wire is used, in which case the wire provides the structure. The narrow 5-stitch tube is difficult to stuff meaningfully without wire anyway.
Claws are not specified for stuffing in the pattern, but a small pinch in the base of each claw before joining the two sections adds firmness and helps the shape hold. Either approach works.
Troubleshooting
- Body ruffling at the edges. Tension is too loose. Tighten your grip slightly and check the edge again after Round 4. A ruffled body will not flatten out once the piece is stuffed.
- Body curling into a bowl. Tension is too tight. Loosen the yarn hand and try Round 3 again with the same hook. At this fine gauge, even a small adjustment in grip makes a visible difference.
- One leg shorter than the others. Count the rounds before fastening off. At 5 stitches wide the tubes look almost identical until they are held side by side, and a missing round is easy to miss while working.
- The safety eye in the casing wobbles. The washer was not pressed on firmly enough, or was applied before the post was fully through the fabric. Remove and reinsert the post through a clean part of the fabric, then press the washer firmly with a flat tool rather than your thumb.
- The claw split is uneven. Count the stitches before dividing: 4 for the smaller section, 11 for the larger. Mark each group with a stitch marker before working the rows so neither group drifts.
- The body tips sideways when placed on a surface. Stuffing shifted to one side before closing. This is more common than it sounds on a flat-bottomed shape. If it is already closed, a small stitch through the base to the body can anchor the piece upright.
- The embroidered mouth looks too long or too short. Work it in back stitch and remove each stitch individually until the curve length feels right. Embroidering a mouth last, after the eyes are set, makes the proportions much easier to judge.
Yarn Substitution and Size Scaling
Staying at 1 mm yarn and 1.66 mm hook gives the tight, defined texture the finished piece is designed to have. Scaling up to DK yarn with a 2.5 to 3 mm hook and the same stitch counts produces roughly double the size. The claw construction becomes noticeably easier to handle at a heavier weight, because the row-and-join method requires more precision at fine gauge than at medium weight. In good light, with a stitch marker, it is manageable. In poor light, it is a different experience.
Toy Safety
Safety eyes and craft glue are not appropriate for any toy going to a child under three. Embroider all features with black yarn instead and leave out the wire entirely. Check all attachment seams before gifting and periodically if the crab is a played-with toy. Legs sewn at eight attachment points can loosen over time with regular handling.
FAQ
The claw construction is confusing. Can you explain the split more simply? Work the increases until you have 15 stitches on the hook. Count them off into two groups without cutting the yarn: 4 in one and 11 in the other. Work back and forth in rows on the 4 stitches until that section looks like a small narrow tab. Then do the same on the 11 stitches, which will be noticeably wider and longer. Then slip stitch the open edges together to close the pincer shape.
Why are the eyes crocheted casings rather than eyes set directly into the body? The casings elevate the eyes above the body surface, which gives Sebastian his stalked-eye look without any additional wire or support construction. It is also more secure at this fine yarn weight than pushing a post directly through stitches that are this small.
Can I skip the wire and still have the crab stand up? Yes. The legs sewn flat against the body sides will hold the piece upright on a firm surface. Wire adds posability and stability on soft surfaces, but it is genuinely optional for a display piece.
My stitch counts in the claw section do not reach exactly 15. What do I do? The pattern specifies 15 as the target without giving a clean increase path from 12 to 15. This is flagged in the pattern notes above. Work toward 15 using your closest even distribution and divide from whatever count you land on. The split proportions matter more than the exact total.
How do I keep the eye casings level with each other on the body? After sewing the first one down, mark the position of the second with a pin before picking up your needle. Hold the body at arm’s length and check both positions from the front before sewing. At this scale, even one stitch of difference in height reads as misaligned.