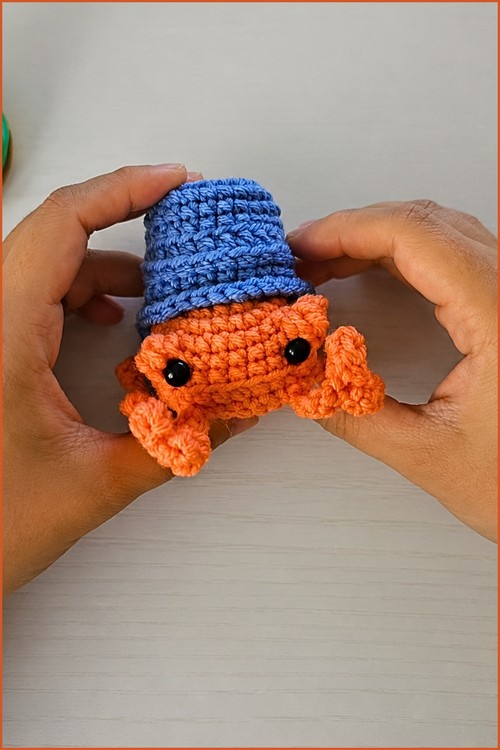
Who knew a crochet hermit crab could look this cheerful? Its bright orange body peeks out from a blue bucket shell, while stubby claws, round legs and big black eyes make it a playful palm sized toy for little beach lovers.
Using a crocheted bucket as the hermit crab shell is the kind of design decision that makes a pattern instantly memorable, and this crochet amigurumi hermit crab pulls it off with a color pairing that works perfectly. The bright orange body against the blue bucket creates a contrast that reads clearly even at a small size, giving the finished piece a lot of visual punch for how quickly it comes together.
Crochet Amigurumi Hermit Crab
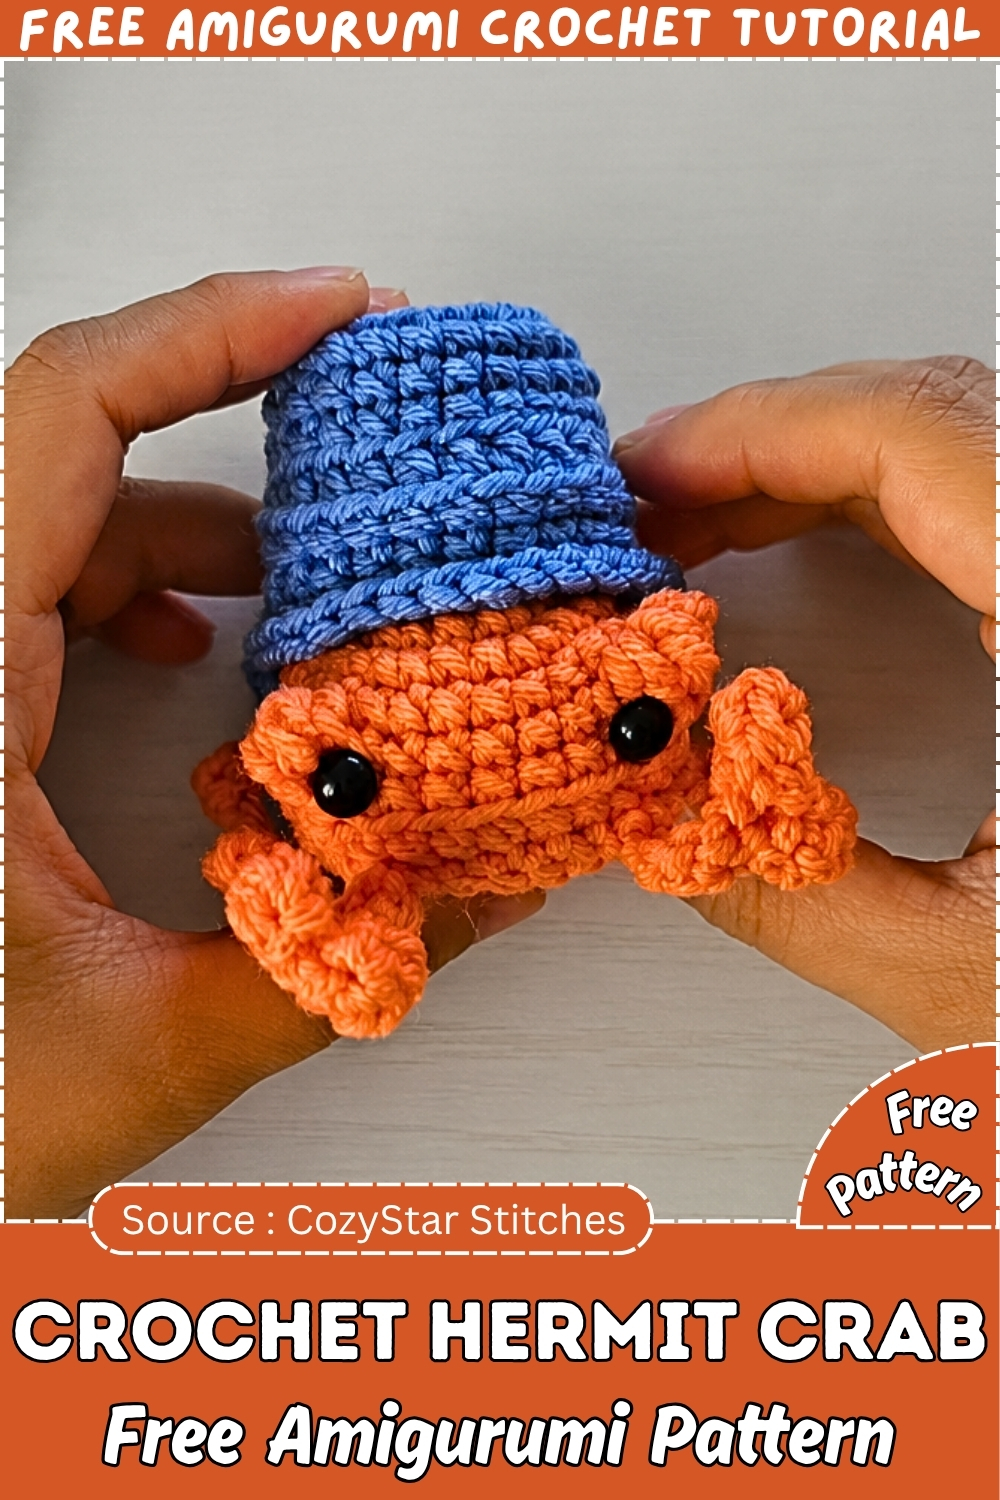
Construction-wise, the bucket and crab body are worked separately and then joined, which keeps each piece manageable and lets you size the shell to fit snugly without any guesswork. The stubby claws, rounded legs, and large black safety eyes give the crab its character without requiring any complex shaping. For a beginner-friendly ocean amigurumi, the concept is original enough to stand out from the usual fish and shark patterns that dominate the niche.
Why I love this one: the moment a kid discovers the bucket comes off, you’ll watch their whole face change.
Pattern Note — Important
- The pattern provided covers only the claw construction. Instructions for the crab body, legs, shell/bucket, and eye placement are not included in this written pattern — the full construction appears to come from a video tutorial. This post covers the claw steps in complete detail. For the remaining pieces, you’ll need to follow the companion video alongside this written reference.
- Because the body, eye timing, and stuffing instructions are outside what was provided, those sections below contain guidance based on standard amigurumi construction principles rather than pattern-specific instructions.
Pieces List
Based on the pattern and its no-sew construction note:
- Claws — 2 pieces (same instructions, worked twice)
- Crab body — 1 piece (instructions in companion video)
- Legs — number per video
- Removable bucket/shell — 1 piece (instructions in companion video)
This post covers: the claw pattern in full.
Materials & Tools
Yarn
- Yarn in your chosen crab color — the pattern doesn’t specify weight, but a DK or light worsted works well for a palm-sized amigurumi
- A contrasting or matching color for the claw detail if you’d like definition
Hook
- Sized to match your yarn. For DK, a 3mm–3.5mm hook is typical; for light worsted, try 3.5mm–4mm.
Other supplies
- Scissors
- Yarn needle (for weaving ends, even in a no-sew pattern)
- Safety eyes (for the body — see timing note below)
- Stitch marker (recommended)
Approximate finished size: A palm-sized crab, roughly 8–12cm depending on yarn weight. The removable bucket adds another layer of charm at approximately 3–5cm tall.
Approximate time: Claws alone take under 30 minutes. Full crab with bucket will likely run 2–4 hours.
Difficulty: Beginner-friendly. The claw construction uses only chain, hdc, sc, and slip stitch.
Abbreviations
- ch — chain
- hdc — half double crochet
- sc — single crochet
- sl st — slip stitch
- st — stitch
Safety Eye Timing Note
- Because the body instructions are from a companion video, eye placement specifics aren’t in this written pattern. As a general amigurumi rule: insert safety eyes before the body is closed and stuffed — once you’ve worked past roughly 70–80% of your decrease rounds, the inside becomes too tight for the washer backing.
- For toys going to children under 3: Do not use safety eyes. Embroider eyes after stuffing and closing, using black yarn with small tight satin stitches. Nothing to detach, nothing to swallow.
The Pattern — Claws (Make 2)
Work both claws with matching tension. The no-sew construction means these are integrated into the crab, so keeping them tidy matters more than it would for a sewn-on piece.
Main Claw Base
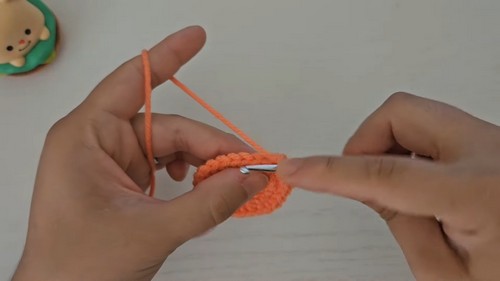
- Chain 7.
- In the second chain from the hook, make 2 hdc into the same stitch.
- Make 1 sc into the next chain.
Shape checkpoint: After these first three stitches, the wider rounded tip of the claw should be forming — two hdc give it a soft bulge, the sc begins to pull it narrower. If the tip looks pinched, your starting chain may be too tight.
Thumb Detail (Smaller Claw Branch)
- Chain 3.
- In the second chain from the hook, make 2 hdc into the same stitch.
- Make 1 sc into the next chain.
- Slip stitch into the next chain of the main base chain to secure the shape.
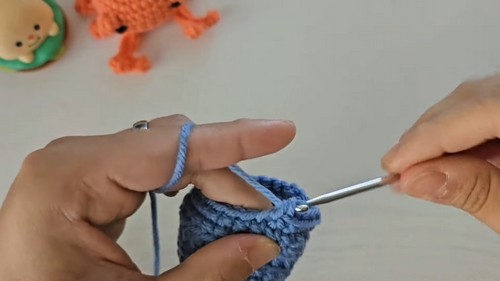
Shape checkpoint: The slip stitch should draw the smaller branch gently toward the main claw, creating a pincer silhouette. If it’s pulling too hard and the whole piece is curling, the slip stitch is too tight — redo it with a deliberately loose tension.
Claw Shaping Notes
- The two initial hdc form the larger, rounded side of the claw. The chain-3 branch is the smaller pincer side. The finished claw should look like a sideways V with one arm slightly wider than the other — classic crab claw geometry. Keep the smaller branch curving gently toward the main claw rather than pointing straight out. A natural curve reads better than a rigid angle once it’s attached to the body.
- The one thing most makers don’t expect: hdc worked into a foundation chain feels different from working in the round. The chain can twist before you’ve locked it with stitches. Flatten the chain with your fingers before placing each stitch, especially on that first hdc.
Never read a crochet pattern before? No problem! The video tutorial below is perfect for beginners, or give the written pattern below a try!
Stuffing Guide
Because the claws are flat and no-sew, they don’t get stuffed — leave them as worked. For the crab body (per standard amigurumi guidance):
- Stuff the main body firmly enough to hold its shape when squeezed gently
- The head area should feel round and full, not squishy
- Any protruding sections like eye stalks (if part of the full pattern) stay lightly filled
- Stop stuffing with enough open rounds remaining to close the body neatly — overstuffing at the tail end makes the final decrease rounds fight you
Assembly
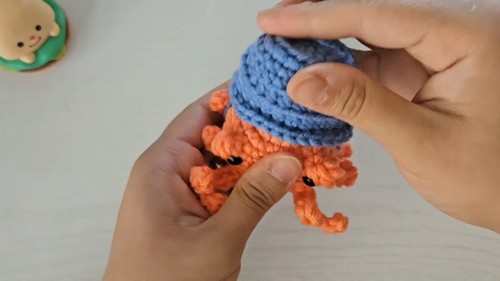
Because this is described as a no-sew pattern, the claws are attached during construction rather than sewn on afterward. Per the pattern note:
- Follow the video tutorial for exact claw placement on the body
- Before integrating, hold both claws side by side and check that the smaller branch curves in the same direction on each one — asymmetric claws are the most common visible error on finished crabs
- If symmetry is off, it’s easier to redo one claw than to compensate during attachment
- Pin placement isn’t required for integrated no-sew construction, but pausing to check visual balance before you lock stitches is always worth it
Colour and Customisation Ideas
The ocean gives you a lot of latitude here. Hermit crabs in real life are surprisingly variable — orange-red is the most recognisable, but there’s no reason to stop there.
- Terracotta or rust — feels earthy and warm, good for autumn gift-giving
- Soft coral pink — popular for nursery toys and new baby gifts
- Purple-grey — less expected, genuinely striking
- Bucket colour: This is where you can go bold. A yellow bucket against a red crab, a mint bucket against a coral crab — the removable piece invites contrast.
For a beach-themed gift set, make two or three crabs in different sizes using different hook sizes on the same pattern. Lined up together they read immediately as a family.
Toy Safety
This pattern produces a no-sew toy, which generally means fewer loose attachment points — a genuine advantage for toys that will be handled frequently. Still, check the following before gifting:
- All yarn ends should be woven in and trimmed close, not just knotted
- Safety eyes must be locked with their washer backing and tested with a firm tug before the toy goes to a child — if the eye pulls free even slightly, replace it with embroidered eyes
- The removable bucket is a feature for older children who understand it’s part of the toy; for very young children, make the shell a permanent part of the crab or omit it
- Periodically check seams and joins on any well-loved toy
FAQ
- Is this pattern really no-sew the whole way through? That’s what the pattern notes say — the claws integrate into the crab during construction rather than being sewn on at the end. The full no-sew method for the body, legs, and bucket is in the companion video.
- What yarn weight works best for the claws? The pattern doesn’t specify, but the claw construction is small and detailed, so a finer yarn (DK or sport weight) gives you more control and a crisper result. A chunky yarn will work but the pincer detail can get lost.
- Can I make this without the removable bucket? Entirely possible. The crab body works as a standalone toy — the bucket is a fun extra rather than structural. You could also make the bucket permanently attached for younger children.
- My slip stitch pulled the claw into a weird curl. What went wrong? Almost always tension. Slip stitches have a way of tightening as you pull through, especially on a short chain. Work the slip stitch loosely on purpose — tighter than your normal stitches, but not cinched down. If it’s already done and curled, try gently blocking the claw with a damp cloth and your fingers before it’s integrated into the body.