Farmhouse nurseries welcome crochet highland cows onto shelves and rocking chairs as the softest farm animal in the room. Rust orange and cream yarn cover the whole body, and a chocolate brown or blonde version gives the fluffy cow crochet pattern free a second shade for a matching pair.
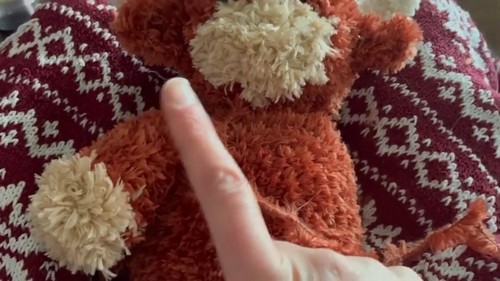
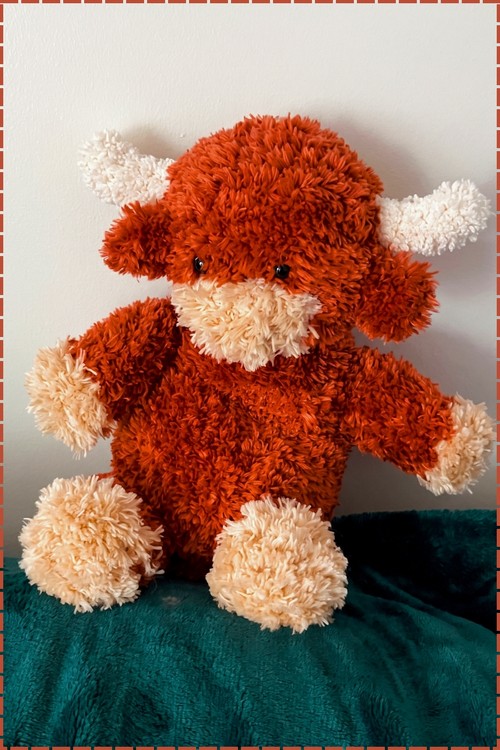
Shaggy rust orange fur covers the seated highland cow in this crochet highland cow free pattern, with fluffy white horns curving out above two rounded ears. Cream fur shapes the wide muzzle, the tips of both arms and the large round feet, and small black eyes sit almost hidden in the fringe. The legs stretch forward, so the cow sits upright without support. Finish the fluffy texture only after assembly, since loose fibres make sewing pieces together much harder.
Crochet Highland Cow Amigurumi
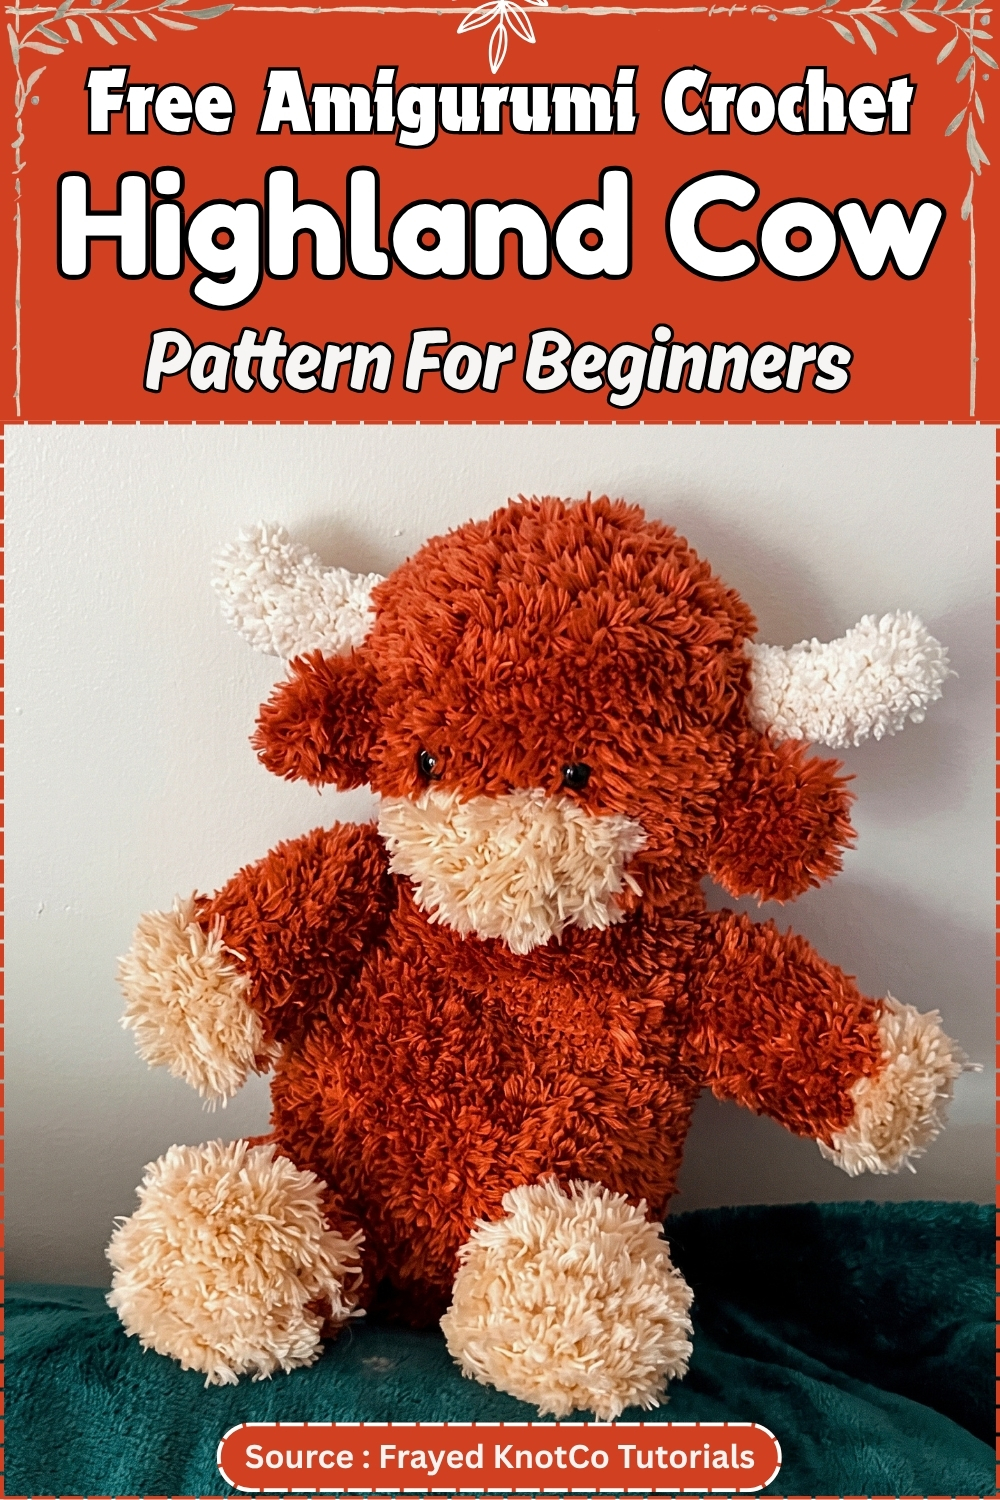
Fluffy yarn is what makes or breaks this one. Burn orange or warm brown plush gives the highland cow its signature shaggy look without any surface embellishment. The construction is standard amigurumi: head and body worked separately from a magic ring, arms and legs with a hoof color change, flat panels for the horns and tail. Nothing technically demanding, but the yarn hides your stitches, which means counting by feel rather than by eye. Budget a little extra time the first time you work fluffy yarn if you haven’t before, and keep a stitch marker moving every round without exception.
Quick Facts
- Finished size: approximately 6 to 8 inches tall seated, depending on yarn weight and tension
- Difficulty: beginner to intermediate
- Estimated time: 3 to 5 hours
- Piece count: 10 pieces plus optional tail
- Hook sizes: 5.5 mm for body and head, 4.5 mm for horns
Color and Customization Ideas
- These come before the pattern because they affect yarn choices before you cast on.
- A classic burnt orange reads closest to the real animal, but warm caramel or toffee brown works just as well and is easier to find in plush weight. For the hooves, matching the fluffy yarn to the body gives a subtle look; a true black or charcoal reads bolder.
- The muzzle is typically worked in a lighter cream or beige to contrast against the main color. If you want a blonder highland cow, work the whole body in cream and use pale tan for the muzzle instead.
- Horn color is free. The pattern uses beige, but white, cream, or even pale gray all read naturally at this scale.
- If you plan to add embroidered facial details such as lashes or brows, do that to the head before stuffing and closing, while you can still reach the back of the fabric easily.
Materials and Tools
- Fluffy or plush bulky yarn in burnt orange or warm brown for the main body and head, roughly 80 to 100 g
- Beige or cream yarn in a lighter weight for the horns, a small amount
- Tan yarn for the hoof rounds on arms and legs, a few metres
- Dark brown or matching fluffy yarn for the arm and leg body rounds, similar to the main color
- 5.5 mm crochet hook for all fluffy yarn pieces
- 4.5 mm crochet hook for the horns
- One pair of 10 mm safety eyes
- Polyester fiberfill, used lightly since fluffy yarn stretches under overstuffing
- Stitch marker
- Yarn needle
Pieces List
- Head: 1
- Body: 1
- Ears: 2
- Horns: 2
- Muzzle: 1
- Arms: 2
- Legs: 2
- Tail: 1 (optional)
Ten pieces total. Horns and tail are flat panels folded and shaped; everything else is worked in the round.
Tips
- Move your stitch marker on every single round. Fluffy yarn erases stitch definition and there is no recovering a lost count two rounds back.
- Keep stuffing light. Plush yarn stretches noticeably under pressure and overstuffed pieces develop visible gaps between stitches. Firm enough to hold the shape, no more.
- Work the horns tightly. The folding and pulling technique that shapes them only works if the fabric has no give, so go down a hook size from whatever feels comfortable and use a smooth yarn rather than fluffy for these.
The Pattern
Head
- Make a magic ring: chain 1, 2, 3, 4, then connect the first and last chains together to form a center loop.
- Round 1: work 8 single crochets into the center loop. [8] Checkpoint: a tight, small rosette. If there is a visible hole in the middle, the magic ring needs pulling tighter before you continue.
- Round 2: work 2 single crochets in every stitch around. [16]
- Round 3: work 2 single crochets in the first stitch, then 1 single crochet in the next stitch, and repeat all the way around. [24] Checkpoint: a flat circle. It should sit on the table without curling up at the edges.
- Round 4: work 2 single crochets in the first stitch, then 1 single crochet in each of the next 2 stitches, and repeat all the way around. [32]
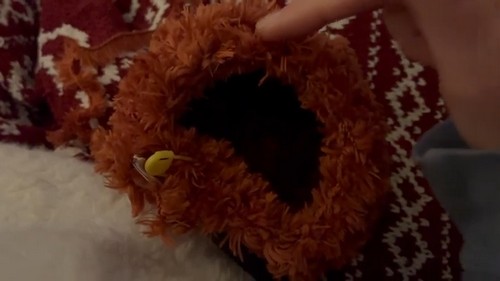
- Rounds 5 to 10: work 1 single crochet in every stitch around, six rounds total. [32] Checkpoint: by the end of round 10 the head should look like a deep bowl with roughly equal height and width, open at the top.
- Insert the 10 mm safety eyes in the middle section of the head now, before the next round closes the opening further. Secure the backings from the inside.
- Round 11: work a decrease, then 1 single crochet in each of the next 3 stitches, and repeat all the way around.
- Round 12: work a decrease, then 1 single crochet in each of the next 2 stitches, and repeat all the way around. Checkpoint: the opening should be small enough now that you need to stuff the head before it closes completely.
- Stuff the head firmly, keeping in mind that fluffy yarn stretches, so firm here means just enough that the head holds its round shape without the stuffing showing through.
- Weave the end shut and fasten off.
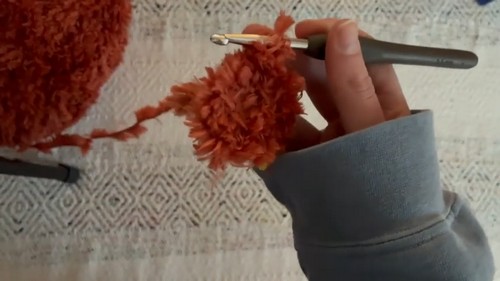
Ears (Make 2)
- Chain 5.
- Row 1: skip the first stitch and work 4 single crochets across. [4]
- Row 2: work 4 single crochets across. [4]
- Row 3: work 4 single crochets across. [4] Checkpoint: a small flat rectangle. No shaping, no increases.
- Fasten off, leaving a tail for sewing.
If rounds and stitch counts look confusing right now, don’t stress! The video tutorial below walks you through this plushie step by step.
Horns (Make 2 using Beige Yarn and 4.5 mm Hook)
- Chain 8.
- Row 1: skip the first stitch and work 7 single crochets across. [7]
- Row 2: work 7 single crochets across. [7]
- Row 3: work 7 single crochets across. [7]
- Row 4: work 7 single crochets across. [7] Checkpoint: a narrow flat rectangle, four rows deep, that has no stretch to it. If it feels loose, go down another half hook size and redo it, because the shaping step relies entirely on the fabric being firm.
- Fold the piece lengthwise and weave back and forth through the top stitches, pulling the yarn very tight to curve the horn into shape.
- Fasten off, leaving a tail for sewing.
Muzzle
- Make a magic ring, work 8 single crochets into the center. [8]
- Work 2 single crochets in every stitch around. [16]
- Round 1: work 1 single crochet in every stitch around. [16] Checkpoint: a shallow, slightly domed disc. Fold the bottom edge gently before attaching so it sits flat at the bottom and rounded at the top, giving the oval muzzle shape.
- Fasten off, leaving a tail for sewing.
Body
- Make a magic ring and work 8 single crochets into the center. [8] Checkpoint: same tight rosette as the head round 1.
- Round 1: work 2 single crochets in every stitch around. [16]
- Round 2: work 2 single crochets in the first stitch, then 1 single crochet in the next stitch, and repeat all the way around. [24]
- Round 3: work 2 single crochets in the first stitch, then 1 single crochet in each of the next 2 stitches, and repeat all the way around. [32]
- Round 4: work 2 single crochets in the first stitch, then 1 single crochet in each of the next 3 stitches, and repeat all the way around. [40] Checkpoint: a flat circle again, roughly the size you want the body’s widest point to be. If it is cupping rather than lying flat, add one straight round before going further.
- Rounds 5 to 14: work 1 single crochet in every stitch around, ten rounds total. [40] Checkpoint: halfway through, around round 9 or 10, the body should look like an upright cylinder with an open top, clearly taller than the head at this stage.
- Round 15: work a decrease, then 1 single crochet in each of the next 4 stitches, and repeat all the way around.
- Round 16: work a decrease, then 1 single crochet in each of the next 3 stitches, and repeat all the way around.
- Round 17: work a decrease, then 1 single crochet in each of the next 2 stitches, and repeat all the way around. Checkpoint: the top should be narrowing into a small opening, ready for the head to sit over it.
- Weave and slightly pull the top shut to prepare for attaching the head. Fasten off.
Arms (Make 2)
- Make a magic ring with the tan yarn and work 8 single crochets into the center. [8]
- Round 1: work 1 single crochet in every stitch around in tan. [8]
- On the last stitch of round 1, change to the dark brown or main body fluffy yarn by pulling through with the new color.
- Rounds 2 to 8: work 1 single crochet in every stitch around in the fluffy yarn, seven rounds total. [8] Checkpoint: a slim tube with a pale hoof at one end. Arms are intentionally narrow for the seated look.
- Fasten off, leaving a tail for sewing. Do not stuff.
Legs (Make 2)
- Make a magic ring with the tan yarn and work 8 single crochets into the center. [8]
- Round 1: work 2 single crochets in the first stitch, then 1 single crochet in the next stitch, and repeat all the way around. [12]
- Round 2: work 1 single crochet in every stitch around in tan. [12]
- On the last stitch of round 2, change to the dark brown or main body fluffy yarn.
- Rounds 3 to 9: work 1 single crochet in every stitch around in the fluffy yarn, seven rounds total. [12] Checkpoint: a wider tube than the arms, with a slightly more substantial hoof base. Legs and arms placed side by side should be clearly different in circumference.
- Fasten off, leaving a tail for sewing. Do not stuff.
Tail (Optional)
- Chain 8.
- Row 1: skip the first stitch and work 7 single crochets across. [7]
- Row 2: work 7 single crochets across. [7]
- Row 3: work 7 single crochets across. [7]
- Row 4: work 7 single crochets across. [7]
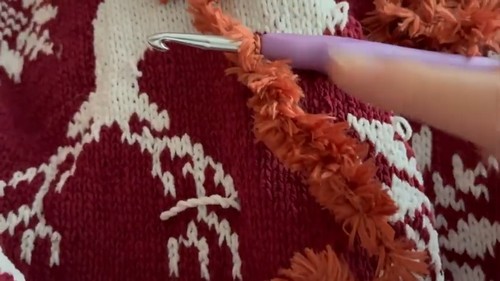
- Fold the piece lengthwise and slip stitch along the side edge to close it into a tube.
- Fasten off, leaving a tail for sewing.
Safety Eye Timing
The eyes go in during the head, after round 10 and before round 11. That window is not flexible. Once round 11 starts narrowing the opening the backings become hard to seat properly, and once the head is stuffed and closed there is no way back in. Secure both backings firmly from the inside before you move on.
For any toy going to a child under three, skip the safety eyes and embroider instead. Two small black satin stitch dots placed in the same position on round 10, with the tails buried inside the head before stuffing, give you the same look with nothing that can detach.
Assembly
- Attach the ears to the sides of the head first, even with the top curve and pointing slightly outward. Pin them and check symmetry from the front before sewing a single stitch.
- Attach the horns near the top of the head, just inside the ears, angling slightly upward and outward. Pin both at once and check from the front.
- Attach the muzzle to the lower front of the head, centered, sitting just below the eyes. The flat bottom edge should line up with the bottom curve of the head.
- Sew the head to the top of the body, centering it over the closed opening. The head will sit forward slightly on its own; that reads naturally for this type of seated cow.
- Attach both arms to the sides of the body, roughly level with the upper third of the body height.
- Attach both legs to the bottom front of the body, pointing forward and slightly outward for the seated look.
- Attach the tail to the center back of the body, near the base.
- Pin every piece before committing to the sewing. With fluffy yarn, position is the only thing you can control. Ripping out a seam on plush is messy.
Stuffing Guide
- Head: firm, but stop before any stuffing is visible through the fabric.
- Body: medium firm. It needs to sit upright under the weight of the head, but plush yarn stretches, so err lighter than you think and test by placing the unstuffed head on top before closing.
- Arms and legs: leave unstuffed. The fluffy yarn gives them enough body, and stuffed arms on a seated toy just point outward awkwardly.
- Muzzle: unstuffed. It is thin enough that the fold shapes it without any filling.
- Horns and tail: unstuffed. The folding technique closes them.
FAQ
- Can I use regular acrylic instead of fluffy yarn? Yes, and it will be easier to count. The shaggy texture disappears but the shape stays the same. Bulky acrylic on a 5 mm hook gives a similar finished size.
- My fluffy yarn keeps splitting on the hook. What can I do? Slow down and use a hook with a broader, rounder throat rather than a pointed tip. Ergonomic hooks with an inline head tend to snag plush less than inline metal hooks do.
- The horns came out too floppy to hold their shape. Why? Almost always the fabric is too loose. Fluffy yarn has enough give that even one hook size up can ruin the fold-and-pull shaping. Go down to 4 mm and try again with tighter tension.
- How do I attach the head so it doesn’t wobble? Sew all the way around the join with small, close stitches, catching both the head and the closed body top on every pass. A few stitches through the center of the join helps on heavier heads like this one.