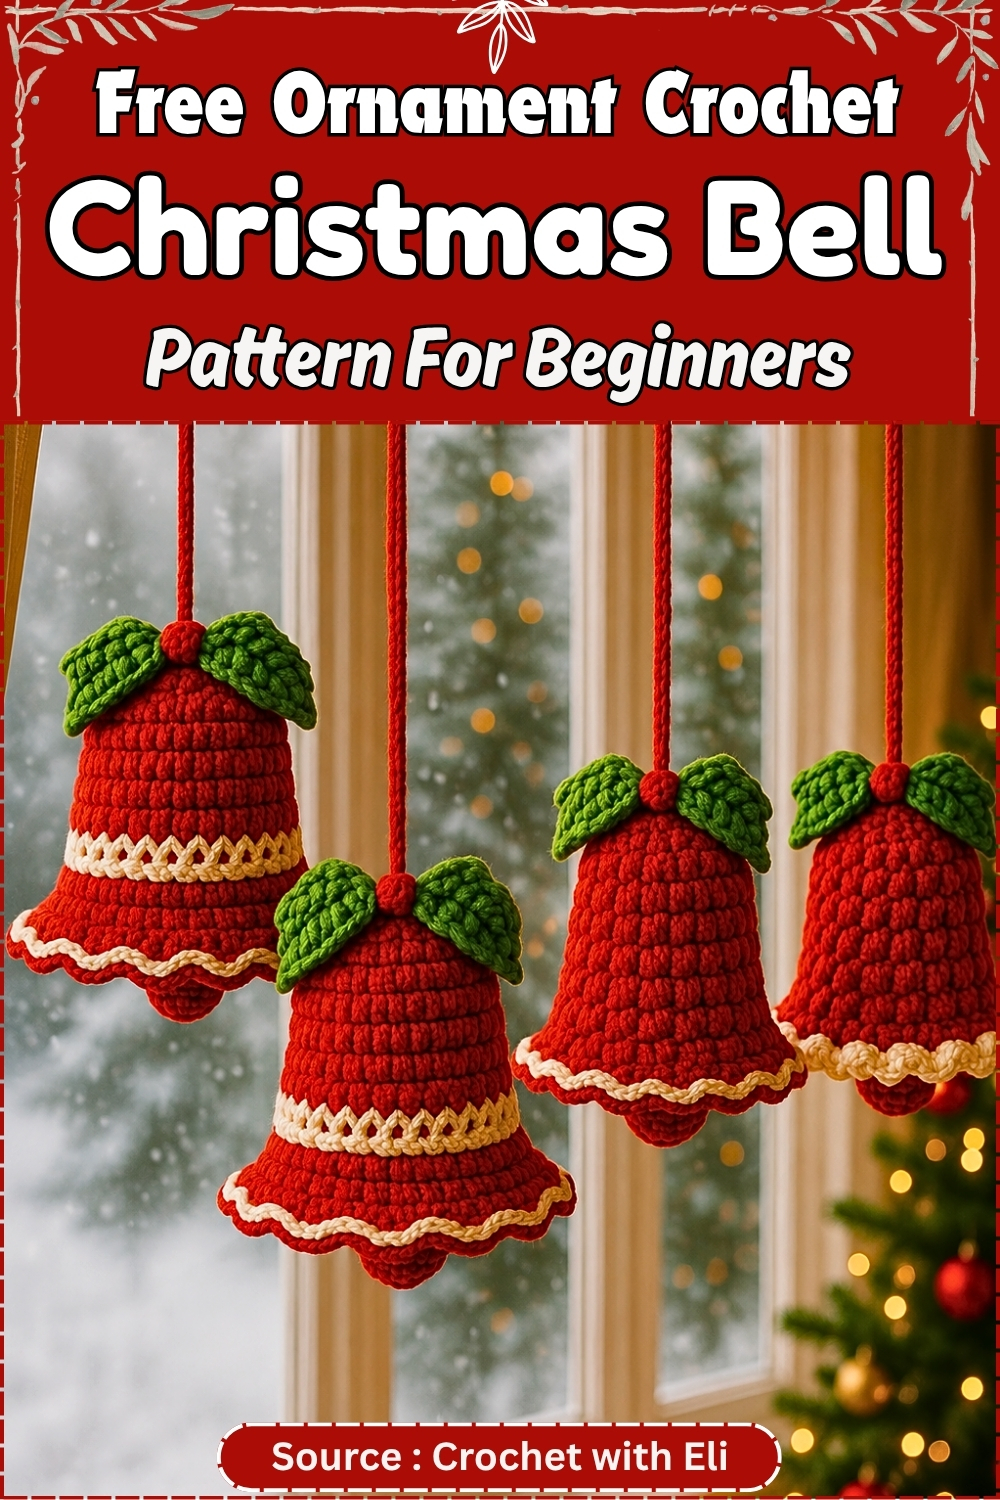
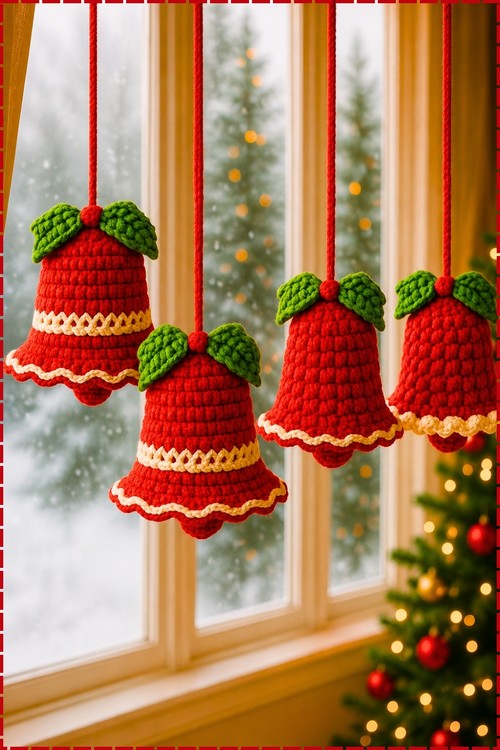
Doorways ring in December with crochet Christmas bells swinging at different heights on red cord. Four bells from one easy crochet Christmas bell pattern fill a curtain rod or mantel, and each one needs only red, cream and green scraps.
Holly leaves in green, pinned by a red berry, crown each bell in this free Christmas bell crochet pattern, and a long red cord rises from the top for hanging. A cream zigzag band circles the middle of the red body, and the lower edge flares into a ruffle trimmed in cream. A small red ball peeks out below the hem like a clapper. Stiffen the ruffle after blocking, since a soft flare folds inward and the bell loses its shape.
Crochet Amigurumi Christmas Bell
Quick Facts
- Finished size: roughly 2.5 to 3 inches tall with DK cotton and a 3.5 mm hook, approximate only
- Difficulty: easy in technique, but see the Pattern Note before you start
- Time: under an hour for the crochet, plus drying time if you stiffen it
- Pieces: one, plus a chain hanging loop
- Worked in joined rounds from the top down, unstuffed
Colour And Customization Ideas
- White or cream cotton with a gold thread held alongside gives the traditional look, and the metallic strand stiffens the fabric slightly on its own
- Deep red with a white picot rim reads as a candy stripe bell
- Work the body in one colour and the flared rim rows in a contrast for a two-tone finish
- A tiny jingle bell hung inside on a short chain makes the ornament audible, which children notice immediately
- Green or silver for a set, since these look far better as a group of five or six than as a single ornament on a branch
Materials And Tools
- Sport or DK weight yarn, 100% cotton recommended for stitch definition
- 3.0 mm or 3.5 mm crochet hook, chosen to keep the fabric firm rather than loose
- Yarn needle for weaving in ends
- Scissors
- Optional small jingle bell
- Optional fabric stiffener, starch, or a strong sugar water solution
- Optional small cone-shaped mould for drying
Abbreviations
- ch: chain
- sl st: slip stitch
- sc: single crochet
- hdc: half double crochet
- dc: double crochet
- st, sts: stitch, stitches
- mr: magic ring
Pieces List
- Bell, make 1, worked in joined rounds from the top down
- Hanging loop, make 1, a chain worked into the closed top
Three Tips Before You Start
- Go down a hook size from what the yarn label suggests. A bell holds its shape through fabric density, and a loose fabric flops no matter how well you stiffen it.
- Increase gradually and never in the same column twice in a row. Increases stacked on top of each other give you six visible corners instead of a smooth cone.
- Decide early whether you are stiffening it. If you are, work slightly looser than you otherwise would, since starch tightens the fabric as it dries.
The Pattern
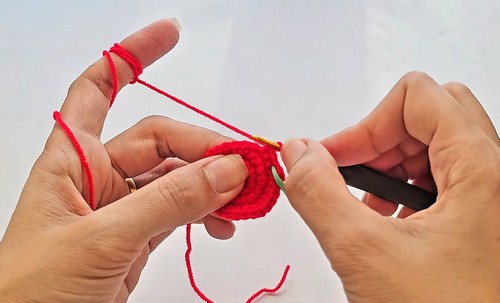
Foundation And Top
- Make a magic ring, or ch 4 and join with a sl st to form a ring
- Work your first round of stitches directly into the ring, joining with a sl st to close the round
- If you are working the round in double crochet, ch 3 at the start to stand in for your first dc, then work the remaining dc into the ring. Checkpoint: this closed top should be small and tight with no visible hole at the centre, since it becomes the crown of the bell and hangs at eye level on a tree. If light passes through it, pull the ring tail harder before moving on.
Shaping The Body
- Continue in joined rounds, placing increases evenly so the piece flares gradually rather than in steps
- Where an increase is called for, work 2 dc into the same stitch, spacing the increases evenly around the round
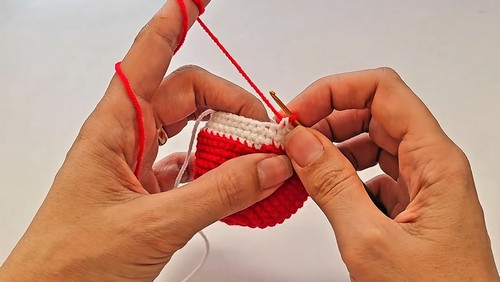
- Stagger the increase positions from one round to the next so they do not stack vertically. Checkpoint: by the third or fourth round the piece should sit like a shallow open cone that stands up on its own rim, not a flat disc and not a straight tube. A flat disc means too many increases per round. A tube means too few.
- Through the middle section, work rounds without increases, or with texture stitches such as shells or alternating hdc and dc, to give the body its rounded curve
- Add only slight increases through this section if the curve looks too straight. Checkpoint: hold the piece upside down at arm’s length. The silhouette should bow outward slightly before the rim, the way a real bell does, rather than running dead straight from top to bottom.
The Flared Rim
- Over the final rounds near the bottom opening, increase the stitch count more heavily to open the fluted flare
- Finish the bottom edge with a decorative border if you want one, such as a slip stitch edge, a picot edge, or a scalloped border
- Fasten off and weave in the ends. Checkpoint: stood on a table, the finished rim should be the only part touching the surface and the bell should not rock. A rim that ripples heavily has too many increases in the last round, and one that stays narrow has too few.
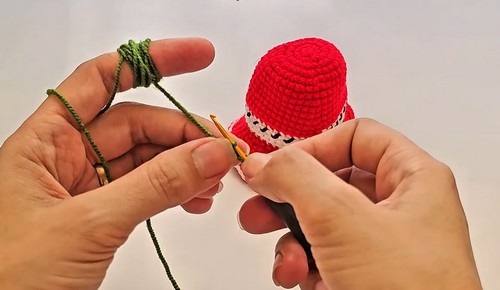
Hanging Loop
- Join your yarn securely at the top centre of the bell
- Ch 10 to 15, depending on how long you want the loop
- Sl st back into the base of the chain to close the loop
- Fasten off and weave in the remaining end.
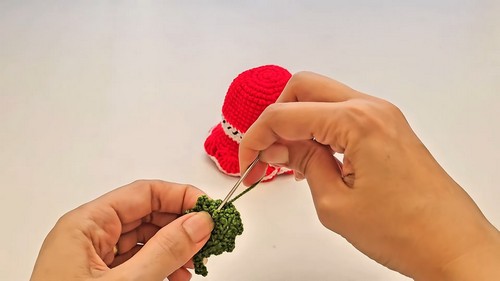
- Checkpoint: hold the bell by the loop. It should hang level with the rim parallel to the floor. A tilt means the loop was joined off centre, and it is worth undoing.
Assembly
Nothing is sewn together here, which keeps the finishing simple. The only join is the hanging loop, and it goes on after the body is complete and the ends are woven. If you are adding a jingle bell inside, attach it to a short length of chain and secure that chain to the inside of the crown before you add the outer hanging loop, so the two do not tangle. Pin the loop position first if you are working with a textured crown where the exact centre is hard to see. Ten seconds of pinning saves undoing a knot in cotton.
Stuffing Guide
This ornament is not stuffed. A bell needs to stay hollow, since the open rim and the shadow inside are what make it read as a bell rather than a cone. Do not be tempted to add fiberfill to firm up a floppy piece, because it will bulge the walls and show through cotton. Density comes from hook size and stiffener instead. If the shape will not hold, soak it in fabric stiffener or a strong sugar water solution, then dry it over a small cone mould. An upturned shot glass works if you have nothing else.
Safety Eyes
There are none in this pattern and none are needed, since a bell has no face. Mentioned only because most patterns on this site do use them. If you decide to give yours eyes as a novelty, they must go in before the piece is finished and while you can still reach the back of the fabric. For anything hung within a small child’s reach, embroider instead of using safety eyes, and skip the loose jingle bell entirely.
Yarn Substitution And Size Scaling
Cotton is the right choice here because it holds a stiffener and gives crisp stitch definition on a small piece. Acrylic works but tends to look soft and refuses to hold shape without heavy starching. For a larger bell, move to worsted with a 4 mm hook and add more rounds in the straight middle section rather than more increases, since extra increases widen it without making it taller. For miniatures, lace weight with a 2 mm hook gives something around an inch tall. The one constant is firm fabric.
FAQ
- Why does my bell flop over on the tree? Almost always fabric that is too loose. Go down a hook size and try again before reaching for starch, because stiffener on a loose fabric gives you a stiff floppy bell rather than a firm one. Cotton also holds shape far better than acrylic here.
- Can I make it without a stiffener? Yes, if your tension is tight enough. Plenty of these hold their shape from the fabric alone, especially in cotton at a small size. Stiffener is insurance, not a requirement.
- How many should I make? More than one. A single crochet bell on a tree tends to disappear against the branches, and a cluster of five or six in staggered lengths reads properly from across the room. Vary the hanging loop lengths so they hang at different heights.