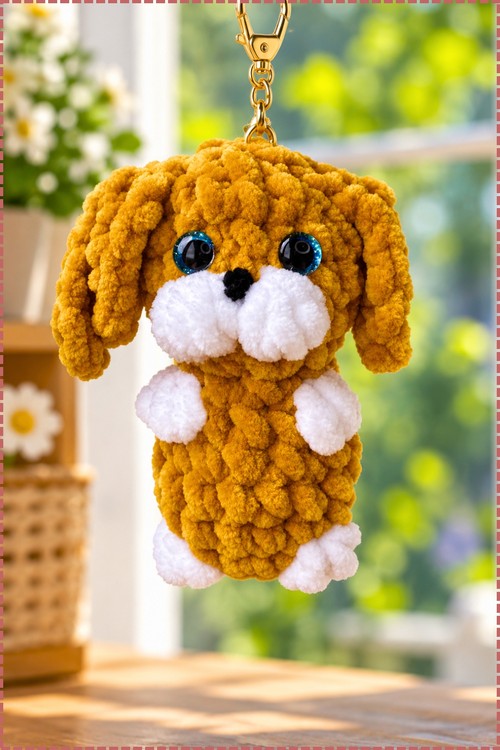
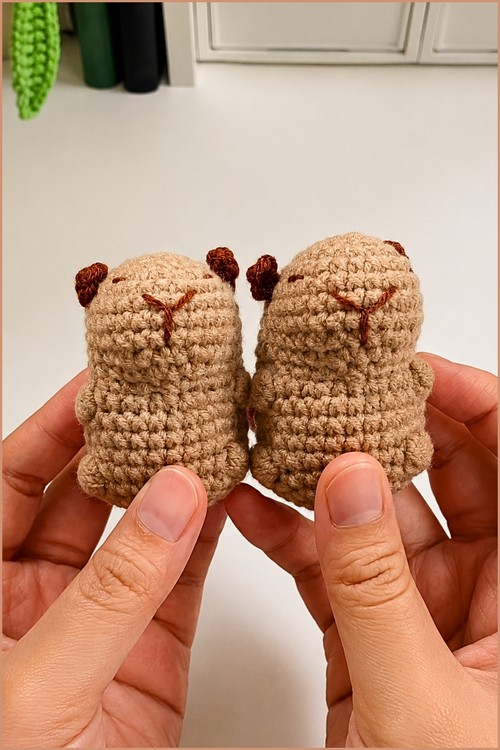
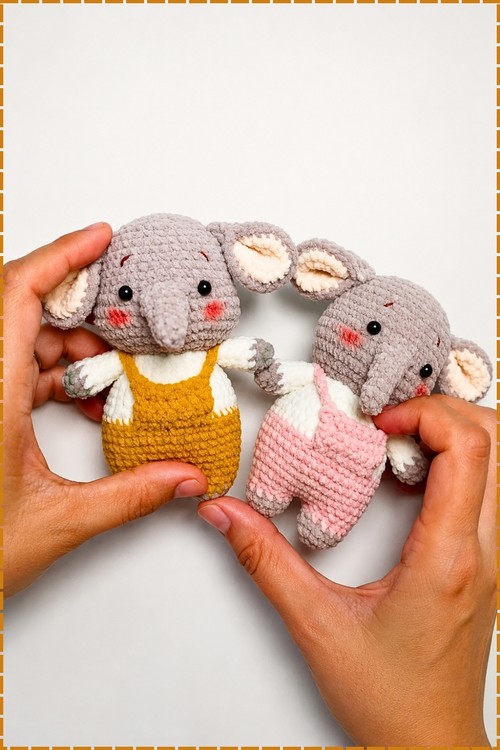
Brush out the long cream mane and tail on this crochet amigurumi horse for a soft, flowing look against its ivory body and dark brown muzzle. Pony mad kids and riders will love a little white horse toy with chocolate brown hooves on a bedside table or as a birthday gift.
Picture a grey horse standing on a nursery shelf, mane strands trimmed slightly uneven the way a real one would look, four legs solid enough to hold it upright without toppling. That is what this pattern produces. Someone kept asking for a horse toy that actually looked like a horse rather than a blob with ears, and after working through the leg shaping rounds I understood why the construction takes the approach it does. The asymmetric decrease placement in the joint rounds replicates the actual angle of a horse’s leg, and once the piece is stuffed it suddenly makes sense in your hands.
Crochet Amigurumi Horse
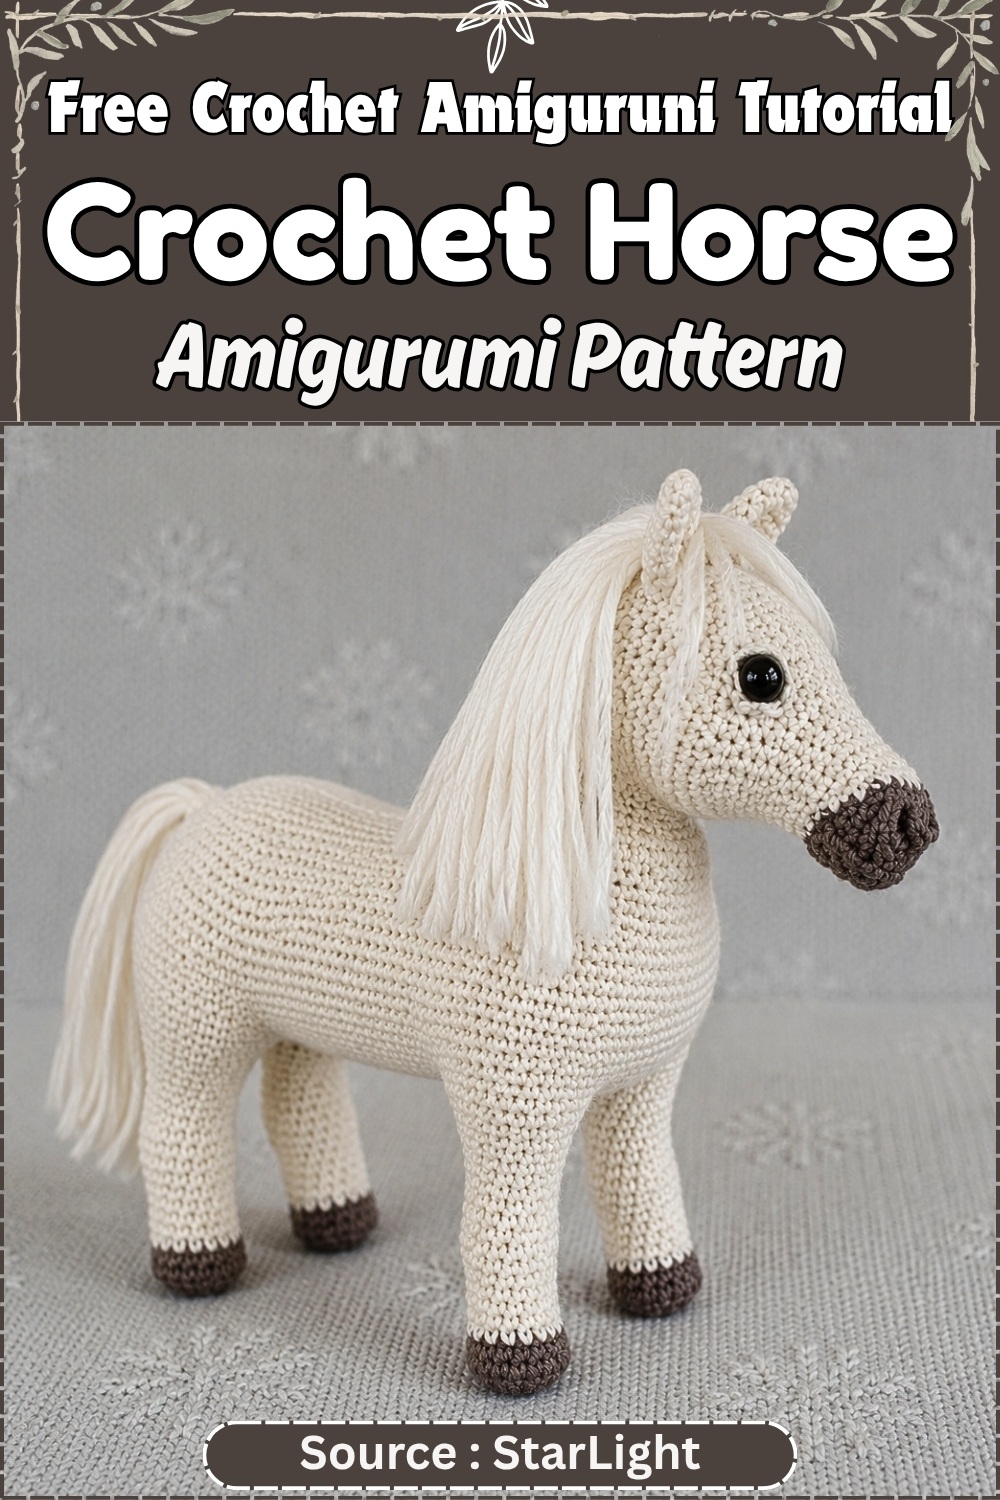
Getting nine separate pieces to come together cleanly takes patience. Finish all four legs and both ears before starting the body, because the legs join at Round 5 and you need them ready. The mane is cut yarn strands rather than crocheted, which sounds like a shortcut but is actually the right call for this scale. A crocheted mane at this size reads as a ridge, not a mane. Attaching the strands after full assembly lets you judge placement and trim length with the whole horse in front of you, which saves regret.
Why I love this one: the BLO round at the hoof is such a small detail, and it makes such a visible difference to the finished silhouette.
Pieces List
- Front legs: make 2 (33 rounds each)
- Back legs: make 2 (34 rounds each)
- Ears: make 2
- Body: make 1 (foundation chain, legs join at Round 5)
- Lower lip: make 1
- Upper lip and head: make 1 (25 rounds, partially specified)
- Neck: make 1 (23 rounds, partially specified)
- Eyelids: make 2
- Tail: make 1 (flat, 2 rows)
- Mane: cut yarn strands, not crocheted
Have all legs and ears finished before starting the body.
Materials and Tools
- Grey yarn, main colour
- White yarn, for upper leg sections and colour transitions
- Crochet hook suited to your yarn weight
- Polyester fiberfill
- 10 mm safety eyes
- Yarn needle
- Scissors
- Stitch marker
- Optional: support wire for the front legs
Yarn weight is not given in the pattern. DK or sport weight with a 2.5 to 3.5 mm hook should produce a horse of roughly 20 to 25 cm tall, though your tension will shift that. Use one hook size smaller than the label recommends and check that fiberfill does not show through the fabric.
Safety Eye Timing
The 10 mm eyes must be placed during head construction, while the opening is still wide enough to reach inside and press the washers on. Aim for when the head is about two thirds complete. Level them on the front face of the head and press the washers firmly onto the posts before continuing any further rounds.
A note on the source pattern: the original lists eye placement in the final assembly section, after the head is already closed at Round 25. Eyes cannot go in after a piece is closed. Disregard that placement and insert them during construction as described here.
For toys going to children under three, skip the safety eyes entirely and embroider with black yarn after the horse is finished.
The Pattern
Front Legs (Make 2)
- Begin in grey yarn.
- Rnd 1: Magic ring with 6 sc. (6)
- Rnd 2: 1 inc in each stitch around. (12)
- Rnd 3: (1 sc, 1 inc) × 6. (18)
- Rnd 4: 1 inc, 16 sc, 1 inc. (20)
- Rnd 5: 20 sc in back loops only. (20) Checkpoint: the hoof should be a flat bottomed disc that sits on a table without rocking; the BLO round leaves a visible ridge at the hoof edge, which is intentional.
- Rnd 6: 1 sc, 1 inc, 16 sc, 1 inc, 1 sc. (22)
- Rnd 7: 22 sc. (22)
- Rnd 8: Change to white yarn. 8 sc, dec × 3, 8 sc. (19)
- Colour join note: work the final yarn over of the last grey stitch in white to reduce any visible jog at the transition.
- Rnd 9: 1 sc, dec × 2, 9 sc, dec × 2, 1 sc. (15)
- Rnd 10: 5 sc, inc × 5, 5 sc. (20)
- Rnd 11: dec (3 stitches together), 1 sc, 1 dec, 1 sc, dec × 3, 1 sc, 1 dec, 1 sc, dec (3 stitches together). (11) Checkpoint: the leg should show a clear narrowing at the fetlock and a slight widening above at the knee; an even tube means the asymmetric decreases were spread rather than placed as written.
- Rnds 12 and 13: 11 sc. (11)
- Rnd 14: sl st, 3 sc in next stitch, 9 sc, 3 sc in next stitch. (15)
- Rnd 15: 15 sc. (15)
- Rnd 16: dec (3 stitches together), 9 sc, dec (3 stitches together). (11)
- Rnds 17 to 20: 11 sc. (11)
- Rnd 21: 1 inc, 2 sc, inc × 5, 2 sc, 1 inc. (18)
- Rnd 22: 18 sc. (18)
- Rnd 23: 1 dec, 2 sc, 1 dec, 1 sc, dec × 2, 1 sc, 1 dec, 2 sc, 1 dec. (12)
- Rnds 24 and 25: 12 sc. (12)
- Rnd 26: 3 sc, 1 inc, 4 sc, 1 inc, 3 sc. (14)
- Rnd 27: 14 sc. (14)
- Rnd 28: sl st, 5 sc, 1 inc, 2 sc, 1 inc, 5 sc. (16)
- Rnd 29: 16 sc. (16)
- Rnd 30: 1 inc, 6 sc, inc × 2, 6 sc, 1 inc. (20)
- Rnd 31: sl st, 20 sc. (20)
- Rnd 32: 8 sc, 1 inc, 2 sc, 1 inc, 8 sc. (22)
- Rnd 33: 1 inc, 9 sc, inc × 2, 9 sc, 1 inc. (26) Checkpoint: the finished front leg should flare noticeably at the shoulder top; do not fasten off until ready to join at body Round 5.
- Wire note: if using support wire, insert it before joining to the body and bend the top end over to prevent it poking through.
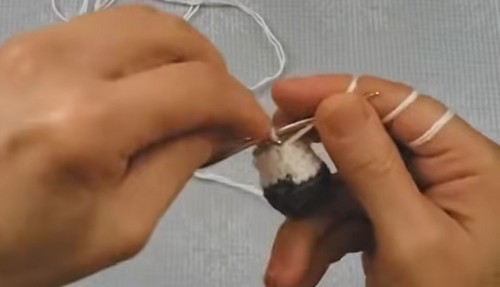
Back Legs (Make 2)
- Rnds 1 to 20: follow Front Leg Rounds 1 to 20 exactly. (11 sts at Rnd 20)
- Rnd 21: sl st, 3 sc in next stitch, 3 sc, inc × 3, 3 sc, 3 sc in next stitch. (18)
- Rnd 22: 18 sc. (18)
- Rnd 23: dec (3 stitches together), 2 sc, dec × 4, 2 sc, dec (3 stitches together). (10)
- Rnd 24: 1 dec, 1 sc, inc × 4, 1 sc, 1 dec. (12)
- Rnd 25: 5 sc, inc × 2, 5 sc. (14)
- Rnds 26 and 27: 14 sc. (14)
- Rnd 28: 6 sc, inc × 2, 6 sc. (16)
- Rnd 29: 16 sc. (16)
- Rnd 30: sl st, 1 inc, 6 sc, inc × 2, 6 sc, 1 inc. (20)
- Rnd 31: 20 sc. (20)
- Rnd 32: sl st, 1 inc, 8 sc, inc × 2, 8 sc, 1 inc. (24)
- Rnd 33: 11 sc, inc × 2, 11 sc. (26)
- Rnd 34: 1 inc, 11 sc, inc × 2, 11 sc, 1 inc. (30) Checkpoint: the back legs finish at 30 sts, noticeably wider at the haunch than the front legs at 26; both must match exactly before joining to the body.
Reading crochet patterns can be tricky when you’re just starting out, feel free to follow the video tutorial below instead!
Ears (Make 2)
- Rnd 1: Magic ring with 5 sc. (5)
- Rnd 2: 5 sc. (5)
- Rnd 3: 2 sc, 1 inc, 2 sc. (6)
- Rnd 4: (1 sc, 1 inc) × 3. (9)
- Rnd 5: (2 sc, 1 inc) × 3. (12)
- Rnd 6: (3 sc, 1 inc) × 3. (15)
- Rnd 7: 15 sc. (15)
- Rnd 8: (4 sc, 1 inc) × 3. (18)
- Rnd 9: 18 sc. (18)
- Rnd 10: 2 sc, 1 dec, (3 sc, 1 dec) × 2, 2 sc, 1 dec. (14)
- Flatten the ear and work 6 sc through both layers to close. Fasten off leaving a sewing tail. Checkpoint: the flattened ear should have a slight point at the tip and a wider base; a perfect rectangle means the Round 10 decreases did not narrow the tip.
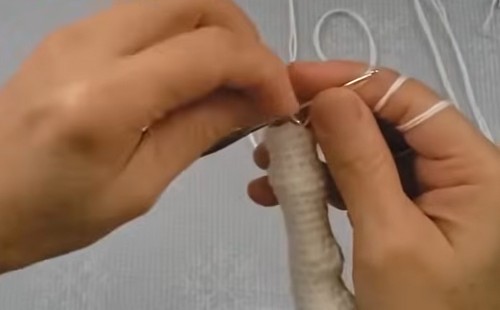
Body
- The body starts from a foundation chain, not a magic ring.
- Rnd 1: Chain 29. Skip the first chain. Work 27 sc across the chain. Work 3 sc in the last chain stitch. Turn to work along the opposite side: 27 sc. Work 3 sc in the first chain stitch to complete the oval. (60)
- Rnd 2: 28 sc, 3 sc in next stitch, inc × 3, 28 sc, inc × 3. (65 — see pattern note below)
- Rnd 3: 29 sc, 3 sc in next stitch, 29 sc, 1 inc, 2 sc, 1 inc, 1 sc, 1 inc. (70 — see pattern note below)
- Rnd 4: 30 sc, 3 sc in next stitch, 34 sc, inc × 2, 3 sc. (74 — see pattern note below)
- Pattern note on body stitch counts: the stitch totals for Rounds 2, 3 and 4 do not verify cleanly against the stated increases. Starting Round 2 from 60, the increases listed produce 68, not 65. Similar discrepancies exist in Rounds 3 and 4. Work each round exactly as the instruction text states and trust the written increase placements over the bracket totals, which appear to contain errors from the source.
- Rnd 5: Join both back legs and both front legs following placement in the original pattern. Stitch count depends on the full original instructions.
- Rnds 6 to 26: Continue as written in the original pattern, maintaining all stitch counts.
- Stuff the body firmly before fastening off at Round 26.
- Pattern note on Rounds 5 to 26: these rounds reference the original pattern without providing round by round instructions. If working from this post alone, use the source video or fuller written pattern for these sections.
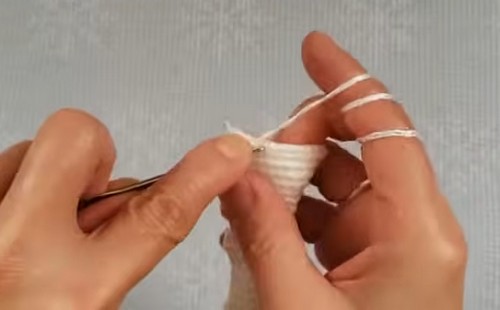
Lower Lip
- Rnd 1: Chain 5. Skip 1 chain. Work 4 sc across. (4)
- Rnd 2: Chain 1, turn. 1 sc, 1 inc, 2 sc. (5)
- Rnd 3: Chain 1, turn. 2 sc, 1 inc, 2 sc. (6)
- Rnds 4 and 5: Chain 1, turn. 6 sc. (6)
- Work 19 sc evenly around the entire edge of the lower lip piece.
- Fasten off leaving a sewing tail.
Upper Lip and Head
- Rnds 1 to 25: follow the original round by round instructions exactly, changing between grey and white at the points the source indicates.
- Attach the lower lip during Round 8.
- Insert safety eyes before the opening narrows too far. See safety eye timing section above.
- Fasten off after Round 25.
- Stitch 6 sc to create the nose detail.
- Pattern note: Rounds 1 to 25 of the head are not fully written in the available pattern. Use the original source for these rounds.
Neck
- Rnds 1 to 23: follow the original instructions exactly.
- Stuff the neck firmly at Round 9 before the opening narrows further.
- Join the neck to the head during Round 14.
- Continue decreasing until Round 23 closes the opening completely.
- Pattern note: Rounds 1 to 23 of the neck are not fully written in the available pattern. Use the original source for these rounds.
Eyelids (Make 2)
- Version A: Chain 8. Skip the first chain. Work 7 sc. Fasten off.
- Version B: Chain 6. Crochet as desired. Fasten off.
- Use whichever version suits your preference.
Tail
- Chain 12. Skip the first chain. Work 11 sc across. (11)
- Turn. Work 11 sc back across. (11)
- Fasten off leaving a sewing tail.
Mane
- Cut six strands of yarn measuring 7 cm each.
- Cut one strand measuring 8 cm.
- Attach the 8 cm strand at the top of the head as the forelock.
- Attach the remaining six strands evenly spaced along the neck.
- Trim and shape after attachment. A slightly uneven cut reads more naturally than a perfectly straight edge.
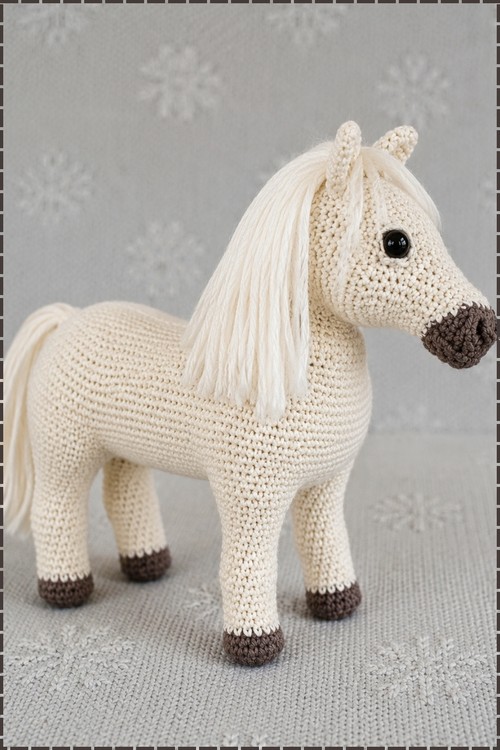
Assembly
Pin before you sew. On a build with this many attachment points, pinning takes five minutes and avoids a full restart.
Work in this order: legs to body first (or join at Round 5 if the original pattern supports mid-crochet joining), then neck to body, then head to neck, then ears to head, then eyelids just above the eyes, then tail at the hindquarters, then mane strands along the neck.
Ears sit slightly forward of the top centre of the head, angled outward just a little. Pin both before sewing either and check from the front before committing.
Safety eyes go in during head construction, not here. The original pattern places eye insertion in this assembly section, but by Round 25 the opening is already closed and eyes cannot be inserted. See the safety eye timing section.
Stuffing Guide
Every piece needs firm stuffing, the legs especially. An under-stuffed leg will buckle at one of the shaping rounds and the horse will not stand. Pack the lower legs dense before the opening narrows past Round 11. The body should feel solid when closed, not give when pressed.
The neck needs stuffing at Round 9. Waiting until the neck is finished makes it nearly impossible to push fiberfill into a fully narrowed tube. Ears are closed flat with no stuffing at all. Wire goes into the lower leg before stuffing if you are using it.
Toy Safety
Safety eyes are not suitable for children under three. Embroider with black yarn instead. Support wire inside the legs is also not appropriate for any toy going to a child, since wire ends can work through fabric over time. Weave every yarn end in twice and check all seams before the horse is gifted.
FAQ
The leg shaping in Rounds 8 to 11 looks uneven while I am working it. Is something wrong? Nothing is wrong. Horse leg joints are not symmetric, and the pattern replicates that by placing increases and decreases on opposite sides of the same round. It will read correctly once the leg is stuffed and oriented upright.
The body stitch counts in Rounds 2 to 4 do not match what I am getting. What do I do? Follow the written increase placements rather than the bracket totals. The source counts appear to have errors, which are flagged in the pattern notes. If your count is close but not exact, continue and cross check again at Round 5 against the leg joining instructions.
Can I skip the support wire? Yes. The horse can stand on very firmly stuffed legs alone, though wire helps on soft surfaces. If you skip it, stuff the lower legs a little beyond what feels right.
Can I make this in brown or chestnut instead of grey? Completely interchangeable. Any single solid colour for the body with orange reserved for the mane, tail and feet if you want a warmer look. The construction is identical regardless of colour.