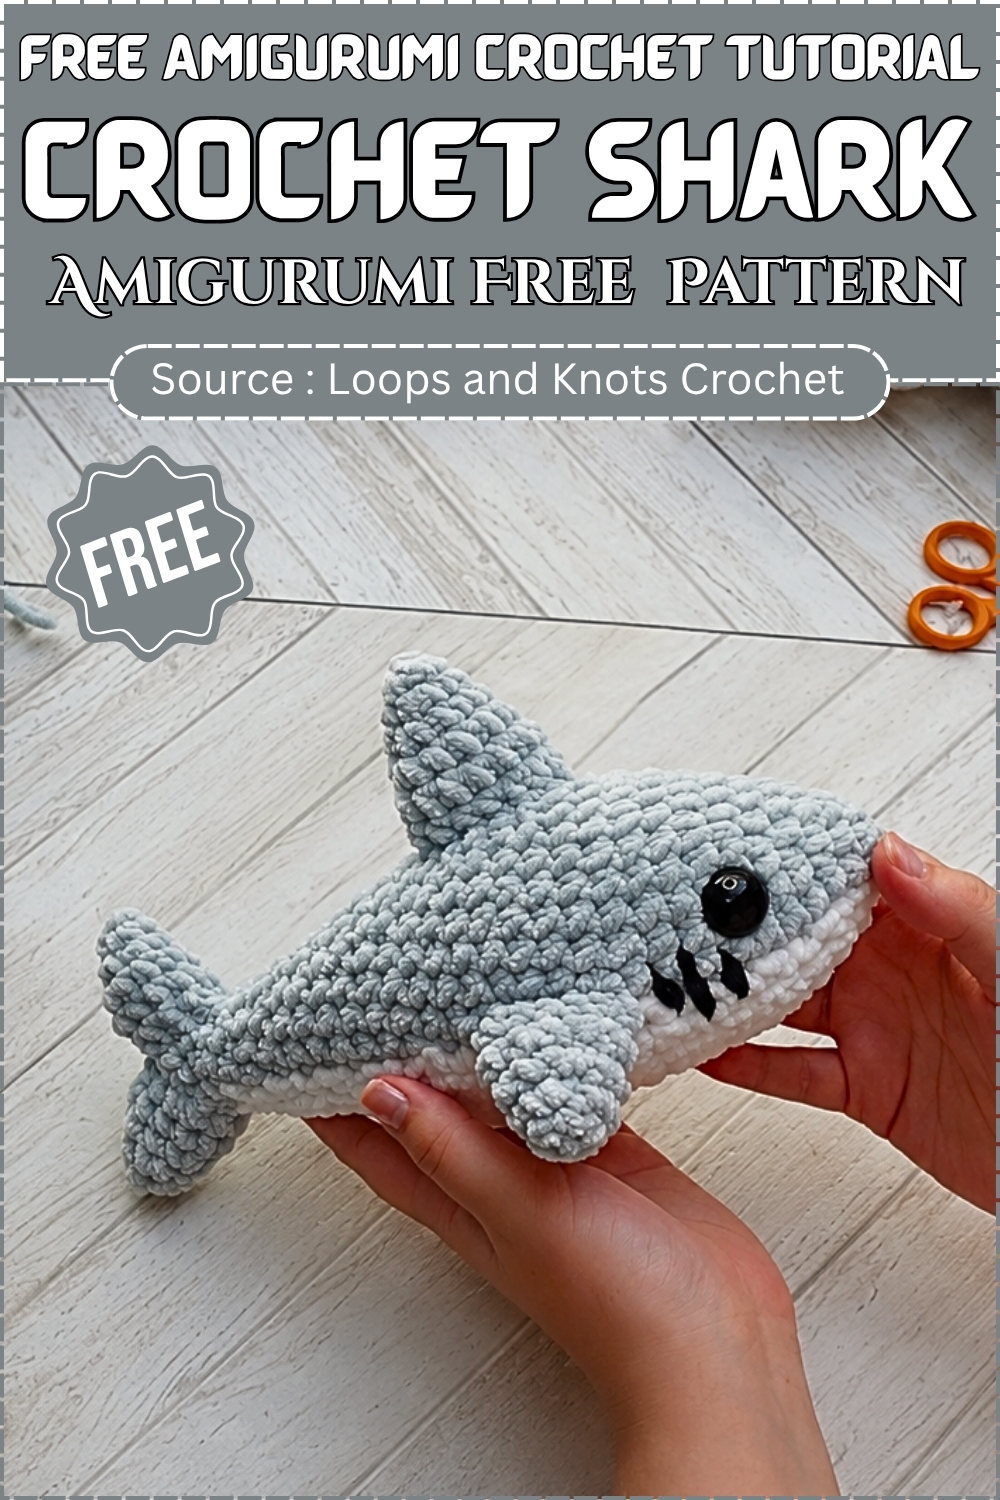
Crochet Shark
Colour and Customisation Ideas
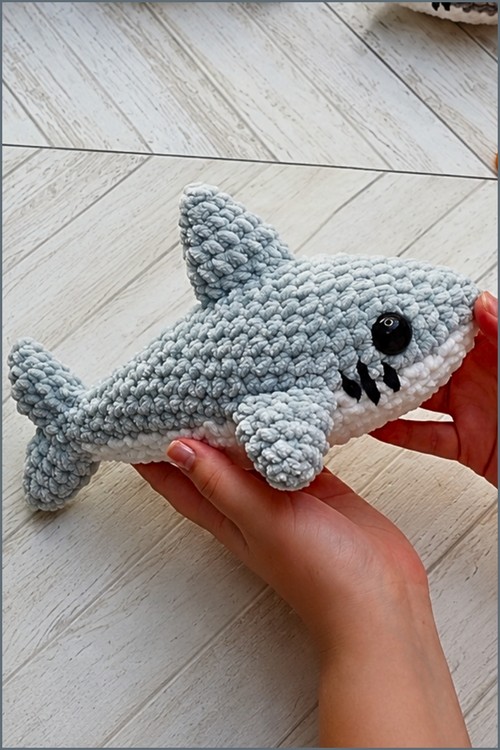
Before the pattern, a few directions worth thinking about. The classic grey-blue body with a white belly is the obvious choice, and it works because the contrast is strong enough to read even in soft plush yarn. But this silhouette holds up in other palettes too. A teal body with an ivory belly leans oceanic and works well for nursery gifts. Deep charcoal with a pale grey belly gives a more graphic, grown-up look. For something playful, a lavender or dusty pink body keeps the shark shape but completely changes the character of the toy — less ocean documentary, more plush art piece. Whatever colour you choose, the belly patch contrast matters most. Low contrast between body and belly makes the patch disappear, so keep at least two value steps between them.
Quick Facts
- Finished size: approximately 20–25 cm / 8–10 inches nose to tail (worsted-weight plush yarn, 4mm hook)
- Difficulty: beginner-friendly
- Estimated time: 4–6 hours
- Piece count: 7 pieces total
- Yarn: grey or blue plush yarn + white plush yarn
- Notable feature: no-sew construction — all pieces joined by crocheting across the opening
Pieces List
- Body × 1
- White Belly Patch × 1
- Top Fin × 1
- Side Fins × 2
- Tail Fins × 2
Total: 7 pieces
Materials and Tools
- Grey or blue plush yarn (worsted weight recommended)
- White plush yarn
- Black yarn or safety eyes
- Crochet hook (sized to your yarn — typically 4–5mm for plush worsted)
- Polyester fiberfill
- Yarn needle
- Scissors
- Stitch marker
Abbreviation
- MR — magic ring
- sc — single crochet
- inc — increase (2 sc in same stitch)
- dec — decrease
- st — stitch
- sl st — slip stitch
A Note on Plush Yarn
Plush yarn hides stitches. This is both the reason the finished toy looks so soft and the reason counting rounds is harder than usual. Use a stitch marker without fail, and move it at every round start. Stitch counts matter here — the belly patch especially needs to land in the right place, and it is much easier to count correctly as you go than to diagnose a wonky belly later.
Colour and Customisation (continued)
One thing that surprises makers new to plush yarn: embroidered details like the mouth nearly disappear into the pile if your stitches are too small. Go slightly larger than you think you need, and use a smooth black yarn rather than another plush yarn for the facial features. The contrast in texture actually helps the details read clearly.
The Pattern
Body
Use grey or blue plush yarn. Work in continuous rounds with a stitch marker.
- Round 1: MR, 6 sc — 6 sts
- Round 2: inc around — 12 sts
- Round 3: [1 sc, inc] around — 18 sts
- Round 4: [2 sc, inc] around — 24 sts
- Round 5: [3 sc, inc] around — 30 sts
- Round 6: [4 sc, inc] around — 36 sts
Shape checkpoint — Round 6: The piece should be a flat disc with no curling. If the edges are turning upward to form a bowl, your hook is too small or tension too tight.
- Rounds 7–15: sc around — 36 sts
Shape checkpoint — Round 10: By the middle of the straight rounds, the body should be a clear tube shape, roughly 5–6 cm tall. The nose end (magic ring side) should be fully rounded and closed.
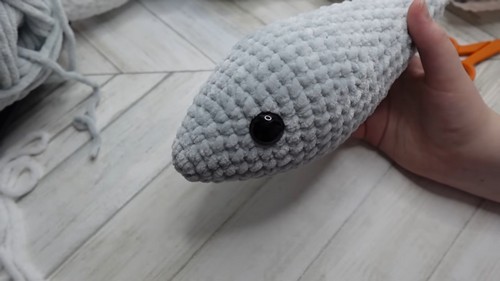
Safety eyes go in between rounds 8 and 9. This must happen now, before the opening narrows further. Position them slightly wider apart than feels natural — plush yarn is forgiving, but eyes that are too close together are harder to fix later. See the safety note below if this toy is for a young child.
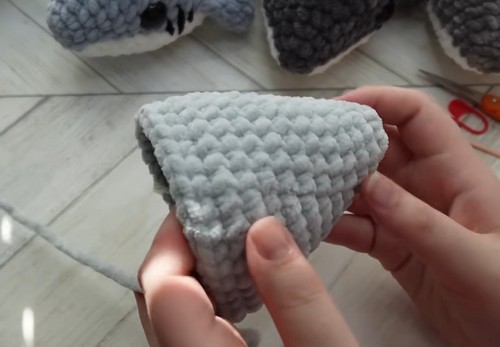
Begin stuffing firmly after placing the eyes.
- Round 16: [4 sc, dec] around — 30 sts
- Round 17: sc around — 30 sts
- Round 18: [3 sc, dec] around — 24 sts
- Round 19: sc around — 24 sts
- Round 20: [2 sc, dec] around — 18 sts
- Round 21: [1 sc, dec] around — 12 sts
- Round 22: dec around — 6 sts
Shape checkpoint — Round 22: The tail end should taper to a neat blunt point with no visible gaps. If the opening is puckering outward rather than closing inward, the stuffing near the back is too dense — redistribute toward the nose.
Fasten off and close the hole.
White Belly Patch
Use white plush yarn.
- Foundation: Chain 10
- Round 1: sc in 2nd chain from hook, 7 sc, 3 sc in last chain, work back along other side: 7 sc, inc — 20 sts
- Round 2: inc, 7 sc, inc × 3, 7 sc, inc × 2 — 26 sts
- Round 3: sc around — 26 sts
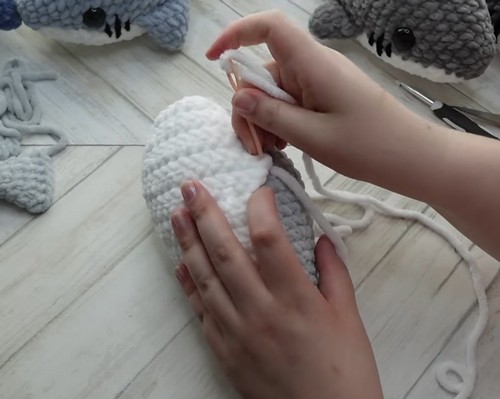
Fasten off, leaving a long tail. Sew the patch to the lower front of the body, keeping it centred.
Shape checkpoint — Round 3: The patch should be an oval, wider in the middle and narrowing at each end. If it looks circular, recount round 2.
Top Fin
Use grey or blue plush yarn.
- Round 1: MR, 4 sc — 4 sts
- Round 2: [1 sc, inc] around — 6 sts
- Round 3: [2 sc, inc] around — 8 sts
- Round 4: [3 sc, inc] around — 10 sts
- Round 5: sc around — 10 sts
Flatten and sc across the open edge to close. Sew to the upper centre of the body, slightly behind the eyes.
Side Fins
Make 2. Use grey or blue plush yarn.
- Round 1: MR, 4 sc — 4 sts
- Round 2: inc around — 8 sts
- Round 3: sc around — 8 sts
- Round 4: [1 sc, inc] around — 12 sts
- Round 5: sc around — 12 sts
Flatten and sc across the open edge. Sew one to each side of the body at equal height, angled slightly backward.
Tail Fins
Make 2. Use grey or blue plush yarn.
- Round 1: MR, 4 sc — 4 sts
- Round 2: inc around — 8 sts
- Round 3: [1 sc, inc] around — 12 sts
- Rounds 4–5: sc around — 12 sts
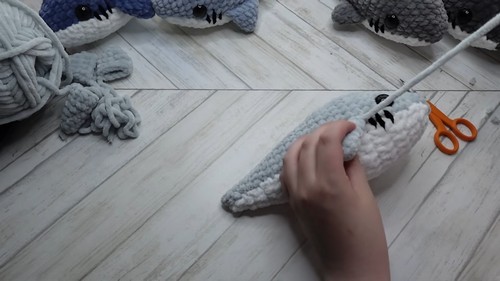
Flatten and sc across the open edge. Sew both to the back end of the body, positioned close together.
Mouth
Use black smooth yarn (not plush).
- Embroider a small curved smile beneath the eyes.
- For teeth, add small white stitches along the lower curve.
- Keep stitches larger than you think necessary — plush pile absorbs small details.
Assembly
Variation 4 calls this out in order, so here is the full sequence:
- Complete and stuff the body
- Sew the belly patch to the lower front — pin it at both ends and the centre before sewing to keep it level
- Sew the top fin along the upper centre line, behind the eyes
- Sew both side fins at matching heights, angled slightly back
- Sew both tail fins to the back end, positioned close together for a clean tail shape
- Embroider the mouth last
Pin every piece before committing. The side fins in particular — one sitting even slightly higher than the other is very visible on a symmetrical body shape.
Stuffing Guide
Stuff the body firmly, especially in the nose area. The rounded head shape depends on solid stuffing through rounds 7–12; if this section feels soft or dented, the shark loses its silhouette. Ease off toward the tail — overstuffed tails make the back end bulge outward and distort the decrease rows. The fins are not stuffed; flattening and sc-closing the edges is what holds their shape. After all pieces are attached, use your hands to massage the plush yarn surface and even out any lumps.
Toy Safety
This pattern uses safety eyes. For children under three, skip them entirely and embroider the eyes instead using black smooth yarn and satin stitch. Reinforce all fin attachments with extra passes of yarn — side fins especially get pulled during play. Trim all ends short and weave in twice.
Tips
- On plush yarn tension: Plush yarn is bulkier than it looks and can create a loose fabric if you go up even half a hook size. Swatch first, or work a test magic ring and check that the centre closes fully without a gap.
- On the belly patch oval: Round 2 has an uneven increase distribution (inc, 7 sc, inc × 3, 7 sc, inc × 2) that is correct as written. The asymmetry is intentional — it creates an oval rather than a circle. Don’t try to even it out.
- On fin placement: Lay all fins next to the body before sewing any of them. Comparing sizes at once is faster than discovering a mismatch after one is already attached.
FAQ
- Can I use regular yarn instead of plush yarn? Yes, and the construction is actually easier with smooth yarn because you can see your stitches. The finished toy will be smaller and firmer. If you want the soft look, plush is worth the extra effort of tracking stitches carefully.
- The belly patch looks off-centre after sewing. Can I fix it? If you pinned first and sewed slowly, you can usually unpick the seam yarn and reposition without damaging either piece. Plush yarn is forgiving for this. Next time, pin at four points — both ends, and both sides at the widest part — before you start sewing.
- How do I make the fin stand upright? The sc-across-the-flattened-opening step is doing most of the work. Make sure you are sewing through both the fin base and the body firmly, catching enough stitches on each side. If it still droops, a small internal stitch through the fin base and the body yarn (not visible from outside) can anchor it.
- Are the side fins and tail fins the same size? No. Side fins go to 12 sts over 5 rounds with a different increase pattern than the tail fins, which also reach 12 sts but over 3 rounds then 2 straight. They end up similar in size but different in shape — the side fins are slightly wider and flatter.
Pattern Note
The pattern instructs safety eyes to be added “between rounds 8 and 9,” which falls in the middle of the straight body rounds before any decreasing begins. This timing is correct and the opening is accessible at that point. However, the body tip section separately says “place safety eyes before the opening becomes too small” without specifying a round — follow the round 8–9 instruction in the main pattern, not the general tip.