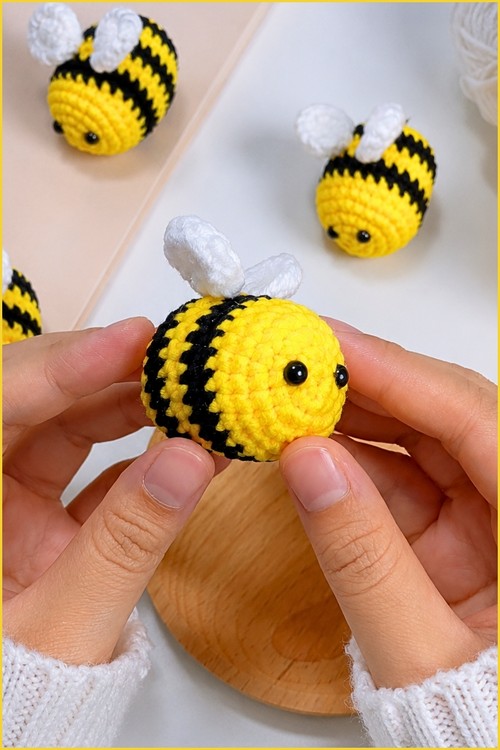
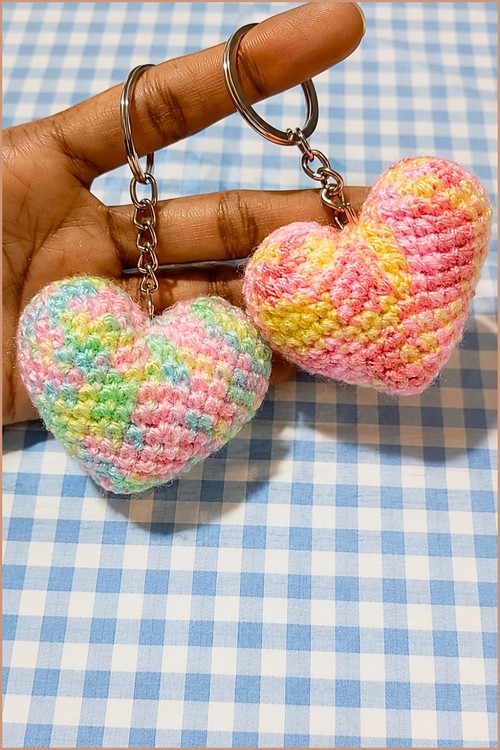
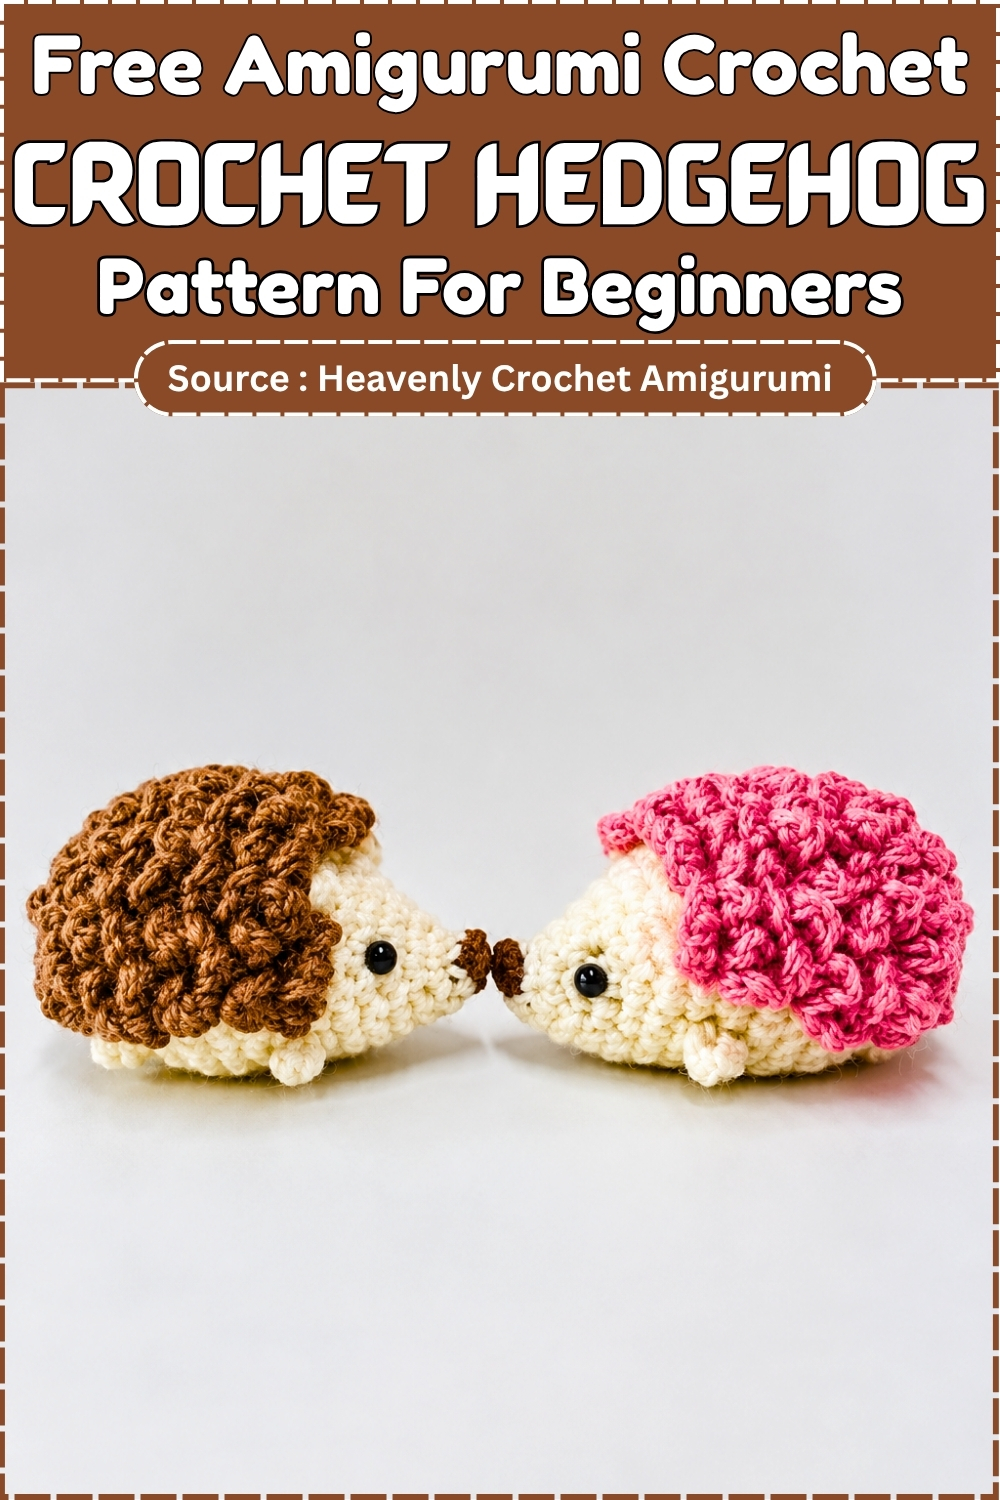
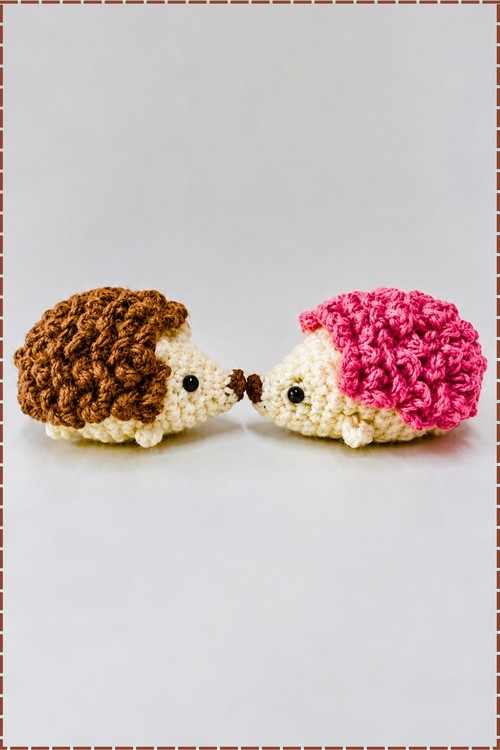
Desk buddies don’t get much cuter than this crochet hedgehog amigurumi, with its brown spiky back, tiny brown nose tip and soft cream face. Tie one onto a present as a gift topper, clip it to a keychain or line up a little hedgehog family along a windowsill.
Bursting with woodland charm, the crochet hedgehog free pattern amigurumi pattern creates an irresistibly cute character with textured spikes, a tiny nose, and a cuddly shape. This delightful project works well as a handmade gift, shelf decoration, or toy for imaginative play. Its playful design encourages creativity, while the finished hedgehog adds warmth and personality to any crochet collection.
Crochet Hedgehog
Skill Level
Beginner friendly. You only need to know how to make a magic ring, single crochet, increase, and decrease. It works up quickly and is good practice for placing increases accurately.
Finished Size
The size depends on your yarn, hook, and tension. With any yarn weight, this hedgehog stays small enough for a desk buddy, a gift topper, or a keychain.
Materials
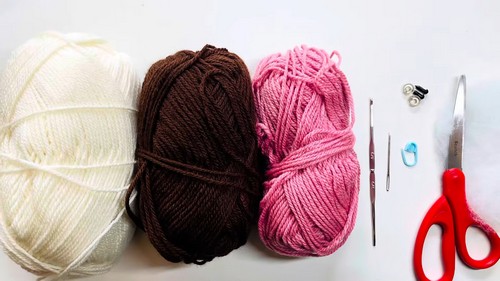
- Brown yarn (nose tip and spiky back)
- White or cream yarn (face and body)
- Crochet hook suited to your yarn (go down a size from the label for tight, stuffing-proof stitches)
- Stitch marker
- Yarn needle and scissors
- Polyester fiberfill
- Small safety eyes or black embroidery thread
Abbreviations (US Terms)
- MR: magic ring
- sc: single crochet
- inc: 2 sc in the same stitch
- dec: single crochet decrease
- ( ): stitch count at the end of the round
Before You Start
- Mark the first stitch of every round and move the marker up each time. The increases sit in one section of the round, so losing your place will twist the face.
- To change colors cleanly, switch to the new yarn on the final yarn over of the last stitch before the change.
- Count after every round. A missing stitch here is easy to fix now and painful to fix five rounds later.
How the Pattern Comes Together
You start at the tip of the nose with a few brown stitches, then switch to cream for the face. The increases are grouped in the middle of each round while the stitches on either side stay plain, so the face grows into a pointed snout instead of a flat circle.
Nose and Face
Round 1 (brown): 3 sc in a MR. (3)
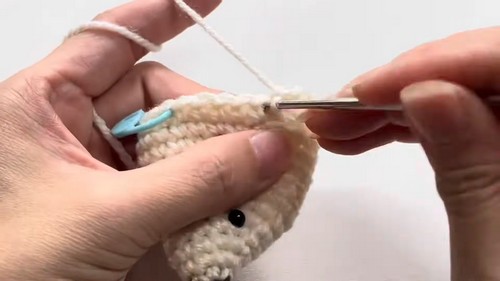
Switch to cream on the last stitch of Round 1.
Round 2 (cream): Inc in each stitch. (6)
Round 3: Inc in each of the next 3 stitches, 3 sc. (9)
Round 4: Inc, 1 sc 3 times, 3 sc. (12)
Round 5: 3 sc, inc, 1 sc 3 times, 3 sc. (15)
Round 6: 3 sc, inc, 2 sc 3 times, 3 sc. (18)
Round 7: 3 sc, inc, 3 sc 3 times, 3 sc. (21)
Round 8: 3 sc, inc, 4 sc 3 times, 3 sc. (24)
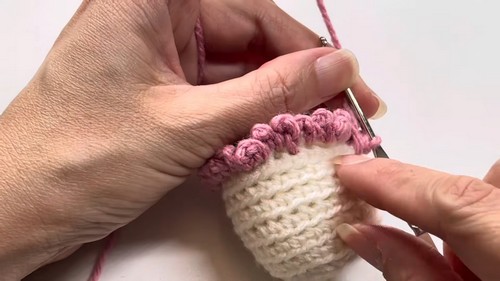
Tip: The 3 plain sc at the start and end of Rounds 5 to 8 always land in the same spot. Stack them neatly above each other and the snout grows straight.
Eyes
- The brown nose marks the front, so use it to line the eyes up.
- Place the eyes evenly on either side of the snout, a few rounds behind the nose tip.
- Pin or loosely place safety eyes first and look at the face straight on before you lock the backs.
- For a very tiny hedgehog or a keychain, embroider the eyes with black thread instead.
Stuffing
- Stuff a little at a time as the body grows rather than all at the end.
- Tear the fiberfill into small pieces so the body stays smooth.
- Shape the snout with your fingers so it stays firm and pointed.
Finishing
- Keep the snout centered as you work and as you stuff.
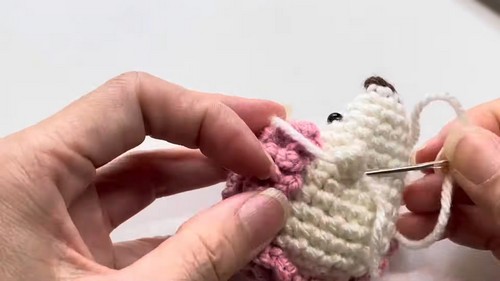
- Weave every yarn tail into the body.
- Look at the hedgehog from the front and both sides, and add or move stuffing until it sits evenly.
Troubleshooting
- Body curls or twists: Recount. The increases should always fall in the middle section, between the plain sc on each side.
- Lumpy or lopsided shape: Check that each increase round has exactly 3 increases.
- Stuffing shows through: Use a smaller hook to tighten your stitches.
- Face looks off-center: Find the brown nose stitches and use them as your center point when placing the eyes.
Ways to Customize
- Use chunky yarn for a bigger, softer hedgehog.
- Try a grey, caramel, or pastel body color.
- Embroider small pink cheeks.
- Add a keychain ring to turn it into a bag charm.
- Use a fuzzy or boucle yarn for the back to get a fluffy spike texture.