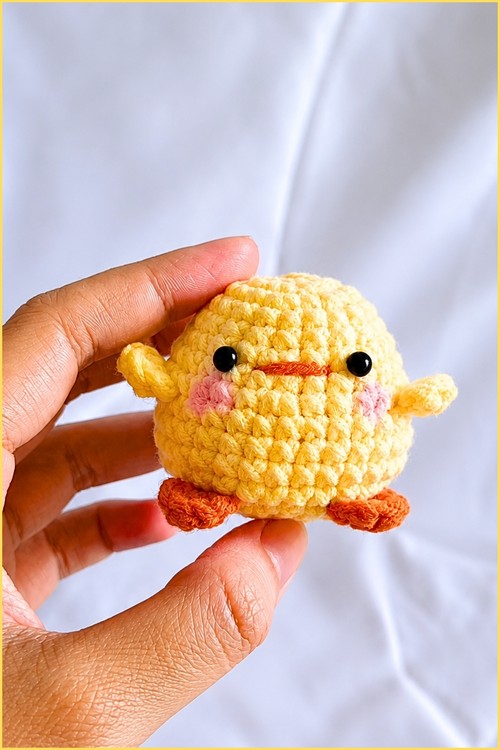
Spring brunch tables get a sweet centerpiece from the crochet baby chick, whose stitched orange smile sits between two shiny black eyes. Farm-themed nurseries and baby showers both suit the baby chick amigurumi, which looks tiny and soft between two fingers.
Round bodies and stubby wings are what make baby chick amigurumi so satisfying to hold, and this one nails the proportions by keeping the sphere wide and the legs short. Yellow worsted with orange accents is all the color work required. Pink cheek circles add a softness that reads instantly as a chick rather than a generic round bird.
Crochet Baby Chick
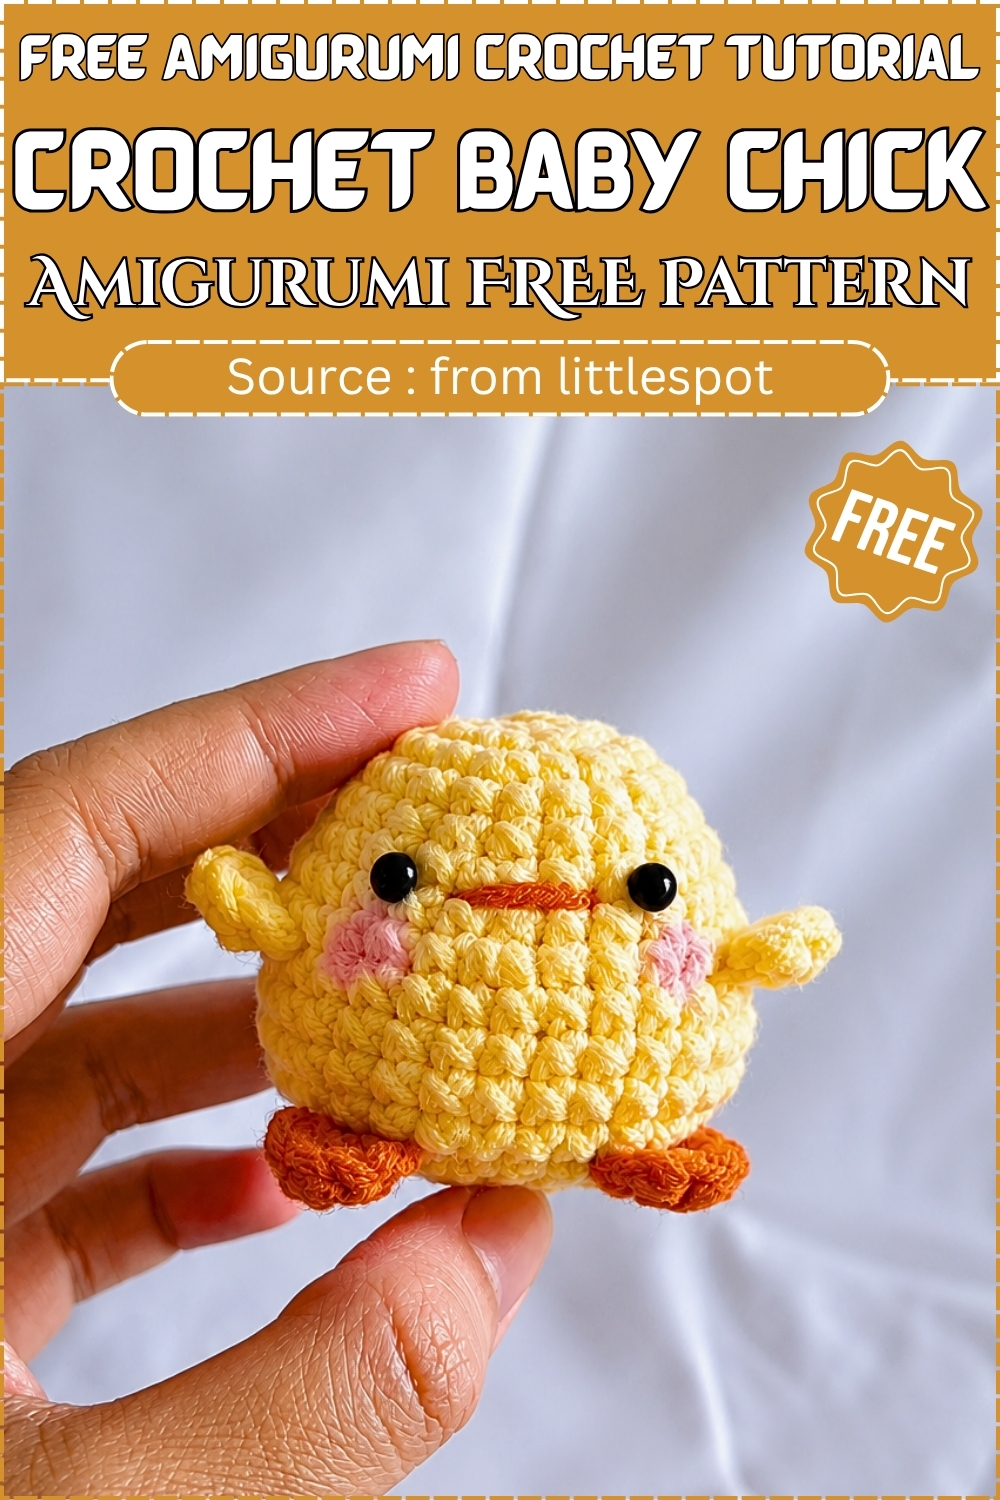
Fifteen rounds of single crochet make the body, and a single tiny fan of stitches makes each wing and foot. Beginners who can work a magic ring and an invisible decrease will manage the whole thing in one sitting. Easter baskets are the obvious home for it, though it works just as well as a desk buddy or a stocking filler. Scrap yarn covers it. No colour changes happen inside the body, which keeps the rounds simple to count. Assembly takes four short seams. If you need a fast make for a craft fair table, a batch of these fills a basket quickly.
Pieces List
- 1 body, worked in one piece from the top of the head down (main colour)
- 2 wings (main colour)
- 2 feet (orange)
Materials and Tools
The pattern does not name a yarn weight or hook size. The suggestions marked approximate are my own, based on what gives a firm fabric with 5 mm eyes.
- Main colour yarn for the body and wings (yellow is the classic choice; DK or light worsted, roughly 10 to 15 g, approximate)
- Orange yarn for the feet (a few metres)
- 5 mm plastic safety eyes
- Toy stuffing
- Crochet hook (3.0 mm to 3.5 mm for DK is a good starting point, approximate)
- Stitch marker
- Yarn needle
With DK and a 3.0 mm hook, expect a chick roughly 6 cm tall. That is an estimate, so your tension will move it up or down. Most people finish one in about an hour.
Abbreviations (US Terms)
- MR: magic ring
- sc: single crochet
- inc: increase (2 sc in the same stitch)
- dec: invisible decrease
- hdc: half double crochet
- dc: double crochet
- ch: chain
- FLO: front loop only
Baby Chick Crochet Pattern
Part 1: The Body
The body is worked in continuous rounds with no slip stitch joins. Keep your marker in the first stitch of each round and move it up as you go.
Rounds 1 to 8
- R1: Make a magic ring. Work 6 sc into the ring. Pull the tail to close the hole tightly. (6 sts)
- If a gap stays open in the centre, pull the tail again after Round 2. The ring sits at the very top of the head, so any hole shows.
- R2: Inc in every stitch around. Place a stitch marker in the first stitch to mark the start of the round. (12 sts)
- R3: (1 sc, 1 inc) repeat around. (18 sts) Checkpoint: a flat disc with a tight centre, no cupping yet.
- R4: 1 sc in each stitch around. (18 sts)
- R5: 1 sc in each stitch around. (18 sts)
- If the sides of Rounds 4 and 5 flare outward instead of rising, your tension is looser on the even rounds than on the increase rounds. Snug it up.
- R6: (2 sc, 1 inc) repeat around. (24 sts)
- R7: 1 sc in each stitch around. (24 sts)
- R8: (3 sc, 1 inc) repeat around. (30 sts) Checkpoint: a rounded dome like the top of an egg, wider at the bottom edge than at the crown.
Safety Eyes
- Stop after Round 8, before starting Round 9.
- Insert the 5 mm safety eyes between Round 6 and Round 7.
- Space them about 4 stitches apart.
- Snap the backs on firmly.
- If the eyes look like they are drifting to one side, check they sit in the same gap and count the stitches between them again. Once the body is stuffed and closed, the washers cannot be reached.
Rounds 9 to 15
- R9: 1 sc in each stitch around. (30 sts)
- R10: 1 sc in each stitch around. (30 sts)
- R11: 1 sc in each stitch around. (30 sts)
- R12: 1 sc in each stitch around. (30 sts) Checkpoint: the sides now drop straight down from the widest point, so the piece looks like a deep cup with the eyes near the top.
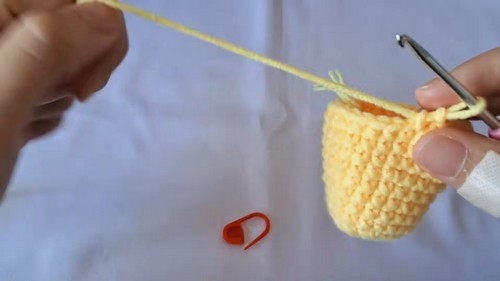
- R13: (3 sc, 1 dec) repeat around. (24 sts)
- For the invisible decrease, insert your hook into the front loops only of the next two stitches, yarn over and pull through both front loops, then complete the sc as usual.
- If you can see small holes at each decrease, you are probably catching both loops. Front loops only keeps them flat.
- R14: (2 sc, 1 dec) repeat around. (18 sts) Checkpoint: the edge is curving inward and the body is starting to look like a ball with a wide opening at the bottom.
- Stuff the body firmly.
- R15: (1 sc, 1 dec) repeat around. (12 sts) Checkpoint: a nearly closed round body with a small opening at the base.
Closing the Body
- Cut the yarn, leaving a tail.
- Pull the tail through the final loop.
- Add more stuffing if needed.
- Thread the tail onto your needle.
- Weave it through the front loops only of the remaining stitches.
- Pull tight to cinch the hole closed.
- If a small hole is still visible after cinching, run the tail through the same front loops a second time before pulling.
- Hide the excess yarn inside the body.
Part 2: Wings and Feet
The wings and feet use the same pattern in different colours.
- Make 2 wings in the main colour.
- Make 2 feet in orange.
Never read a crochet pattern before? No problem! The video tutorial below is perfect for beginners, or give the written pattern below a try!
Wing and Foot Pattern
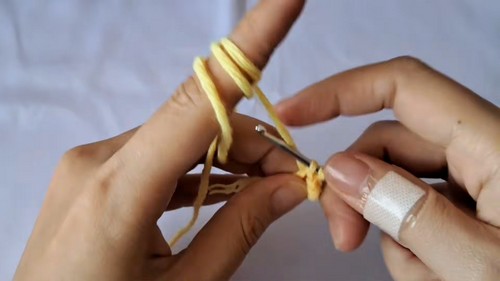
- Make a magic ring.
- Ch 1.
- Work 1 hdc into the ring.
- Work 1 dc into the ring.
- Work 1 hdc into the ring.
- Work 1 sc into the ring.
- Pull the magic ring tight to close it. Checkpoint: a small flat fan or petal shape, tallest in the middle where the dc sits.
- If the piece curls into a cup, the ring was not pulled tight enough before cutting. Pull it again and press the fan flat with your fingers.
- Cut the yarn, leaving a long tail for sewing.
Part 3: Assembly
Attaching the Wings
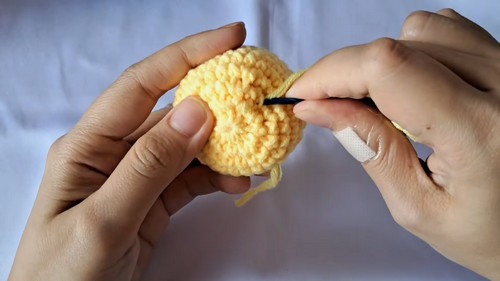
- Sew the wings onto the sides of the chick, between Round 8 and Round 9.
- Tie the yarn securely.
- Hide the excess inside the body.
Attaching the Feet
- Sew the feet onto the bottom front of the chick, between Round 12 and Round 13.
- Tie off the yarn.
- Hide the excess inside the body.
Assembly Guide
- Wings go on first, feet second. Pin both wings in place before you sew either one, then look at the chick straight on. They should sit level with each other, roughly a quarter of the way around from each eye, just below the widest part of the head. I angle the tall dc tip slightly downward and back so the wing reads as folded rather than raised.
- Pin the feet next. Centre them under the eyes with a stitch or two of space between them, pointing forward. Stand the chick on the table with the pins still in. If it rocks, slide the feet a touch further under the body before sewing.
- Because the magic ring sits at the crown, a slightly loose ring there looks like a tiny tuft of fluff. Some makers pull a single loop of yarn through it on purpose and trim it short.
Stuffing Guide
- Stuff the body firmly, since this is a ball shape and soft stuffing lets it collapse into a pear. Add filling in small pieces after Round 14 and push it up into the head first so the eyes are well supported. The wings and feet stay flat with no stuffing at all.
- Overstuffing shows at the decrease rounds. The stitches spread apart and the stuffing starts peeking through between Rounds 13 and 15. If you see that, pull a little out before working Round 15. Give the bottom a gentle press with your palm before cinching, which helps the chick sit upright instead of rolling.
Toy Safety
Safety eyes go in after Round 8, before you stuff and close the body. They are not suitable for children under three. For a toy going to a baby or toddler, embroider the eyes instead with black yarn using a few small stitches over one round, placed in the same spot between Rounds 6 and 7 about 4 stitches apart. Work the embroidery at the same point in the pattern, after Round 8, so the knots can be hidden inside before stuffing.
Tug each wing and foot once it is sewn on. Anything that moves needs a few more stitches.
FAQ
- Can I add a beak? The pattern does not include one, but a few straight stitches in orange yarn just below and between the eyes works well. Do it before stuffing so you can hide the ends inside.
- Why don’t the wings and feet have a stitch count? They are all worked into one ring, so the stitches are listed individually instead. Just work them in order and pull the ring closed.
- Can I use chenille or velvet yarn? You can, though you will need a larger hook and the stitches are much harder to count. Expect a bigger chick and consider larger eyes so they do not disappear into the pile.