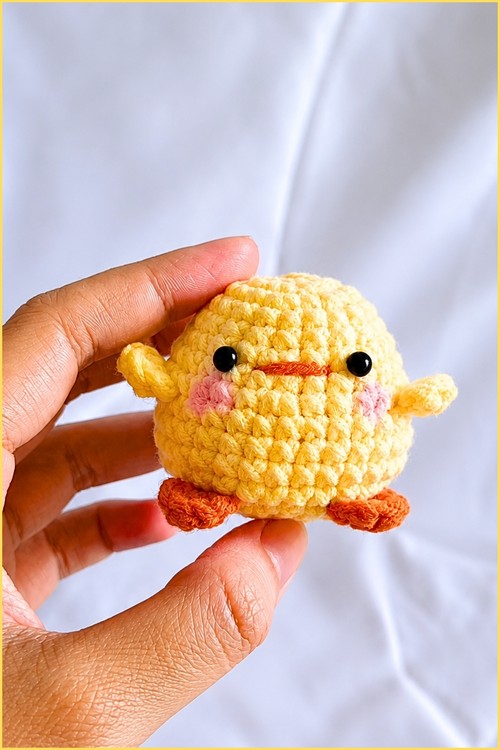
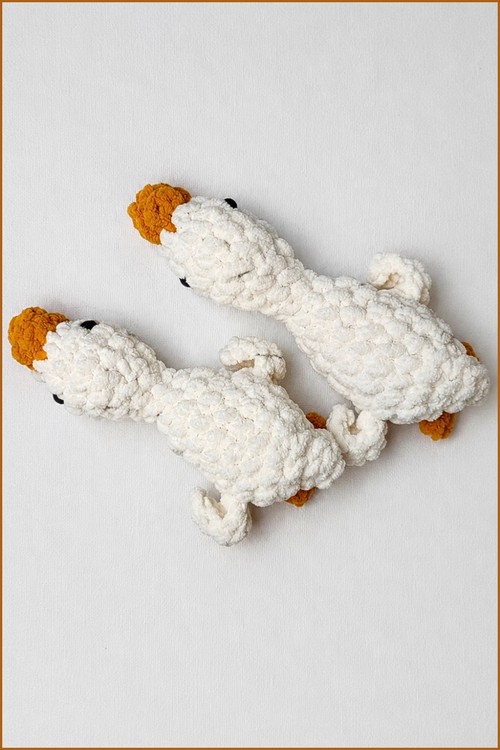
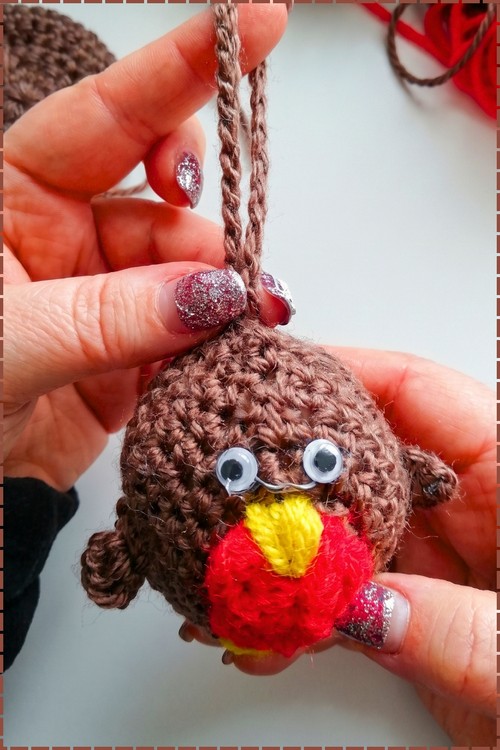
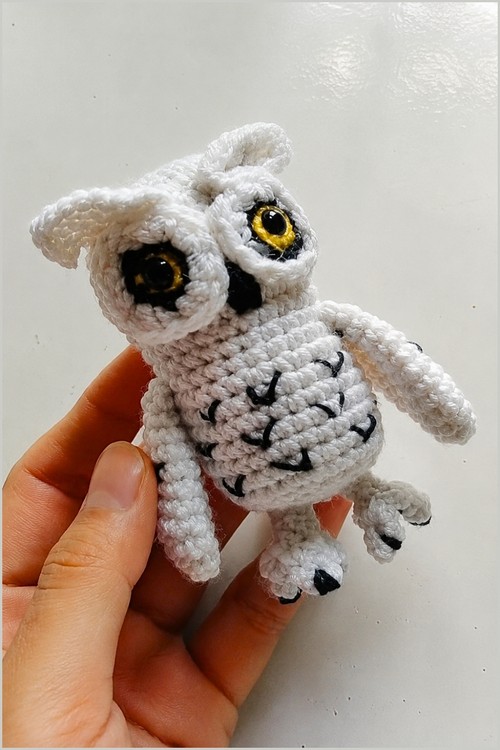
Amber eyes and black speckled chest feathers give the amigurumi owl a snowy owl look, and the finished bird fits neatly in one palm. Bookshelf corners and office desks make a cosy perch for the little owl stuffed animal, which doubles as a sweet birthday gift for any bird lover.
My first owl from this pattern sat on the kitchen windowsill for two days before anyone realised it was crochet. Something about that settled, hunched posture fools the eye. Fine 3 ply wool on a 2.5 mm hook gives dense, neat fabric with no fiberfill peeking through.
Crochet Owl Amigurumi
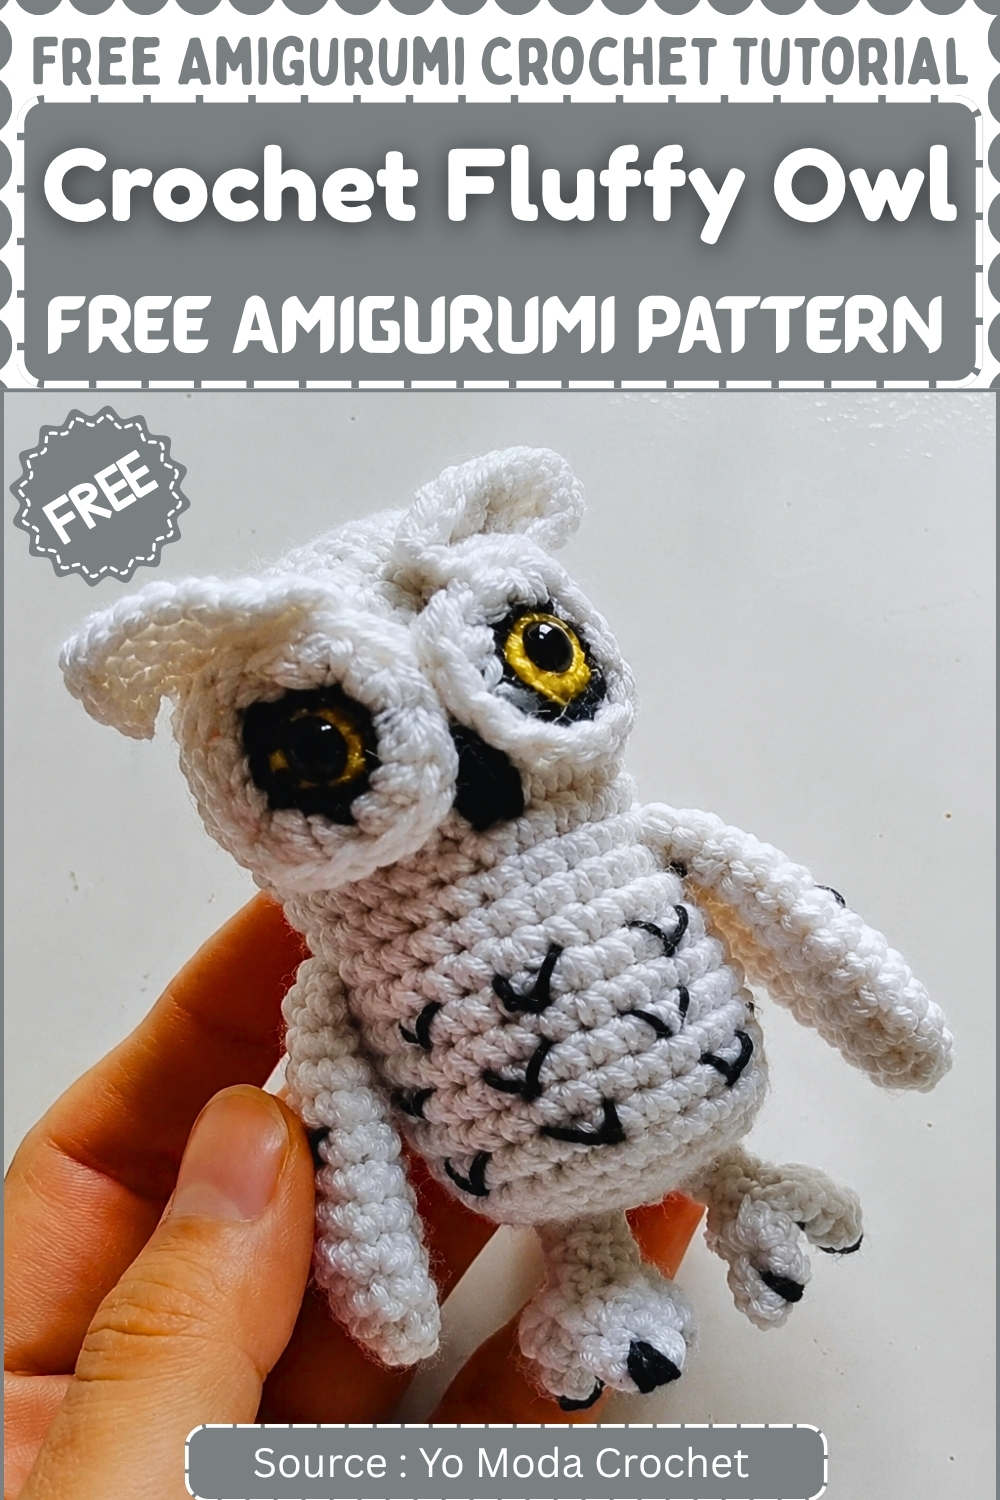
Most of the personality lives in the face, where a ringed mask sits under two lifted brow points. Separate toes do the rest, so the finished bird reads as an owl rather than a ball with eyes. Plan on roughly an evening or two of work. You’ll spend most of it on small pieces that each take only minutes.
Materials and Tools
These are approximate suggestions based on the hook and yarn weight in the pattern. Adjust to what you have on hand.
- 2.5 mm crochet hook
- 3 ply wool or a comparable fingering to sport weight yarn
- Main body colour, roughly 50 to 70 grams
- Small amounts of yellow, black and white for the eye mask
- One pair of 6 mm safety eyes, or black embroidery thread if the owl is going to a small child
- Fiberfill stuffing
- Stitch markers
- Tapestry needle
- Craft glue (optional, for the eye mask)
- Sewing pins for placement
With this hook and yarn the finished owl will likely stand somewhere around four to four and a half inches tall. Your own tension can push that number either way. Keep your stitches tight enough that no stuffing shows through the fabric.
Pieces List
Here is the full scope before you pick up the hook:
- Body and head, worked as one piece: make 1
- Wings: make 2
- Feet: make 2, each built from 3 small toe segments (6 toe segments total)
- Eye mask: make 2 eye rounds joined by a shared brow, worked in yellow, black and white
- Tail: make 1
That adds up to eleven separate bits of crochet. Six of them are tiny toes that take a couple of minutes each, so the count looks scarier than the work.
Fluffy Owl Crochet Pattern
Body and Head
Worked in continuous rounds. Place a marker in the first stitch of each round and move it up as you go.
- Round 1: Make a magic ring, chain 1, and work 6 single crochet into the ring. Pull the ring tight to close.
- Round 2: Work 2 single crochet in each stitch around. 12 stitches.
- Round 3: Work 1 single crochet in the first stitch, then 2 single crochet in the next stitch. Repeat around. 18 stitches.
- Round 4: Work 1 single crochet in each of the next 2 stitches, then 2 single crochet in the next stitch. Repeat around. 24 stitches.
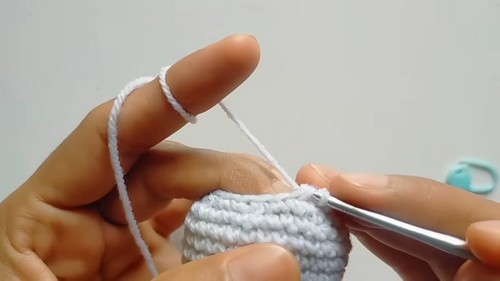
- Round 5: Work 1 single crochet in each of the next 3 stitches, then 2 single crochet in the next stitch. Repeat around. 30 stitches. Shape checkpoint: The piece should sit like a shallow saucer now, not a flat disc and not yet a cup. If it already curls into a bowl, your tension is tight and the finished owl will come out smaller.
- Rounds 6 to 10: Work 1 single crochet in each stitch around. 30 stitches in each round. Shape checkpoint: After round 10 you should have a straight sided dome deep enough to hold a walnut. The sides should run vertical rather than flaring outward.
- Round 11: Work 1 single crochet in each of the next 3 stitches, then decrease over the next 2 stitches. Repeat around. 24 stitches.
- Rounds 12 to 13: Work 1 single crochet in each stitch around. 24 stitches in each round.
- Round 14: Work 1 single crochet in each of the next 3 stitches, then 2 single crochet in the next stitch. Repeat around. 30 stitches. Shape checkpoint: This is the round where the shape earns itself. A clear waist should show around rounds 11 to 13, with the body widening again below it. Hold it up and you should see a bird sitting down, slightly narrower across the shoulders than across the belly.
- Rounds 15 to 21: Work 1 single crochet in each stitch around. 30 stitches in each round.
- Stuffing: Stuff the body firmly at this stage, before the opening starts to close.
- Round 22: Work 1 single crochet in each of the next 3 stitches, then decrease. Repeat around. 24 stitches.
- Round 23: Work 1 single crochet in each of the next 2 stitches, then decrease. Repeat around. 18 stitches.
- Round 24: Work 1 single crochet in the next stitch, then decrease. Repeat around. 12 stitches. Add more stuffing now if the base feels soft. Shape checkpoint: Before you work round 25, stand the piece on a table. It should sit flat and upright on its own. If it tips, the stuffing is uneven at the base, and this is your last easy chance to fix it.
- Round 25: Decrease around until the opening closes. Fasten off, thread the tail through the remaining front loops, pull tight to seal, and bury the tail inside the body.
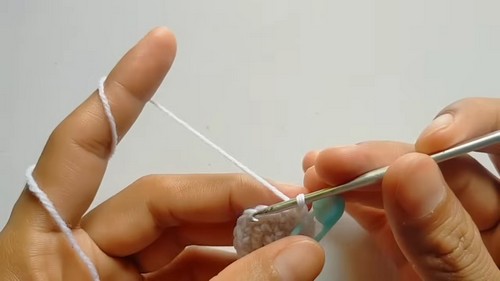
Notes for the body:
- The increase rounds build the rounded top of the head.
- Round 11 creates the narrowing at the shoulders.
- Round 14 opens the body back out for the fuller lower shape.
- Firm stuffing keeps the owl from collapsing and holds the waist definition.
- Shape the body with your hands as you stuff to work out lumps before they set.
If you’re a beginner and crochet patterns feel confusing, start with the video tutorial below, it’s the easiest way to learn as you go!
Wings
Make 2.
- Round 1: Make a magic ring and work 6 single crochet into the ring. Pull closed.
- Round 2: Work 2 single crochet in each stitch around. 12 stitches.
- Round 3: Work 1 single crochet in each of the next 2 stitches, then 2 single crochet in the next stitch. Repeat around. 16 stitches. Shape checkpoint: The wing should be a small flat oval at this point, not a cup. A little curl is fine because it flattens once sewn on.
- Rounds 4 to 8: Work 1 single crochet in each stitch around. 16 stitches in each round.
- Round 9: Work 1 single crochet in each of the next 2 stitches, then decrease. Repeat around. 12 stitches.
- Round 10: Work 1 single crochet in each stitch around. 12 stitches. Fasten off, leaving a long tail for sewing. Shape checkpoint: The finished wing should be a rounded paddle that tapers slightly at the closed end. Lay both wings side by side and check they match in length. If one is longer, count your rounds again before you sew.
Notes for the wings:
- Flatten each wing between your fingers before attaching.
- Wings are not stuffed. They lie against the body.
- Pin both in place and look at the owl from the front before you commit to sewing.
Feet
Make 2. Each foot is built from 3 small toe segments joined at their bases.
- Toe segment, make 6 total: Make a magic ring, chain 1, and work 4 single crochet into the ring. For round 2, work 4 single crochet around. Fasten off.
- Lay 3 toe segments side by side and stitch their inner edges together where they meet.
- Attach a new length of yarn and work 6 single crochet across the joined bases to unite the three toes into one foot.
- Work 2 more rounds of 6 single crochet around.
- Fasten off and hide the tails inside. Shape checkpoint: A finished foot should look like a tiny three pronged fork with a short ankle. The toes should splay slightly rather than lying parallel.
Notes for the feet:
- Separate toes are what make this owl read as a bird rather than a ball.
- Keep all six toe segments the same size. Count the stitches instead of eyeballing them.
- Align the toes evenly before joining, because adjusting them after sewing means unpicking.
Eye Mask and Brow
Worked flat in three colours, then joined across the top into a single mask.
Eye rounds, make 2:
- Centre, yellow: Make a magic ring and work 6 single crochet into the ring. Slip stitch to join. Leave a small open hole in the exact centre for the safety eye post.
- Ring 2, black: Join black yarn. Work 1 single crochet in each of the next 2 stitches, then 2 single crochet in the next stitch. Repeat around. Slip stitch to join. 8 stitches. Shape checkpoint: You should now have a flat yellow and black target with a clear hole at the centre. If it cups, your increases are too few for the stitch height. Block it flat with your fingers before adding white.
- Ring 3, white: Join white yarn. Chain 3 and work 1 double crochet in the same stitch. Then work 1 double crochet in the next stitch and 2 double crochet in the stitch after. Repeat around. Slip stitch to join.
Brow framing, worked across 7 stitches along the upper edge of each eye round:
- Work 2 single crochet in the first stitch.
- Work 2 half double crochet in the next stitch.
- Work 2 double crochet in each of the next 2 stitches.
- Work 2 treble crochet in the next stitch.
- Work 1 treble crochet in the next stitch, then chain 4 and slip stitch into that same stitch.
- Mirror the entire sequence along the second eye round so the two brows rise toward each other and form one connected mask. Shape checkpoint: Laid flat, the mask should look like a pair of goggles with two feathered points lifting off the top outer corners. Stitch heights should climb smoothly from short to tall with no sudden jump.
- Insert the 6 mm safety eyes through the yellow centre holes now and fasten the washers on the back of the mask.
Tail
- Chain 10.
- Skip the first 3 chains and work 4 double crochet into the 4th chain from the hook.
- Work 1 double crochet in each of the remaining 6 chains.
- Slip stitch into the base, chain 1, and turn.
- Work 6 single crochet back up the side.
- Chain 4, skip 3 chains, and work 4 double crochet into the 4th chain.
- Work 6 double crochet back down the row to complete the second layer of feathers.
- Slip stitch and fasten off, leaving a tail for sewing. Shape checkpoint: The finished tail should fan slightly and hold two visible layers, one sitting a little proud of the other. If it looks like a single flat strip, the second layer has been worked into the same row as the first.
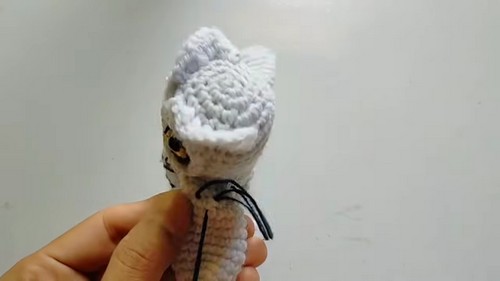
Notes for the tail:
- The layering creates the feather look, so resist flattening it during assembly.
- A light steam block will define the feather edges if they curl.
- Keep the tail centred on the back or the owl will lean.
Safety Eye Timing
This step is easy to get wrong, so read it twice. On this owl the eyes go into the eye mask, never into the body. They have to go in at the very end of the eye mask section, right after the brow framing is finished and while the mask is still loose. Once the mask is glued or sewn to the face, you can’t reach behind it to seat a washer.
Fit both eyes and press each washer on until it clicks. Then give each eye a firm tug to test it. If the owl is going to a child under three, skip the safety eyes completely and embroider the pupils in black thread through the yellow centres instead. No exceptions on that one.
Assembly
Order matters here. Pin every piece before you sew it, and look at the owl from the front each time.
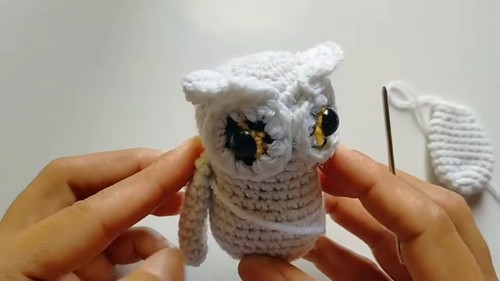
- Eye mask first. Position it on the upper front of the body, roughly across rounds 6 to 12, with the brow points angled up and out. Pin it and step back. Everything else on this toy gets read relative to the face, so a crooked mask makes the wings and feet look wrong even when they’re perfectly placed. Glue or whipstitch it down once you’re happy.
- Wings. Flatten each one and pin it to the side of the body with the closed end pointing down. Both should sit at the same height, roughly level with the waist rounds. Sew along the top third only so the lower part hangs free.
- Feet. Pin them under the front of the base, set slightly back from the front edge. Sew securely through the ankle rounds.
- Tail. Attach it at the centre back, low, just above where the base curves under.
Something nobody warns you about: this owl is front heavy. The mask and brow carry real weight in fingering weight wool, and if the feet go too far forward the bird pitches onto its face the moment you set it down. Set the feet back about half a toe length from where instinct puts them. It will stand happily after that.
Stuffing Guide
Firm is the goal. Not rock hard, but firm enough that the fabric has no give when you press a thumb into the side. Soft stuffing is the usual reason a finished amigurumi looks slumped, and a waisted shape like this one shows it fast because the narrow section caves in first.
Add fiberfill in small pinches rather than big handfuls. Fill the top of the head first, then work your way down. The base deserves its own attention at round 24, since that’s what lets the owl stand. Wings, feet and tail stay flat with no stuffing at all. Overstuffing shows up as gaps between stitches, so if you can see white fiber through the fabric, pull a little out.
Troubleshooting
- My stitch count drifts every round. You’ve lost the first stitch of the round. Use a locking marker and move it up every single round, including the plain ones where it feels pointless.
- The waist at round 11 disappeared after stuffing. Too much fill was pushed in at that level. Pull some out and let the narrow section stay a touch softer than the head and belly.
- My eye mask cups instead of lying flat. The white double crochet round has too few increases for its stitch height. Add an extra increase, or work that round in half double crochet instead.
- One wing is visibly longer than the other. Count rounds 4 through 8 on both. It’s almost always a miscounted straight section rather than tension.
- The toes on my feet are different sizes. Each toe segment is only 8 stitches, so one extra stitch changes the shape a lot. Remake the odd one rather than trying to block it.
- The owl tips forward when I stand it up. The feet are too far forward. Unpick them and move them further back under the body.
- My brow points won’t stay lifted. The chain 4 loops have to be anchored back into the same stitch, not a neighbouring one. Check that slip stitch placement.
- There are gaps between stitches on the body. Go down a hook size. A 2.5 mm hook with 3 ply wool should give dense fabric, so open stitches mean your tension runs looser than average.
Pattern Notes
A few spots in the original instructions are loose or worth a second look before you start. The pattern above is written exactly as given, and these notes explain where it may not add up.
- The white ring 3 doesn’t divide evenly. The black round leaves you with 8 stitches. The white round opens with 2 double crochet in the first stitch, leaving 7 stitches for a 2 stitch repeat, which won’t come out even. No final stitch count is given for this round either. Work the repeat as far as it goes and place an extra single increase in the last stitch to close smoothly. The ring is a circle, so slightly irregular spacing won’t show.
- The brow sequence covers 6 stitches, not 7. The brow is described as worked across 7 stitches, but the steps as written use 1, 1, 2, 1 and 1 stitches, which totals 6. Work the sequence as given and let the seventh stitch sit plain, or spread the taller stitches a little to fill the edge. Check both brows end at the same point so the mask stays symmetrical.
- Safety eye placement is unusual. Most patterns put the eyes through the body fabric. Here they sit in a separate appliqué, so the washers end up sandwiched between mask and body. It works, but it leaves two small bumps and makes the eyes only as secure as the glue or stitching holding the mask. For a child’s toy, embroider instead.
- The tail rows are described inconsistently. The first return row is 6 single crochet up the side and the second is 6 double crochet down the row. Worked as written you get an asymmetric layered tail, which still reads well as feathers. If you prefer it even, use double crochet for both.
- The foot joining count is approximate. Three toe segments give 12 stitches at their bases, yet the instruction calls for 6 single crochet across the join. That means working roughly every other stitch. Space them evenly across all three toes rather than bunching them.
Yarn Substitution and Size Scaling
- Nothing in this owl depends on one specific yarn. Move up to worsted weight with a 3.5 mm hook and it grows to roughly six inches, a good shelf size. Go the other way with lace weight and a 2 mm hook for something small enough to hang from a keyring. At that scale the eye mask gets genuinely fiddly, and I’d embroider the rings rather than crochet them.
- Whatever you pick, use a hook one or two sizes smaller than the yarn label suggests. Labels are written for garments. Amigurumi needs a much tighter fabric.
Colour Ideas
- Barn owl colours suit this pattern well, since the white eye ring is already built in. Try a warm sand body with cream wings. For a snowy owl, work the whole bird in white and swap the black eye ring for soft grey so the face doesn’t vanish. Deep grey with a yellow orange brow lands closer to a great horned owl.
- You can also work the belly rounds, roughly 15 to 21, in a contrast shade for a two tone bird. Variegated yarn is tempting. It tends to fight the eye mask for attention, though.
Toy Safety
For anything heading to a baby or toddler, embroider the eyes and whipstitch the mask on rather than gluing it. Glue can let go with chewing and washing, and a loose mask takes the eyes with it. Sew every piece through several stitches of the body, then tug each wing, foot and the tail firmly before handing the owl over.
FAQ
- Can I leave out the eye mask and use plain safety eyes? You can, and the owl still works as a shape. Put 6 mm eyes straight into the body around round 8 or 9 before you stuff, but expect a much plainer face, since the ringed mask carries most of the owl look.
- Should I glue or sew the eye mask? Sewing lasts longer and survives washing, so whipstitch it if the owl will be handled. Glue is fine for a shelf piece and gives a cleaner edge, but use a thin layer so it doesn’t soak through to the front.
- How do I make it look fluffier? Once it’s finished, brush the body very lightly with a soft pet slicker brush and the wool lifts into a gentle haze. Test on a scrap swatch first and skip the face, or the mask rings lose their crisp edges.
- Why does my owl lean to one side? Usually the tail sits off centre or the base stuffing is uneven. Recentre the tail on the back and push a pinch of fill into the low side through the stitches with a blunt needle.
- Is this a good first amigurumi? The body alone is very beginner friendly, since it’s all single crochet with simple increases and decreases. The mask and tail use taller stitches and some fiddly joining, so give yourself a bit of patience on those parts.