
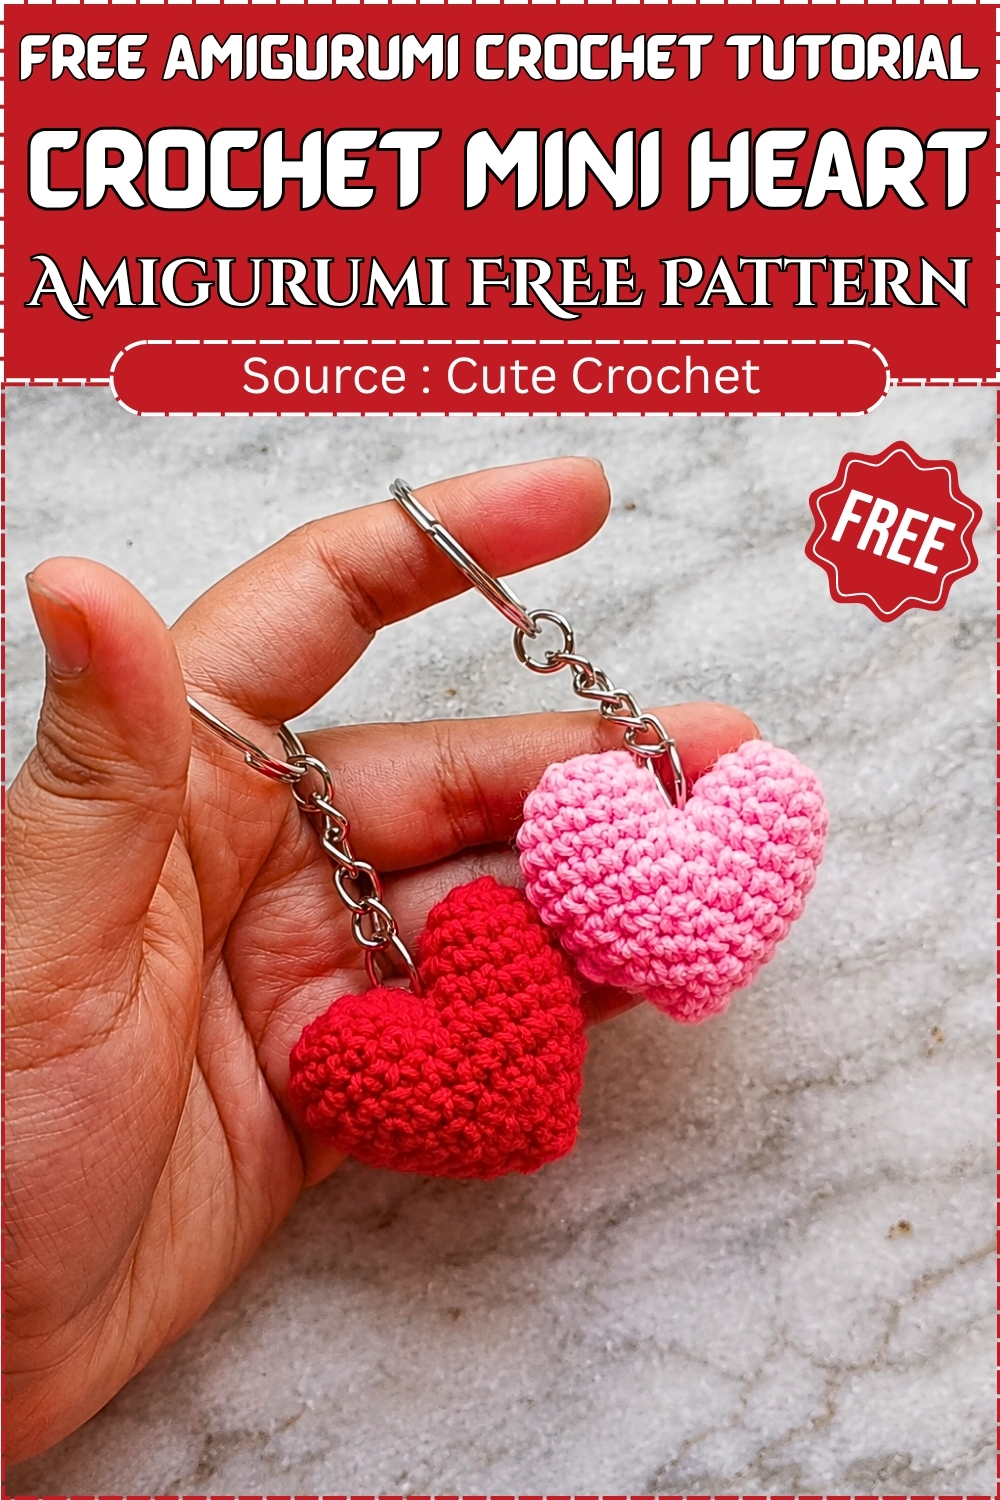
Little hearts, big charm this free crochet mini heart pattern works up in minutes and gives you the perfect small project for scrap yarn. Stitch a whole handful to string into a garland, tuck into a card, add to a keyring, or pop into a gift bag as a sweet handmade extra. It’s one of those easy mini crochet projects that’s genuinely satisfying to finish in one sitting, and ideal if you’re learning amigurumi shaping on a small, forgiving scale. Grab your hook and make a few—free pattern this way.
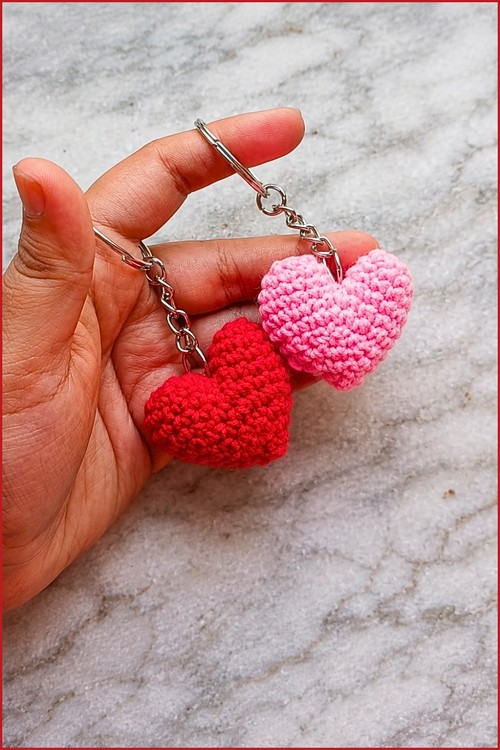
Few crochet projects are as satisfying to finish as a mini heart, especially when it ends up on a keychain you actually use every day. These little stuffed hearts work up in under an hour and make some of the most thoughtful handmade gifts around.
Crochet Mini Heart
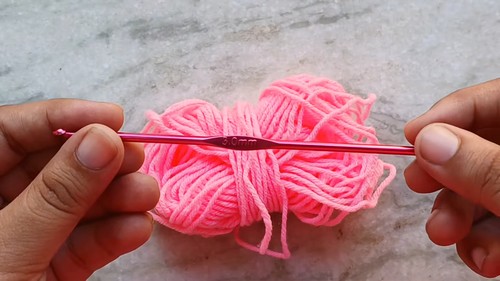
Materials & Tools
Yarn:
- Medium weight (4 ply) yarn in your preferred color
Hook: 3.0 mm
Other supplies:
- Polyester fiberfill stuffing
- Yarn needle
- Scissors
- Stitch marker or paperclip
- Keychain jump ring
Abbreviations
- MR — magic ring
- sc — single crochet
- inc — increase (2 sc worked into the same stitch)
- dec — decrease (2 stitches worked together into one)
- st — stitch
Difficulty & Time
Complete beginner. If you can chain and single crochet, you have everything you need. The only new skill this pattern introduces is the invisible decrease, which is explained in full in the technique notes below. Most makers finish both lobes and the joined body within one hour.
Beginner Technique Notes
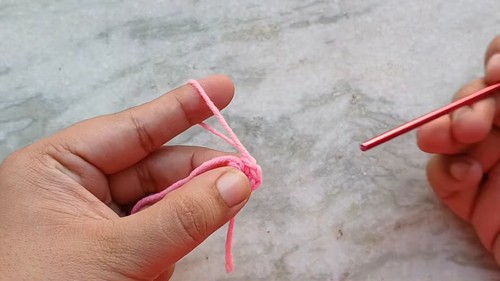
- The magic ring is how amigurumi pieces start — it lets you pull the center hole completely closed so there’s no gap at the top of each lobe. To make one: wrap the yarn around your finger to form a loop, insert your hook through the loop, pull up a working strand, chain 1 to secure, then work your stitches into the ring itself before pulling the tail tight. It feels awkward the first time and completely natural by the third. If it’s really not clicking, a simple slip knot on your hook followed by 2 chains works as a substitute — just pull the opening closed tightly before moving on.
- Working in continuous rounds means you don’t join at the end of each round with a slip stitch — you simply keep going into the next stitch. This is how most amigurumi is worked and it’s what keeps the surface smooth. The tricky part is knowing where one round ends and the next begins, which is exactly why the pattern calls for a stitch marker. A locking marker, a paperclip, or even a scrap of yarn looped through the first stitch of each round all work perfectly. Move it up at the start of every new round without fail.
- The invisible decrease is used from Round 6 onward and it’s worth practising on scrap yarn once before you hit it in the pattern. Instead of inserting your hook into one stitch in the normal way, you insert it through the front loops only of two consecutive stitches at once, then complete the stitch as usual. This closes two stitches into one without the visible gap that a standard decrease leaves on the surface. On a small piece like this heart, that difference is very noticeable — the invisible decrease keeps the fabric looking smooth and even all the way to the tip.
- When to stuff matters more than it seems. The pattern directs you to pause at Round 9 to add fiberfill. Don’t leave it later than this — once the opening is smaller than a fingertip, getting an even distribution of stuffing in becomes very difficult. Add it in small pinched amounts rather than one large clump, and use the back of your hook or a pencil eraser to push filling into the rounded lobes at the top before pressing any into the lower body. A little goes a long way on a piece this size; overstuffing stretches the stitches and the yarn color looks washed out.
- Closing the final round neatly is the last technical moment. After fastening off, thread the tail onto your yarn needle and weave it in and out of the front loops of the remaining stitches all the way around — don’t pull tight yet. Once the needle has passed through every stitch, draw the tail firmly and steadily until the opening gathers closed into a neat point at the bottom of the heart. Knot it close to the fabric, then use the needle to plunge the tail deep through the body before snipping it flush.
Customization Ideas
- Make a whole set: These are fast enough that a batch of six or eight in different colors takes an afternoon and makes an instant garland, gift bundle, or Valentine’s Day display. A length of twine knotted at intervals and a heart clipped to each knot looks effortlessly put-together.
- Skip the keychain ring: Leave a long loop of yarn at the top instead and use it to hang the heart from a bag handle, a zipper pull, a rear-view mirror, or a Christmas tree branch. The construction doesn’t change at all — just finish with a yarn loop instead of hardware.
- Add a face: A pair of tiny French knot eyes embroidered just above the center join, with a small curved stem stitch smile, turns this into a kawaii heart character. Use black embroidery floss or a strand of black yarn for best results.
- Go scrappy: This pattern uses so little yarn that it’s genuinely the ideal home for those last few yards on a near-empty skein. The heart is small enough that even a short length of yarn in a contrast color becomes the whole project.
- Size up or down: A chunky yarn on a 5.0 mm hook produces a palm-sized heart that works as an ornament or a pincushion. A fingering weight on a 2.0 mm hook produces a tiny charm just right for earrings or miniature gift toppers.
The Pattern
The Top Lobes (Make 2)
Make two identical pieces. Fasten off the first piece but do not cut the yarn on the second — you’ll use it to join them.
Round 1:
- Make a magic ring
- Chain 1 (this chain does not count as a stitch)
- Work 6 sc into the ring
- Pull the tail to close the ring
- Place your stitch marker in the last stitch [6 sts]
Round 2:
- Work 1 inc in every stitch all the way around (2 sc into each stitch) [12 sts]
Round 3:
- Work 1 sc in each stitch all the way around [12 sts]
Reading crochet patterns can be tricky when you’re just starting out, feel free to follow the video tutorial below instead!
Round 4:
- Work 1 sc in each stitch all the way around [12 sts]
- For Piece 1: Cut the yarn and fasten off, leaving a tail
- For Piece 2: Do not fasten off — keep the yarn attached and continue
Joining the Lobes and Body
Round 5 — Joining Round:
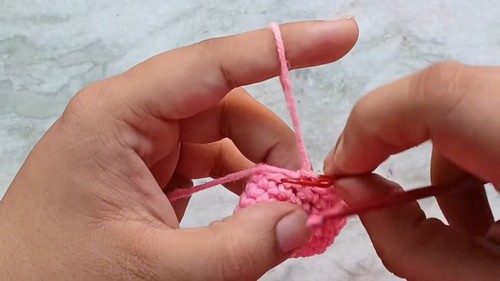
- On Piece 2 (still attached to your yarn), work 1 sc into the first 6 stitches
- Bring Piece 1 alongside. Insert your hook into the stitch right after where you fastened off on Piece 1, and work 1 sc into all 12 stitches of Piece 1
- Move back to Piece 2 and work 1 sc into its remaining 6 stitches
- You now have 24 stitches worked continuously around both joined pieces [24 sts]
Round 6:
- Work the combination of 2 sc and 1 invisible decrease all the way around
- Invisible decrease: insert the hook through the front loop only of the next two stitches, yarn over and pull through, then yarn over and pull through both loops on the hook [18 sts]
Round 7:
- Work 1 sc in each stitch all the way around [18 sts]
Round 8:
- Work the combination of 1 sc and 1 invisible decrease all the way around [12 sts]
Round 9:
- Work 1 sc in each stitch all the way around [12 sts]
Stuffing:
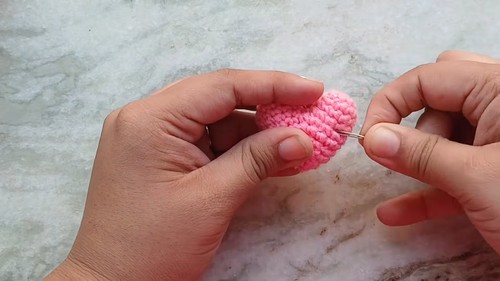
- Pause here to stuff both sides of the heart evenly with fiberfill
- Push small pinched amounts into each lobe first, then fill the lower body section
Round 10:
- Work 1 invisible decrease in every stitch all the way around [6 sts]
Closing the Heart
- Cut the yarn, leaving a long tail, and fasten off
- Thread the tail onto your yarn needle
- Weave the needle in and out of the front loops of the remaining 6 stitches all the way around
- Pull firmly to gather and close the bottom point of the heart
- Knot the tail close to the gathered stitches
Attaching the Keychain
- Bring the remaining yarn tail through the center of the body and out near the top groove of the heart
- Attach a separate strand of yarn to sew the heart’s top groove directly onto the keychain jump ring
- Tie a knot with the yarn tails to secure
- Hide the knot inside the heart by pushing it through with your needle, then snip any excess yarn close to the surface
FAQ
Q: I’ve never made a magic ring before. Is there an easier way to start? Yes — make a slip knot on your hook, chain 2, then work your stitches into the first chain. Pull the tail snug to close the opening before moving on to Round 2. It’s not quite as tight as a true magic ring but it works perfectly well for a project this small, and it’s much less frustrating when you’re just getting started.
Q: My two lobes look slightly different sizes. Will that matter? Small differences in tension between the two pieces are very common, especially when you’re new to working in the round. Once the lobes are joined in Round 5 and the decreasing rounds pull everything together, small size differences between the lobes become almost invisible. If one is noticeably looser, just try to hold your yarn a little more firmly on the second piece.
Q: How do I know where each round starts and ends? This is the most common confusion for beginners working in continuous rounds. The stitch marker is your answer — place it in the first stitch of every round and move it up at the start of each new round without fail. When your marker comes back around to you, that round is complete. Without the marker, it’s almost impossible to keep an accurate count on a small piece like this.
Q: Can I make this without the keychain ring as a plain ornament? Absolutely. Simply leave a tail of yarn at the top when closing the piece and tie it into a loop for hanging, or thread it onto a length of ribbon. The construction doesn’t change at all — just skip the keychain attachment step at the end. This also makes it suitable as a gift tag, a tree ornament, or a bag charm without any hardware required.
Q: My heart doesn’t look symmetrical — one lobe is higher than the other. What went wrong? This usually happens during the joining round (Round 5) if the hook entry point on Piece 1 isn’t directly opposite the midpoint of Piece 2. Before you begin Round 5, lay both pieces flat side by side and find the midpoint of each — that’s where the join should be centered. If the heart is already finished and slightly uneven, a gentle steam block (hold a steam iron a few centimeters above the piece and let the steam settle in) can soften the fabric enough to reshape it with your fingers while it’s warm.