
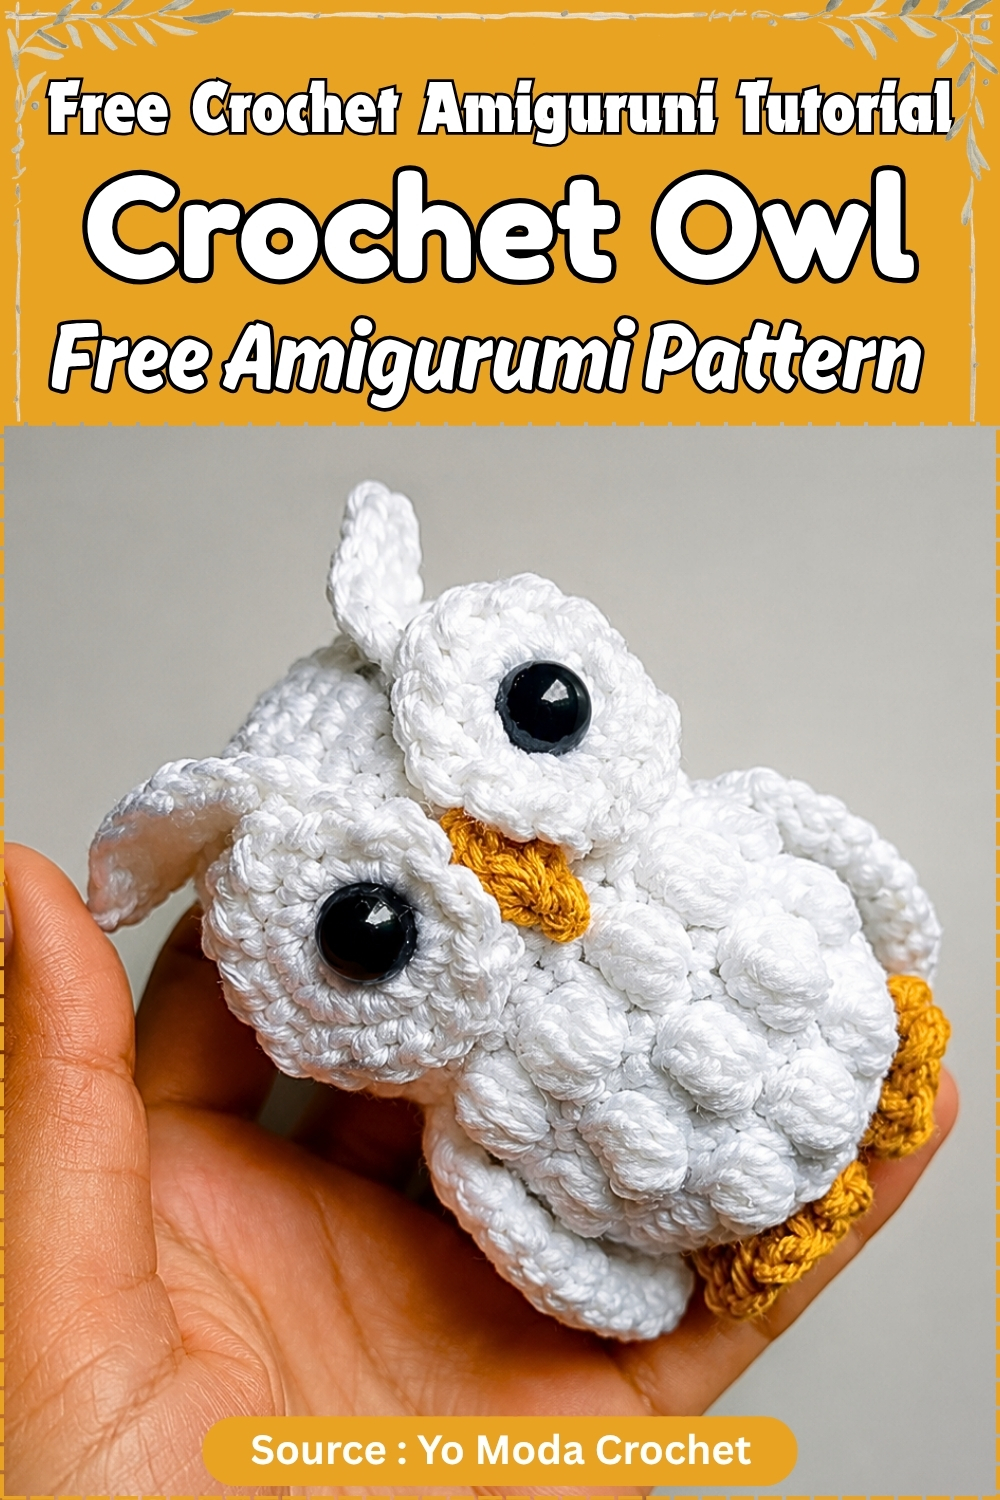
Round body, big eyes, tiny wings, this crochet owl amigurumi is exactly the kind of make that hooks people on amigurumi in the first place. The shaping is straightforward, the whole thing comes together from a handful of basic pieces, and it’s a genuinely easy crochet owl even if you’ve only done a couple of projects before. Sit it on a bookshelf, hand it to a kid, or line up a few in different colorways. Free owl pattern is waiting for you right here.
Owls have always been a popular amigurumi subject and this little white version with its oversized eyes and mustard yellow accents captures exactly why. Worked mostly in white yarn with puff stitch texture on the wings, the finished owl has a soft rounded shape that looks great perched on a shelf or clipped to a bag as a keychain.
Crochet Owl Amigurumi
Materials
- Yarn: 4-ply in a main body color, white for the eyes, mustard or yellow for the beak and feet, and a contrast color for the wings
- Hook: 3.0 mm
- Safety eyes: 10 mm
- Stuffing: Polyester fiberfill
- Other: Yarn needle, scissors, stitch markers, optional fabric glue or hot glue
Abbreviations
- MR — Magic ring
- ch — Chain
- sc — Single crochet
- inc — Increase (2 sc in the same stitch)
- dec — Invisible decrease
- hdc — Half double crochet
- dc — Double crochet
- tr — Treble crochet
- sl st — Slip stitch
- st(s) — Stitch(es)
- Bobble St — 4 unfinished double crochets worked into the same stitch, then pulled together in one step
Work in continuous spirals with no joining unless a round states otherwise. Place a stitch marker in the first stitch of each round and move it up as you go.
The Pattern
The Eyes (Make 2) — white yarn
- Round 1: Make a MR. Ch 1, work 6 sc into the ring. Do not pull the magic ring tight yet — you’ll need to push the safety eye post through it later.
- Round 2: Work 1 inc into every stitch around.
- Round 3: Ch 2, sl st into the next stitch. Repeat all the way around to create a decorative ruffled edge.
- Ch 1, fasten off, and leave a long tail for sewing.
Main Body & Head — main body color
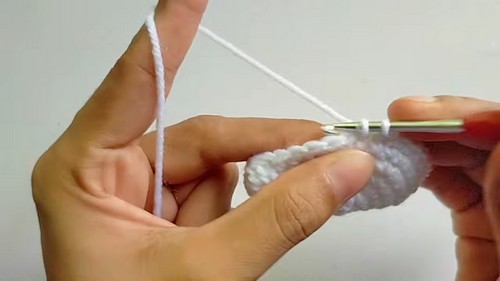
- Round 1: Make a MR. Ch 1, work 6 sc into the ring. Pull tight.
- Round 2: Work 1 inc into every stitch around.
- Round 3: Work the combination of 1 sc and 1 inc a total of 6 times around.
- Round 4: Work the combination of 2 sc and 1 inc a total of 6 times around.
- Round 5: Work the combination of 3 sc and 1 inc a total of 6 times around.
- Round 6: Work 1 sc in each stitch around.
- Round 7 — belly texture begins: Work 7 sc, then work the following sequence: Bobble St, 1 sc, Bobble St, 1 sc, Bobble St. Work 17 sc to end the round.
- Round 8: Work 1 sc in each stitch around.
- Round 9: Work 6 sc, then work the sequence of Bobble St followed by 1 sc a total of 5 times. Work 14 sc to end the round.
- Round 10: Work 1 sc in each stitch around.
- Round 11: Work 6 sc, then work the sequence of Bobble St followed by 1 sc a total of 5 times. Work 14 sc to end the round.
- Round 12: Work the combination of 3 sc and 1 dec a total of 6 times around.
- Round 13 — widening for the head: Work the combination of 1 sc and 1 inc a total of 12 times around.
- Round 14: Work the combination of 2 sc and 1 inc a total of 12 times around.
- Rounds 15–18: Work 1 sc in each stitch around — 4 rounds total with no shaping changes.
- Round 19: Work the combination of 6 sc and 1 dec a total of 6 times around.
- Round 20: Work the combination of 5 sc and 1 dec a total of 6 times around.
- Round 21: Work the combination of 4 sc and 1 dec a total of 6 times around.
- Round 22: Work the combination of 3 sc and 1 dec a total of 6 times around.
If you’re a beginner and crochet patterns feel confusing, start with the video tutorial below, it’s the easiest way to learn as you go!
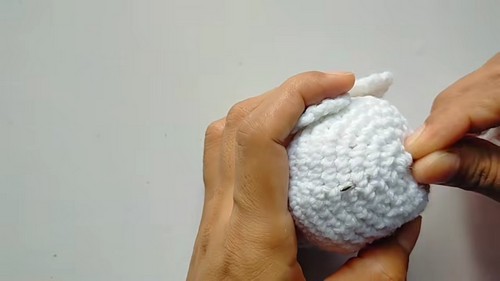
Place the eyes now: Push the 10 mm safety eye posts through the center of each white crocheted eye circle. Position both eye circles on the head between Rounds 16 and 17, leaving a 7-stitch gap between them. Press the backings on tightly from the inside.
- Round 23: Work the combination of 2 sc and 1 dec a total of 6 times around.
Stuff the body and head firmly with fiberfill before the opening closes further.
- Round 24: Work the combination of 1 sc and 1 dec a total of 6 times around.
- Round 25: Work 1 dec 6 times sequentially around.
- Fasten off. Thread the tail through the front loops of the remaining stitches, pull tight to close, knot securely, and hide the end inside the body.
The Wings (Make 2) — contrast yarn
- Round 1: Make a MR. Ch 1, work 6 sc into the ring.
- Round 2: Work 1 inc in the first 2 stitches, 1 sc in the next 2 stitches, 1 inc in the next stitch, 1 sc in the last 2 stitches.
- Round 3: Work the combination of 1 sc and 1 inc a total of 4 times around.
- Round 4: Work 1 sc in each stitch around.
- Round 5: Work the combination of 1 sc and 1 inc a total of 6 times around.
- Round 6: Work 5 sc, 1 inc, 5 sc, 1 inc, 5 sc, 1 inc.
- Round 7: Work 1 sc in each stitch around.
- Round 8: Work the combination of 5 sc and 1 dec a total of 3 times around.
- Round 9: Work 1 sc in each stitch around.
- Flatten the wing — do not stuff.
- Work 8 sc across the top opening, crocheting through both layers together to join and close the wing.
- Fasten off, leaving a long tail for sewing.
The Eyelids / Brows
These are crocheted directly onto the head, curving over the upper edge of each white eye circle.
Left brow:
- Attach main color yarn with a sl st near Round 21 on the side of the left eye
- Work 7 sl sts in a curved line over the eye
- Ch 1, turn
- Working back into the sl sts just made: work 1 sc, 1 hdc, 1 hdc, 1 dc, 1 dc, 2 dc in the next stitch, 2 tr in the final stitch
- Ch 1, fasten off, and weave in ends
Right brow:
- Attach yarn with a sl st on the opposite eye
- Work 7 sl sts across in a curved line
- Ch 1, turn
- Working back: ch 4, 1 tr in the same stitch, 2 dc in the next stitch, 1 dc, 2 dc in the next stitch, 1 hdc, 1 hdc, finish with 1 sc
- Fasten off and weave in ends
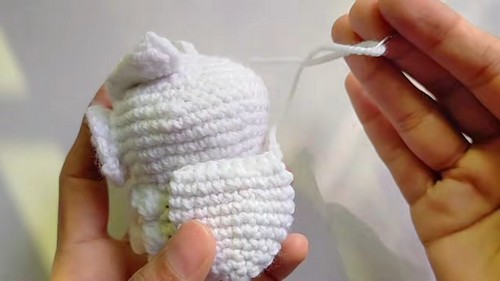
Beak — mustard or yellow yarn
- Make a MR
- Ch 2, work 1 hdc into the ring
- Ch 2, sl st into the ring
- Pull the magic ring closed tightly
- Tie the yarn tails together and glue or sew the beak directly between the eyes
Feet (Make 2) — mustard or yellow yarn
- Ch 4
- Skip the first chain from the hook and work 3 sc back down the chain
- Ch 2, sl st into the same base stitch — this forms one toe
- Repeat this sequence twice more to complete a three-toed foot
- Work a decrease across the top of the chain to clean up the edge
- Fasten off and attach to the bottom of the owl
Assembly & Finishing
Pin every piece in place with straight pins before sewing a single stitch. Check symmetry from the front, the profile, and from above before committing. Use the long tails left on each piece and sew through the stitches of both the accessory and the body so each join is clean and secure. When a seam is done, knot the tail close to the surface and pull it through the owl so the end disappears into the stuffing.
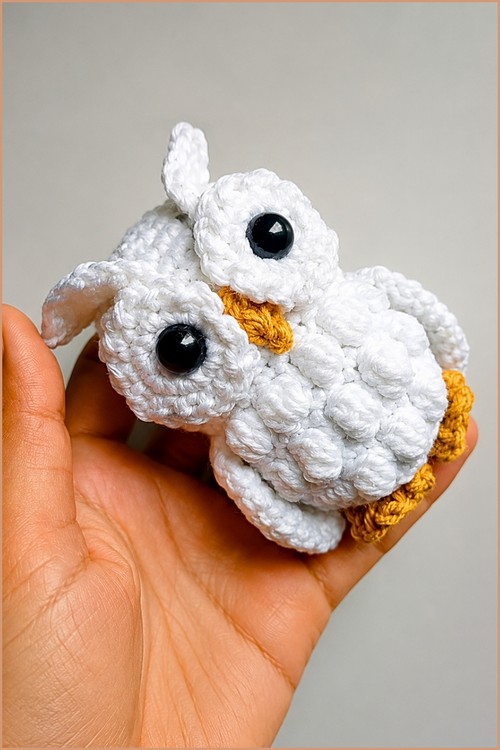
Center the white eye patches against the bobble belly so the face sits balanced on the front of the body. Match the curve of each brow carefully to the top edge of its eye circle — this is the difference between an owl that looks alert and one that looks lopsided. Set the beak in the middle of the 7-stitch gap between the eyes, letting it overlap the inner edges of the white circles slightly. If any bobbles got compressed during stuffing, ease them back out with the tip of a clean yarn needle run around their base.
FAQ
Q: The bobble stitches are flattening out when I stuff the body. How do I keep them raised? Stuff the body gradually rather than all at once at the end. Adding fiberfill in small amounts as you close the final rounds lets you control the pressure behind the bobble section. Once fully assembled, run a yarn needle around the base of any flattened bobble to pop it back forward — it takes about ten seconds per bobble and makes a visible difference.
Q: Can I use safety eyes in a different size? The pattern is written for 10 mm eyes, which suit the palm-sized scale on 4-ply yarn. Larger eyes — 12 mm or 14 mm — give a wider, more cartoon-like expression. Smaller eyes read as more realistic and serious. Whatever size you choose, place them while the head is still open enough to reach in and lock the washers. Once the gap is too small, you lose your chance.
Q: Is there a safe alternative to safety eyes for a baby gift? Embroider the pupils directly onto the white eye circles using black yarn or embroidery thread in a tight satin stitch. A filled circle in black on white reads clearly and is completely safe for young children. The crocheted brows work just as well over embroidered eyes as over safety eyes, so the expression stays intact.